Music, visual art, and dance movement integrated within a field of vegetables is the stage for Domingo World.
Domingo World is a music and art residency held at Edgemere Farm on the first Sunday of every month throughout the summer. Have you been yet?
Teresa Farrell and Gio Fernandez-Kincade are the co-creators of the explorative collective which features a different artistic experience each month.
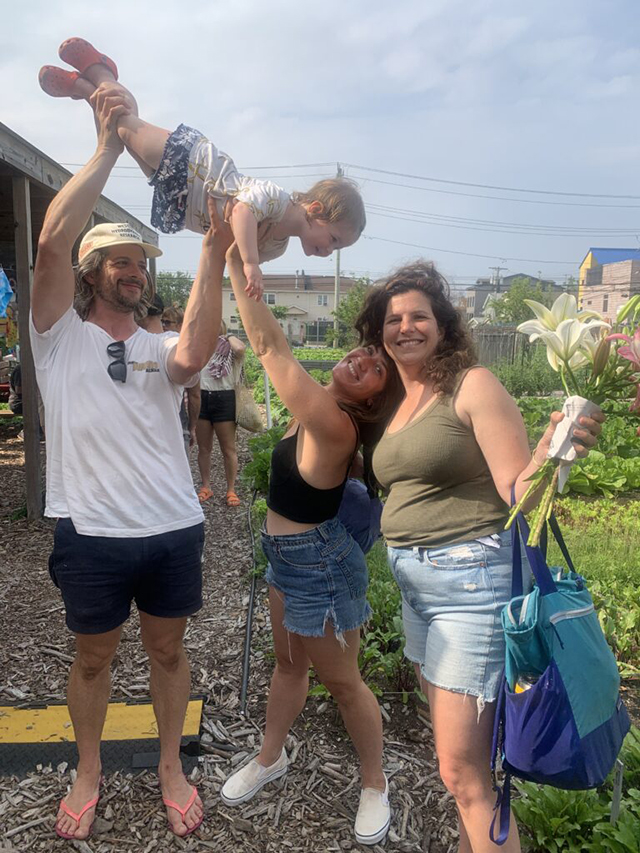

Feel the community joy this weekend on “the day of the Lord.”’ From 1-5 p.m. meditate in the music of Galazyworld (@galaxyworldz) and Agua De Gio. Artwork of many mediums including art clothing visioned by Teresa Farrell (@tuh_nesta) will be available for purchase. See dance by m i c c a. (@mamicca) and the Bucket Cast. Be hungry for West African-style empanadas made by Amped Panadas (@AmpedPanadas). And quench your summer thirst with refreshing botanic beverages. Seasonal, fresh produce and herbs will be for sale before Domino World turns on. So come early, the Edgemere farmstand opens at 10 a.m.
Remember, supporting local art not only enriches your surroundings but also strengthens our community and the connection between artists and art enthusiasts. Represent!

Experience the expressions of Domingo World this Sunday, August 6 at Edgemere Farm (@edgemerefarm) – 385 Beach 45th Street. Far Rockaway – 1-5pm.
A genuine thank you to the folks at Edgemere Farm for partnering with Domingo World to bring us community vibrancy, art, music, and nourishment.
Edgemere Farm is a volunteer-run, half-acre urban farm in Far Rockaway that provides homegrown organic foods to the Edgemere community and beyond. Supported by NYC Parks / GreenThumb, GrowNYC, and Partnerships For Parks. The farm’s mission is education, food justice, and increasing capacity for both the production of food and the processing of food waste on the Rockaway Peninsula.
The heat is on and caffeinated icy-cold coffee drinks have been the topic of conversation in my circle on the sand.
My friend Keith said in Key Food the Manhattan Special now has a little pop-up stand! I’d like to think my column on the vintage coffee soda a few weeks ago resulted in an up-tick in sales!
I’m on the beach last weekend with a bunch of friends. We were enjoying the entertainment of a very crowded foamy lineup on a knee high afternoon. “I think I have to go, I need coffee.” I weakly blabbered. “Have you ever had an espresso tonic?” My friend Karoi said. That woke me up…
Kaori was recently in Nakano Japan visiting family. There she often goes to the kissaten (a tea-drinking shop). Kissatens also sell coffee and on the menu was an espresso tonic. This drink is a popular tea alternative in Japan. The bubbly coffee coolers she had was so fantastic, she’s been recreating the summer drink at home since her return.
Kaori offers to make me one! We left the flaming sand and went back to her cool apartment for an espresso tonic tutorial and needed refuel.
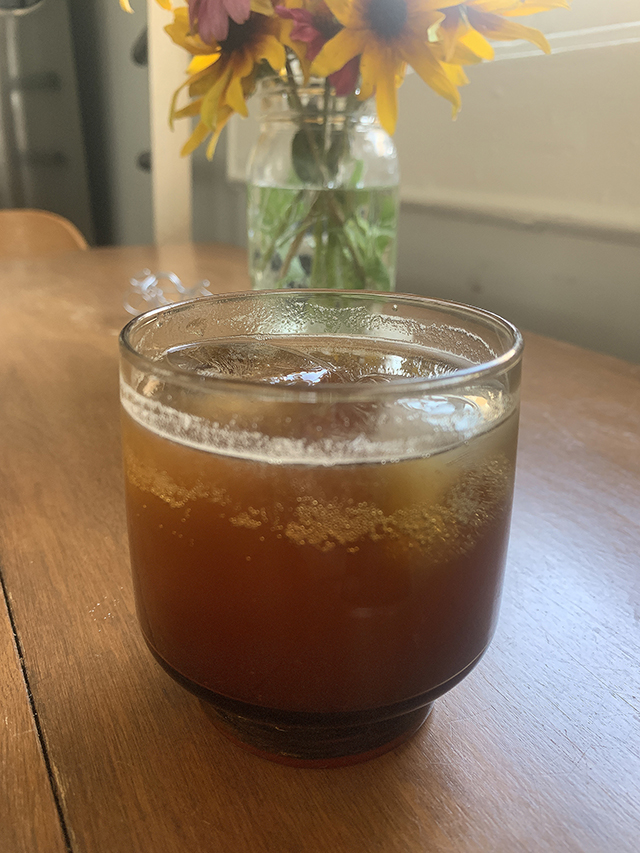
Kaori’s Espresso Tonic was wow-refreshing! The combination of the cold, strong espresso and the effervescence of tonic water created a unique zesty flavor profile. Here’s Kaori’s must try, easy and impressive espresso tonic recipe.
Kaori’s Iced Espresso Tonic
Ingredients:
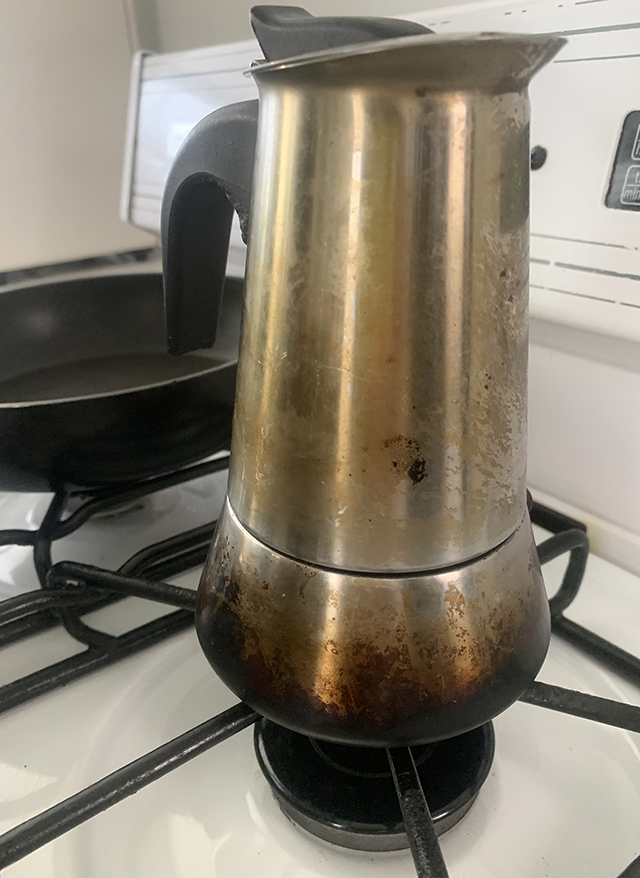
2 shots espresso or moka pot coffee
Tonic water
Lemon to taste
Ice
Honey (optional)
Directions: Brew the espresso in advance and chill. Over ice in a cup, pour the espresso. Add a healthy splash of tonic water. Squeeze in the lemon to taste. If you like sweeter coffee add a touch of honey. I’d recommend trying it without honey first.
The history of espresso tonic is not well-documented, but it is believed to have originated in Sweden or the U.S. in the early 2000s, then gaining popularity worldwide.
The concept of combining espresso with tonic water might have been inspired by the Spanish drink called “café con hielo,” which is a shot of espresso served with ice and a glass of sparkling water on the side.
As the specialty coffee culture grew, baristas and coffee enthusiasts began experimenting with different ways to delight in coffee. The idea of mixing espresso with tonic water emerged as a unique and refreshing variation, offering a different taste and texture compared to traditional coffee bevs.
Follow The Tomato on Instagram for all things caffeinated – @theglorifiedtomato.
In total, I’ve made three pies in my whole life! Guess what? I’ll be practicing my pie-making skills through the end of September because the Beach 91st Street Community Garden will be hosting a fall Pie Party! I’m organizing the event and we’ll be selling sweet and savory pies. Part of the funds raised will be used to give back to our community by gardening an unkept area in Rockaway – guerilla gardening style.
If you’re interested in donating a homemade pie or purchasing a pie from one of our local bakeries please donate, email me at beach91communitygarden@gmail.com. Otherwise, I’ll be baking 15 pies till 2 a.m. the night before the event and that isn’t ideal!
The pie crust recipe below is from a book called Pie In The Park. This recipe collection is the inspiration for the Community Garden Pie Party Event. My friend and your neighbor Lauren Cucinotta gave me the book. She is the author. It speaks to how a small five-person picnic of pies only, held in Prospect Park, expanded to several annual events, a 200-person fundraiser for a startup bread business, and the book itself, which holds the memory of it all and a compilation of homemade pie recipes made by Laurens friends.
My hope is that this book also inspires us to gather in the community, enjoy the garden space and raise funds to beautify a little slice of Rockaway.
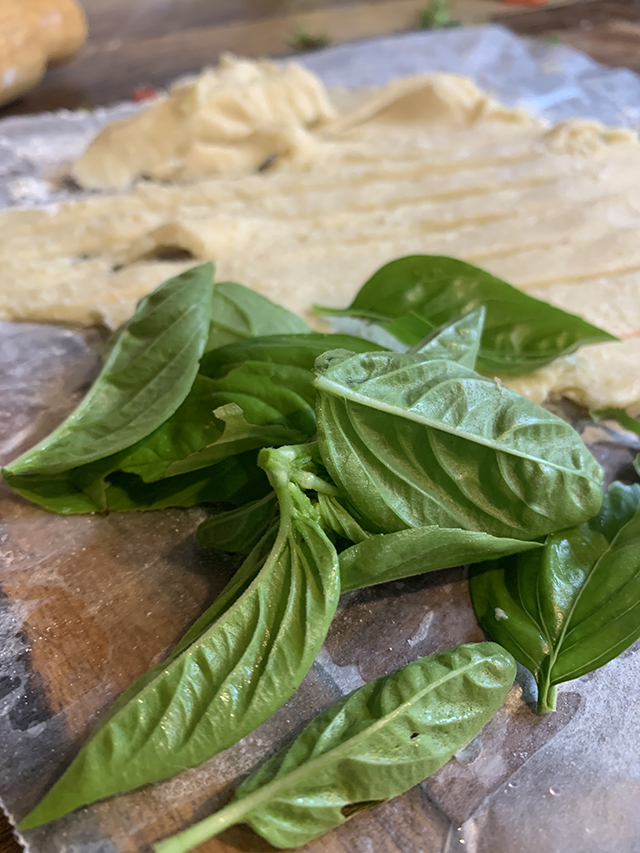
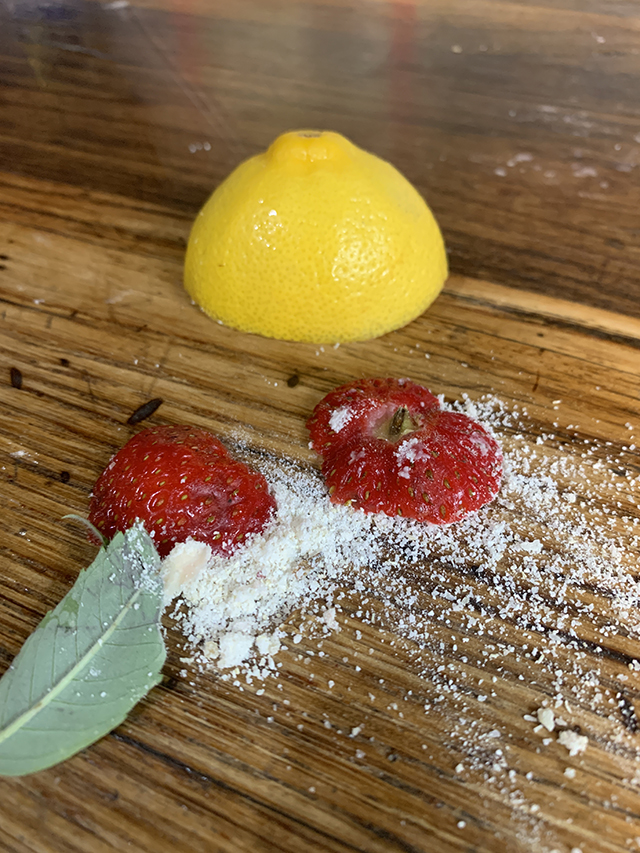
Strawberry Basil Pie
INGREDIENTS:
Subtly Rustic Cornmeal Crust (by Lauren Cucinotta):
1 2/3 cups flour
3/4 cup cornmeal
1 tablespoon sugar
2 teaspoon salt
1 cup salted butter
7 to 8 tablespoons ice-cold heavy cream or water
Filling:
5 1/2 cups fresh strawberries, hulled and halved
1/4 cup basil leaves, chopped
2/3 cup sugar
2 tablespoons cornstarch
1 tsp lemon
1/8 tsp salt
DIRECTIONS:
Crust: Mix together flour, cornmeal, sugar, and salt in a medium bowl. Slice tablespoon-size pieces of room-temperature butter into the dry mixture using a fork or pastry blender, until it resembles small balls. Add the heavy cream or water into the mixture, one tablespoon at a time. Use your hands to combine the mixture and form two equal-sized balls.
Flour your surface (I used wax paper) and roll out the first ball. Flip the wax paper over your pie dish and form the shape. Cover with plastic wrap and refrigerate for at least a half hour. Roll out the second ball into a flat circle on wax paper. Transfer to a dish, cover with plastic wrap, and refrigerate for at least 30 min. This will be the pie top. Try lattice, or other designs, get creative!
Filling: Combine all the ingredients into a bowl and toss lightly.
Baking: Preheat the oven to 350. Fill the pie crust with the strawberry filling. Cut and design your pie top. Cook for 50 minutes until the filling is bubbling and the crust looks golden. Best served immediately after cooling.
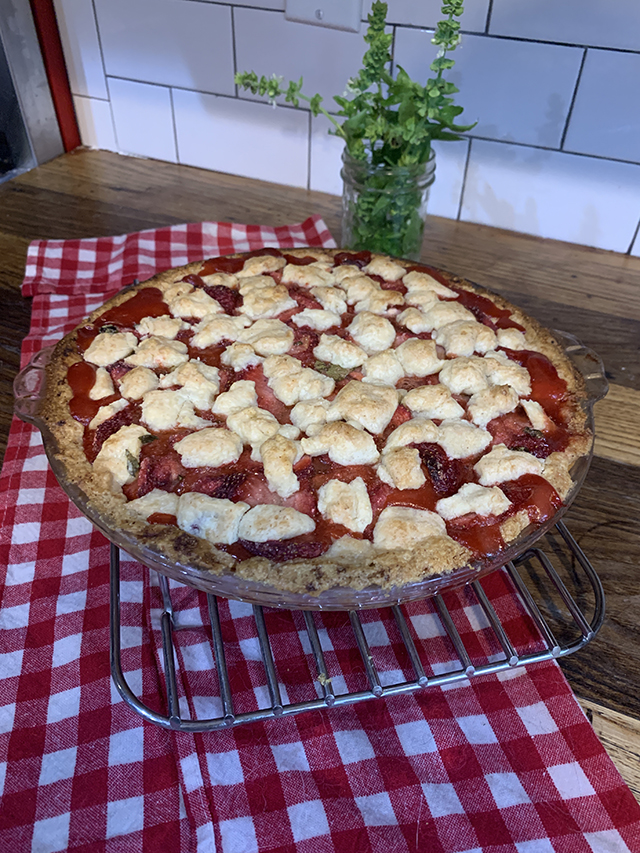
Tastes great, looks weird!
by Paula D.
on July 22, 2023 9:27 am in Gardening
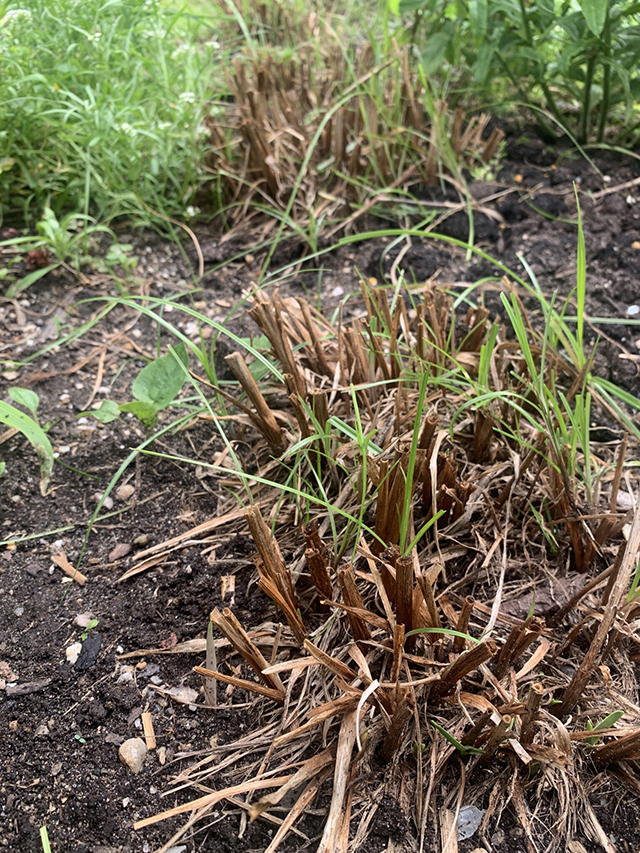
At the beginning of the garden season, I noticed more aphids and white fly larvae than normal but didn’t think much of it. Three weeks later my Stella Doro daylilies were decimated. I was so angry with myself, I should know better. I had to cut the plants completely back. I thought perhaps the greenery would at least regrow but it did not. The life of a gardener…
Garden friends in the neighborhood were also expressing their frustration over the pests. It’s been so bad, even the NY Post is writing about how New Yorkers are bugged out over the bugs.
So why has this happened? Freezing temperatures destroy overwintered eggs. It’s a natural occurrence to keep ecosystems in balance. A rainy spring creates the perfect aphid nursery as they thrive in moist conditions. Therefore, the combination of a mild winter and damp spring this past year electrified the ideal breeding ground for the massive aphid outbreak.
What can we do this season to manage the problem:
- “Powerwash” your plants. A strong, hard burst of water directly on the infected plants will clear away some pests.
- Neem oil – a naturally occurring pesticide found in seeds from the neem tree works very well. Follow the directions for this product. You can buy bottles with a hose connector to combat large areas. Note: Neem oil can irritate your skin and eyes, use it carefully.
- 3 parts water, 1 part dish soap, and a splash of rubbing alcohol in a spray bottle is a magic home remedy. All of these ingredients you already have under the kitchen sink. This is my quick, go-to method for indoor and outdoor plant pest problems.
- Dispose of infected garden debris: This is so very important. All leaves, flowers, roots, and other organic matter infected by aphids, white flies, spider mites, etc. must be disposed of in the garbage. Do not include this material in your compost piles or NYC organic brown bins. The eggs will overwinter and you’ll perpetuate the problem next season.
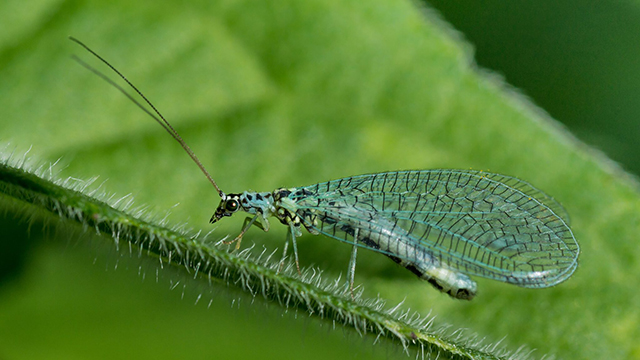
- Ladybugs and/or Lacewing larvae Buy both online. Ladybugs are often found at your local garden center too.
I’d like to elaborate on the last remedy. Ladybugs are well-known among gardeners as a natural pest control solution. Ladybugs naturally found the aphids in my front garden this season. It was pretty neat to see the different stages of their development evolve. But ladybugs have an agenda and once they reach adulthood, they migrate to breed. And so, while they are effective aphid eaters, they’re not infallible.
I learned of the Lacewing larva from the NY Post article (I know, I know). I continued reading online about this little fly and discovered Lacewings are the best predator known to consume massive quantities of garden pests including aphids, mealy bugs, spider mites, leafhopper nymphs, scales, thrips, and white flies. These little bugs attack its prey by injecting a paralyzing venom that draws out the body fluids of their powerless victims. They feed from 1-3 weeks during their own larvae stage. Do not release them in the heat of mid-day. You may need to follow up with a second batch of Lacewing larvae if the aphid situation persists. But two “doses” will do the trick.
Good luck throughout the rest of the season! And remember, these challenges help us learn and grow into better keepers of our gardens!
Follow me in the garden on for more on Instagram: @theglorifiedtomato.


