by Paula D.
on July 28, 2025 11:49 am in DIY / Gifts
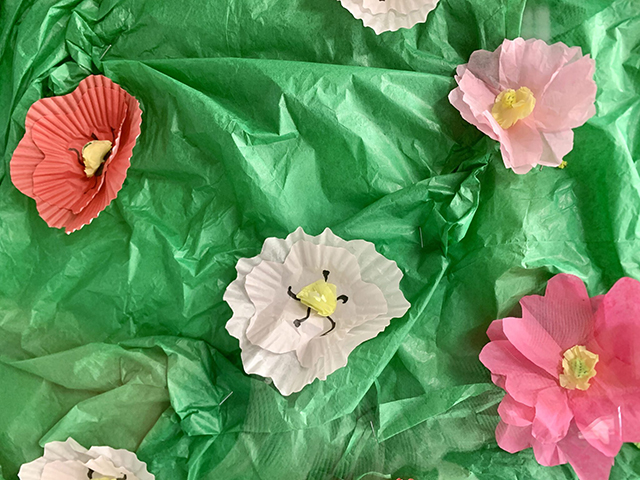
I saw a picture of the cutest cupcake liner flowers floating around and thought it would be a nice thing to give my Mother. Mom doesn’t like real flowers—her classic line is, “They smell like funerals.” Fair enough. So I figured these cheerful little paper blooms would be perfect for her Mother’s Day card, which will be exploding with Lotto Scratch-Off tickets.
And as you know, I can never resist a project that uses what I already have lying around the house. Turns out, those leftover cupcake liners from 2 years ago when I made so, so many cupcakes were worth keeping!
Here’s how to turn a pile of them into the sweetest little bouquet, A Mother’s Day card, or a springtime string of garland. It’s a craft for all – the family, rainy day friends hang, or for you, when you feel weird and lonely at night and need to give your ruminating brain a distraction.
Cupcake Flowers
What you’ll need:
- Cupcake liners (any size or color, mix and match)
- Glue (hot glue for a bouquet and garland, glue stick for cards)
- Pom-poms, or paper circles for the flower centers (get creative here)
- Green pipe cleaners, or sticks for stems, or ribbon
- Scissors
- Double-sided tape (optional)
- A jar or vase for display, or paper for a card or artwork
Instructions:
- Flatten and layer the cupcake liners. Gently press each liner flat with your hand. If they’re crinkly or a little misshapen from sitting in the drawer for five years, that’s okay! It adds a bit of texture and makes the petals look more like real flowers. Stack two four-liners on top of one another. Try off-centering some so the edges peek out like layered petals. Cut a few smaller ones for an even more layered feel. Keep the flower monochromatic or mix and match colors.
- Glue the layers together and shape. Dab a bit of glue in the center or use double-sided tape on each layer to keep them in place. For some flowers, cut around the edge to make different-shaped petals. Variety is everywhere in nature.
- Add your flower center. Pom-pom, or cut a small paper circle and glue it to the center of the top liner. Repeat the process with different colors and shapes until you’ve got a full bouquet.
- Creative Applications. For a bouquet, flip the whole flower over and glue your pipe cleaner (or a stick from outside) to the back. Repeat for all your flowers. For a card or artwork, arrange your flowers in an interesting way on the paper. For garland, hot glue the flowers, evenly spaced along a ribbon or rope. Loop the ends of the ribbon to hang and display!
Follow me for crafting and all the things on Instagram @theglorifiedtomato.
by Paula D.
on July 28, 2025 11:41 am in Gardening
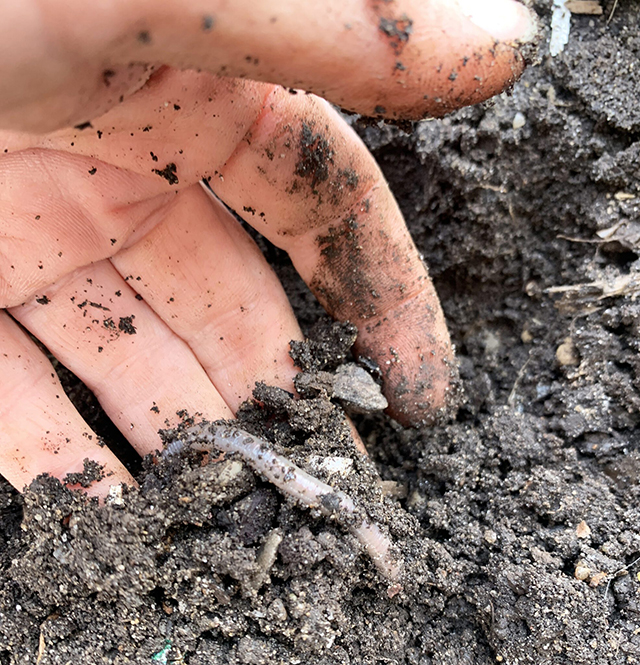
Earthworms work slowly, deeper in the soil, and help structure and enrich soil over time.
Let’s talk about worms. I know, I know—maybe not the most loved creature, but bear with me—because they are the unsung heroes of healthy soil and your garden.
There are 30 species of worms in New York State, and only five are native. I’d like to focus on the few you’re most likely to see in your garden here in Rockaway Beach. There are the everyday earthworms —the kind you find chilling in the garden bed. Most likely, you’re seeing the Jumping Worm (native to East and Southeast Asia) or the Common Nightcrawler (European). Earthworms work slowly, deeper in the soil, and help structure and enrich the soil over time. They’re aerators, making little tunnels that help water and oxygen reach plant roots. Yah!
Outside your garden, around Jamaica Bay, you might spot a New York native—the American gray soil worm, also known as the bog worm. It’s typically found only around wetlands.
And then there are composting worms—red wigglers. These dudes don’t live in soil but thrive in compost bins, eating up banana peels, coffee grounds, ziti, and shredded paper like an all-you-can-eat smorgasbord in Atlantic City. You won’t find them in your garden soil. Red wigglers are fast composters, breaking down material quickly and leaving behind nutrient-rich castings. They’re excellent at breaking down organic matter, making them essential for turning food scraps and garden debris into black gold.
Now I need to address one of the greatest worm myths of all time: “If you cut a worm in half, you get two worms.” I hate to break it to you, but no—that’s not how it works. While it’s true that worms can survive injury if they’re cut in the right place and their vital organs are intact, they don’t magically regenerate into two. Typically, the front half (where the mouth is) has the best shot at surviving. But the tail end? That part won’t make a new worm. Sigh.
Worms are more sensitive and complex than we give them credit for. They have five hearts, and while they don’t have eyes, they can sense light and vibrations. They’re hermaphrodites too—yet they still need another worm to reproduce. After their linear mating dance, they leave behind tiny lemon-shaped cocoons that hatch baby worms!
Next time you’re digging in the dirt and come across a worm, say: “Thanks for helping my garden grow.”
Follow me in the garden this spring on Instagram: @theglorifiedtomato
Sources: sciencefocus.com, nyisri.org
by Paula D.
on May 7, 2025 5:08 am in Art / DIY
Much of my art is rooted in food—as a result of my fathers innate creativity, my Italian upbringing, the joy I find in gardening and all that weirdness that has transpired in my life thus far. Remember Butter Village? And my jello art adventures from last summer?
Food play has always been part of our creative wiring. As kids, we instinctively lined up peas, made carrot stick people, and constructed dramatic mashed potato mountains with exploding gravy lava until we were screamed at, right? It’s all art.

Brown bin composting is now mandatory in NYC – art projects first thought.
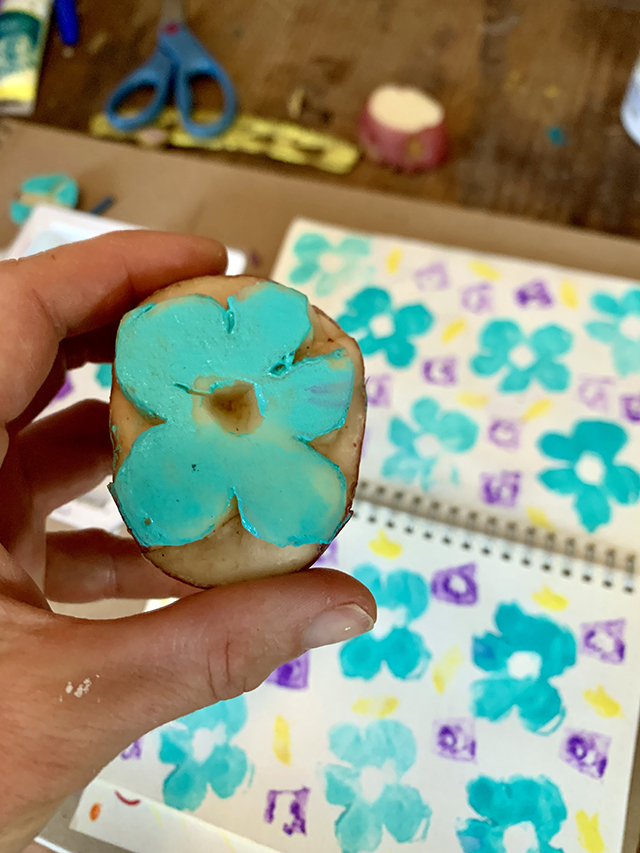
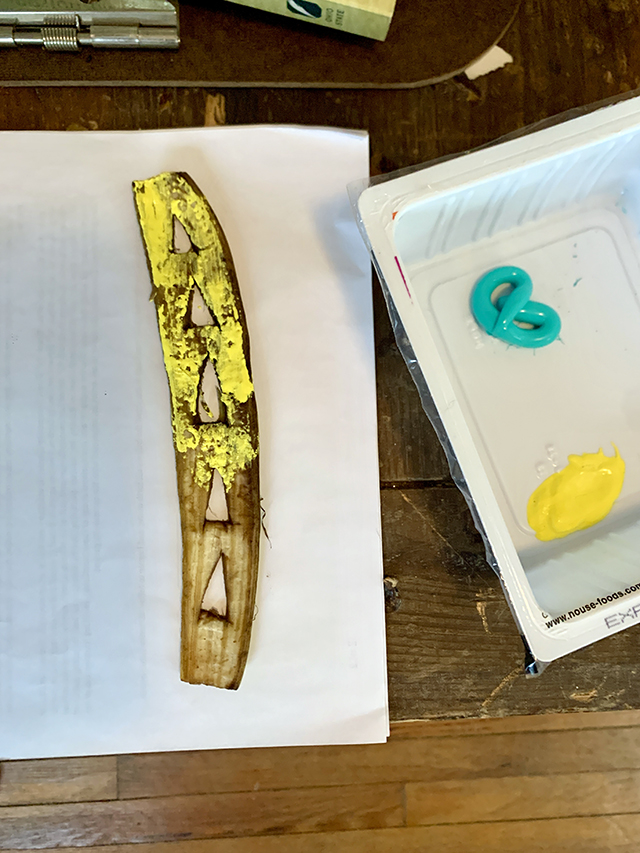
Here’s a fun one—for you, your kids, or for a therapeutic low-pressure craft hang with friends: food printing with compost scraps. Yup, pull some funky shapes out of your compost bin and get stamping. Potato ends, celery bottoms, halved-onions and banana peels work great. I used my butter carving tools to cut graphic shapes taking it one step further. As I normally do – for better or worse. I used an Easter spring color story. I’ve been working in a dedicated sketchbook the past few months and this is where I designed my food scrap prints. You can go larger or if you’re with friends or family, consider a group project with multiple people all working on the same piece – an unique way to collaborate and learn from one another.
The goal isn’t perfection—it’s play. Feel the brush, push the potatoes, mix the color and see where it takes you. You don’t have to be an “artist” to feel joy through art.
What you need:
3 paint colors
3 brushes
Food scraps from your kitchen compost bin.
Paper
Carving tools or knive
Recycled container for the paint. A tofu container worked perfectly for me.
An open mind
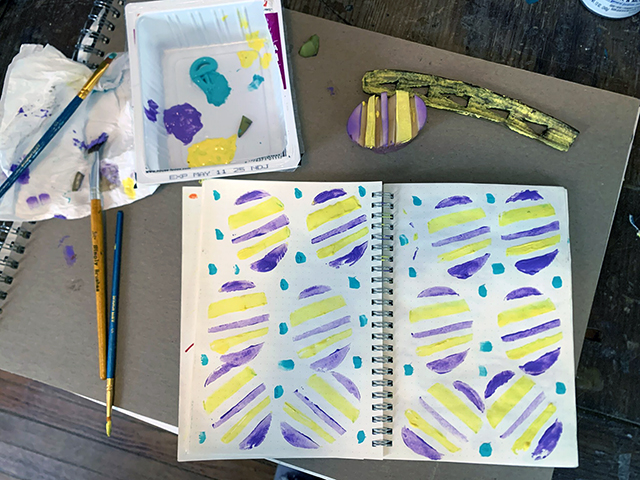
An old, halved potato makes the perfect stamp for Easter egg prints! Use pastel paints and carve different shapes for endless patterned art or for an easter gift or card.
Instructions for Compost Food Printing:
- Choose your scraps – Dryer fruits and vegetables work best but a little moisture is ok. Try potatoes, carrot ends, citrus peels, apple core, onions, or last night’s leftover dinner.
- Pick your paint colors – Set out your paints and use one brush per color to avoid muddying the colors. No water needed.
- Paint the food scraps – Apply paint directly onto the cut surface of the food.
- Start printing – Press the painted side firmly onto paper. Experiment with pressure, angles and patterns.
- Get creative – Try using two colors on one piece of food for a layered effect. Experiment with overlapping prints to build depth. Once your prints are fully dry, consider adding details or designs with markers, colored pencils, or pens for another feel.
Follow me doing all the things on Instagram: @theglorifiedtomato
April is staying true to its word, showering our land with the right amount of skywater to encourage vibrant greens and the early bloom of summer color. This weekend, the Beach 91st Street Community Garden held its season kick-off meeting, and I finally had the chance to touch the earth. Free compost from the Queens Botanical Garden (Queens Rep! Thank you!) was the afternoon task. I shoveled out the top three inches of soil from my garden plot and replaced it with rich compost. The scent of pure earth!
I was amazed by how deeply last season’s basil roots had grown; extracting them turned into an unplanned mini-workout. My chives have already started to emerge! In a neighboring plot, The wild cabbage also decided it was time to arrive. The yellow summer flowers of this edible green are fantastic for bees.
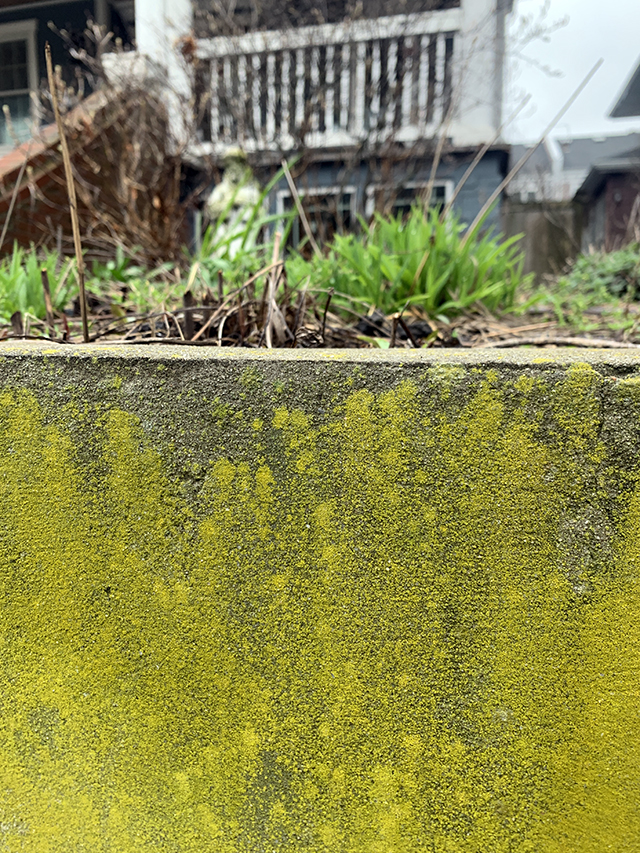
My “English Castle Wall”, green algae, a welcomed charming addition.
And the big yellow flag of spring is blowing in the wind! Forsythia is on the cusp of full bloom. I was chatting with garden member Josh—who works for the Parks Department (lucky us!)—and he explained the art of pruning this shrub. We leaned in close at the base, and he explained that the old growth should be cut back significantly, so the fresh new shoots can thrive. I could clearly see the difference, and we’ve planned a proper pruning tutorial with our garden group in early summer, once the yellow blooms have finished their dazzling show.
Near the garden entrance, hyacinths have announced the arrival of spring with their invigorating scent. These are bulbs, resurfacing every spring in shades of pink, purple, and even blue. You’ll find them everywhere—from CVS and bodegas to the garden centers. They’re often gifted for Easter. If you receive one, don’t throw it out after the flower passes. Instead, save the bulbs and replant them in the ground for next spring.
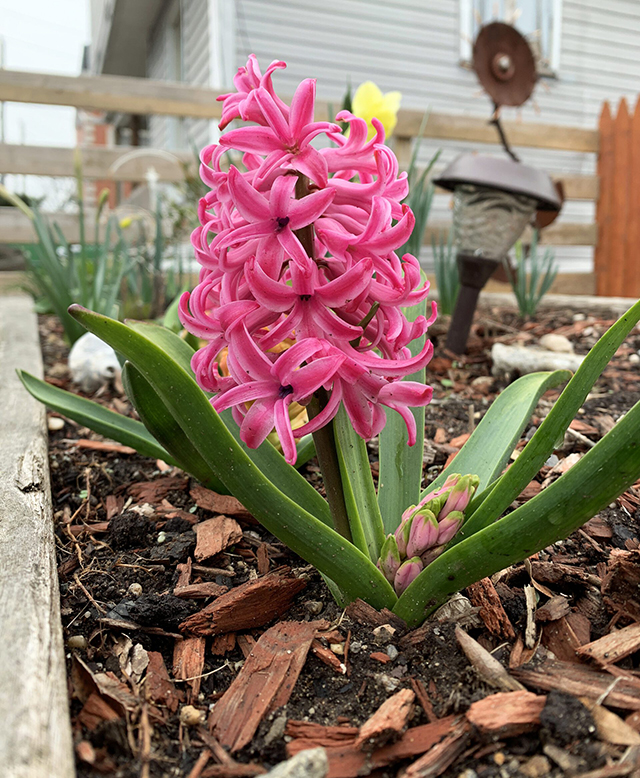
Easter Hyacinth
And to come back to the wonderful rain showers of April —they’ve brought on a bloom of algae. Most folks see this as a pest for power washing but I know it’s wonderful and beautiful. It grows on brick and cement, and I’m lucky to have it thriving on my garden’s retaining wall.
What’s fascinating is that it’s not a plant—it doesn’t have roots. It’s an organism! Every time I see it, I’m transported to an old English castle, with mossy stone walls that shimmer in the rain, and moody gray skies that go just right with the patches of green climbing around.
Here’s to the spring season of growth and color, both in the garden and beyond.


