by Paula D.
on February 3, 2026 5:20 pm in Holiday
I was never a big New Year’s Resolution person, but the last 3 years, I’ve set “flexible” goals. This year, I wanted to read the definition of “resolution.” It’s good to remind yourself of the words and to hear them out loud.
Resolution: a firm decision to do or not to do something. The quality of being determined or resolute.
I post to-do notes on my wall. The visual of it always helps me more than writing a list on a pad of paper that gets lost on the dining room table amongst the mail, packages, my work bag, coffee cups, lotto tickets, and a cat. I’ve also taped up words like “Discipline” and “Focus” when I need a push. I’m thinking this visual note-board method would also be good for my 2026 New Year’s Resolutions.
The definition of “resolution” is regimented. My goals for this year will be a little looser, with some percentages, to relieve the pressure. Set the bar low(er), and you have a better chance at succeeding! Maybe some of my new year goals will resonate with you…
Stop saying sorry for stupid things (80%). This was on my list last year, and it worked to an extent. I want to move more on it, and 80% feels right. Say sorry when it’s genuinely needed—but not sorry for things like canceling plans, asking a question, having an opinion, someone else’s mistake, taking too long, or your personal preferences.
Stop rushing into a public or work bathroom when someone knocks. At work, we have one bathroom that most women use, and I find myself rushing the second someone knocks on the door, saying, (yep) “Sorry! One min.” when I really need about five minutes. This behavior of mine drives me crazy. I resolve to take the amount of time I need and say, “Occupied.” Nothing excessive—just not rushing, which makes me anxious and frazzled.
People pleasing (40%). This one is deep for me, and for many, I imagine. Why do we people-please over our own physical and mental well-being? Fear of rejection, conflict, abandonment, low self-esteem, and past experiences is the short answer. I’m adding a percentage to this one because I can’t undo a lifetime of learned behavior in one year. I’m aiming to stop pleasing people by 40%.
A Monthly Adventure: New Experience and/or Travel. This is a fun one I saw posted on Facebook by an old college friend. She said her New Year’s resolution is to go to one new place a month. I want to do this too! I’m trying to be realistic, though. Is it a new place, or like travel, or can it be a new experience? What counts? I want it to feel fresh and exciting, meet new people, or to learn about a new place. Can I travel once a month with money and time being what they are? Does going to New Jersey count? I’m thinking it can be a day trip to a location I’ve been before, but it has to include a new experience, at least. Let’s see how this one plays out.
Quality time with the people I love. In my book, this shouldn’t be a resolution—it should be an absolute. I need the reminder, though, because life gets hectic and I lose touch with what my priorities are sometimes, smothered by anxiety and stupid life things that won’t matter when I look back in two months. I will spend quality time with my family and a few special friends this new year.
Do you know about the acronym SMART goals? Specific: means naming what you want/what is the objective, don’t be vague. Measurable: means seeing progress. I find setting mini-goals helps so much. I need these incremental rewards. It’s like training your cat not to jump on the table—you use treats. What will your treat-reward be at each milestone? Get a little notebook to track your progress. Achievable: means it fits the reality of your time, money, and energy. Be realistic—this is my percentages trick. Relevant: means it actually matters to you. Time: give it a timeframe, an actual calendar date (and milestones) so it doesn’t fade. Set a timer, for the short-term — to do the thing. You’re retraining your brain; with some goals, it will help to think of it scientifically. Remove some of the emotional attachment; you are a robot, or a Nike commercial: just do it.
What do your New Year’s resolutions look like? Maybe this column will inspire you to set some percentages. Either way, I hope 2026 brings you all that you wish for. Happy New Year from Tomato!
Christmas Day at my grandparents’ house had an order. Antipasto galore followed by “Sauce” Supper. When that finally “ended,” the nuts and fanuk (fennel) were set in a basket, on my grandmother’s beautiful Christmas table. This was the official “break” period before dessert came out — a pause that still involved… eating. It gave the women time to disappear into the kitchen, clean up, and pull out the nice dishes for the grand finale, while the men lit cigars, broke out the cards, started gambling, and cracked the nuts with those silver nut crackers.
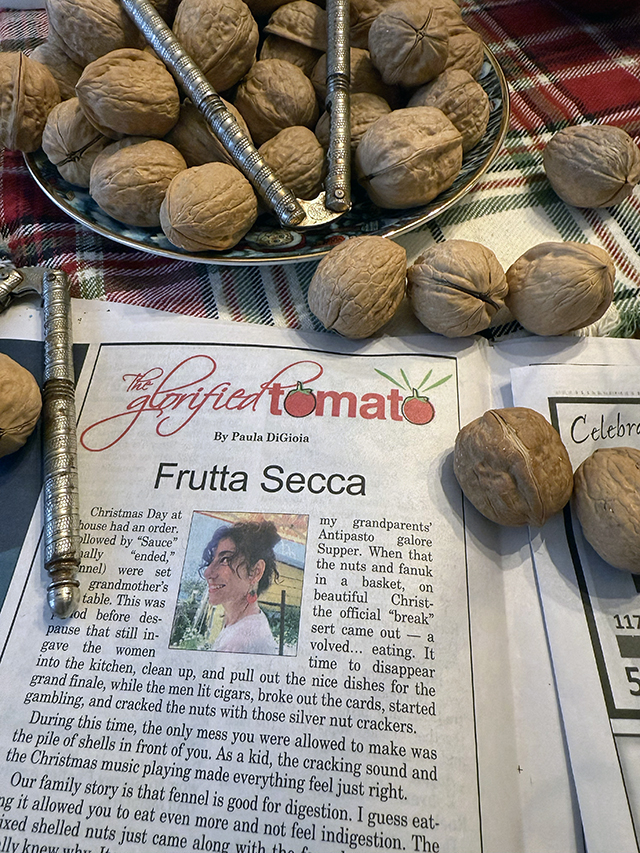
During this time, the only mess you were allowed to make was the pile of shells in front of you. As a kid, the cracking sound and the Christmas music playing made everything feel just right.
Our family story is that fennel is good for digestion. I guess eating it allowed you to eat even more and not feel indigestion. The mixed shelled nuts just came along with the fennel, and no one really knew why. It was a ritual – I remember us kids hunting for every last piece of walnut treasure after the big crack.
Recently, I learned the origin story behind this tradition. In Italian, this mix of nuts and dried fruit is called frutta secca—literally “dried fruit,” culturally the idea includes nuts, figs, dates, apricots, and raisins. Sweet dried fruits and nuts have deep roots in southern Italy and Sicily, where the land is rich and fertile enough to grow these foods. They also store well, travel well, and don’t cost anything if you grew them on the hills or cost very little if you bought them from your farmer neighbor.
I learned that frutta secca, in the old world, was the Christmas dessert (how interesting!) because my people didn’t have money for the ingredients or to buy cakes and pastries. That was for the richer and the aristocrats.
The days of Christmas at my grandparents’ house are long gone, but the basket of nuts still sits on my sister’s table and mine whenever we’re hosting a holiday. When you see the vintage nutcrackers and the frutta secca, it means: sit, stay a while, and relax. Be with your family and friends, cherish this time, love them, and make memories together.
Merry Christmas!
For more follow Paula on Instagram for recipes, traditions, and Rockaway life: @theglorifiedtomato
by Paula D.
on December 30, 2025 8:24 am in Food / Recipes
Tom introduced me to a new version of lentils: lentil stew. It has a totally different feel and taste from the lentil soup I’ve been making for as long as I can remember, my father’s recipe. And I love lentils—and since I’m vegetarian (hard to believe), two versions are welcome in my kitchen.
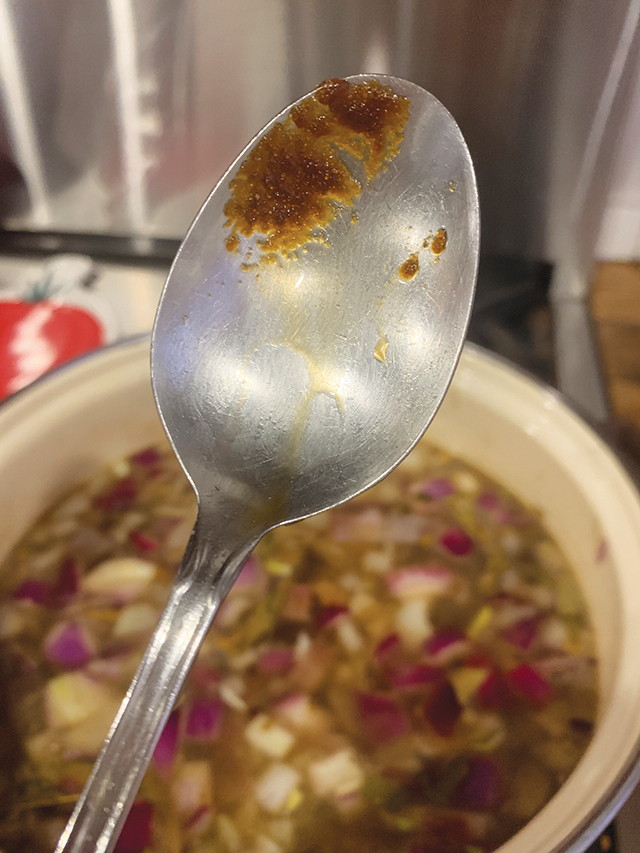
This stew is thick and cozy, and the secret is using an immersion blender. I can’t fully explain the magic, but it gives the stew a “meaty” heartiness and pulls all the rich flavors together in the best way. This is an Italian stew, with canned tomatoes (I suggest Sclafani), lots of parmesan, and spinach for the needed veggie. Between the parmesan and Better Than Bouillon seasoned vegetable base, you don’t need extra salt or seasoning. It keeps everything fast and easy.
Bonus: this stew is winter wellness. Lentils are packed with plant-based protein and fiber, so they keep you full and steady, plus they’ve got iron and folate – lots of energy for the day. Tomatoes add brightness and a hit of vitamin C, and the spinach makes you like Popeye! Then there’s Parmesan—salty, savory, and totally delicious cheese that makes your mind happy. Don’t forget about your mental health—maybe the most important thing over the winter.
Ingredients:
(Serves 8 or just you all week)
- 1 bag of lentils (brown/green ones)
- 2 cans crushed tomatoes
- 4 cups water
- 1 large onion, chopped
- 1 large carrot, chopped
- 1 bushel or bag of spinach
- 1 tablespoon Better Than Bouillon
- 1 tbsp olive oil
- ½ cup parmesan and more for topping
- Fresh ground pepper to taste
Directions:
- Rinse the lentils and add them to a large soup pot with 4 cups of water, a scoop of Better Than Bouillon, and 1 tablespoon of olive oil.
- Add the chopped onion and carrot. Stir in the crushed tomatoes and the parmesan.
- Simmer until the lentils are tender.
- Use an immersion blender to partially blend the stew (leave some texture)
- Stir in the spinach at the end and cook just until wilted. Taste and add black pepper.
This is a work-week winner – meal prep, and you’re basically set all. Or freeze half for the days you’re too tired or too busy to cook. Or feed your whole family one night with little effort, and lots of options.
For more Italian things, follow Paula all winter in the kitchen on Instagram @theglorifiedtomato.
by Paula D.
on December 30, 2025 8:22 am in Food / Holiday
Every time I’m in CVS and see the endless wall of candy canes, I think of Jesus. It’s theology hanging right next to Snickers bars and cat toys. Be open to a whole spiritual moment in aisle 7 because candy canes represent a lot in Catholicism.

The shape: turn a candy cane upside down, and it’s “J” for Jesus. Flip it the other way, and it becomes a shepherd’s staff. Jesus is the Good Shepherd who works to gather the one lost sheep. This passage is one of my favorites, Luke 15:3-7: “(3) Suppose one of you has a hundred sheep and loses one of them. Doesn’t he leave the ninety-nine in the open country and go after the lost sheep until he finds it? (5) And when he finds it, he joyfully puts it on his shoulders (6) and goes home. Then he calls his friends and neighbors together and says, ‘Rejoice with me; I have found my lost sheep.’ (7) I tell you that in the same way, there will be more rejoicing in heaven over one sinner who repents than over ninety-nine righteous persons who do not need to repent.
Color and design: The white part of the candy cane represents purity – Jesus’ innocence, a life without sin. Wrapped around that are the red stripes, which symbolize Christ’s blood and the sacrifice of the crucifixion. There are candy canes with three thin red stripes to represent the Holy Trinity: Father, Son, and Holy Spirit. So while it just looks festive and cute, you’re actually holding holiness, suffering, and our hope of redemption. That’s intense for something you stir your hot chocolate with and tape onto packages. Well, now you know…
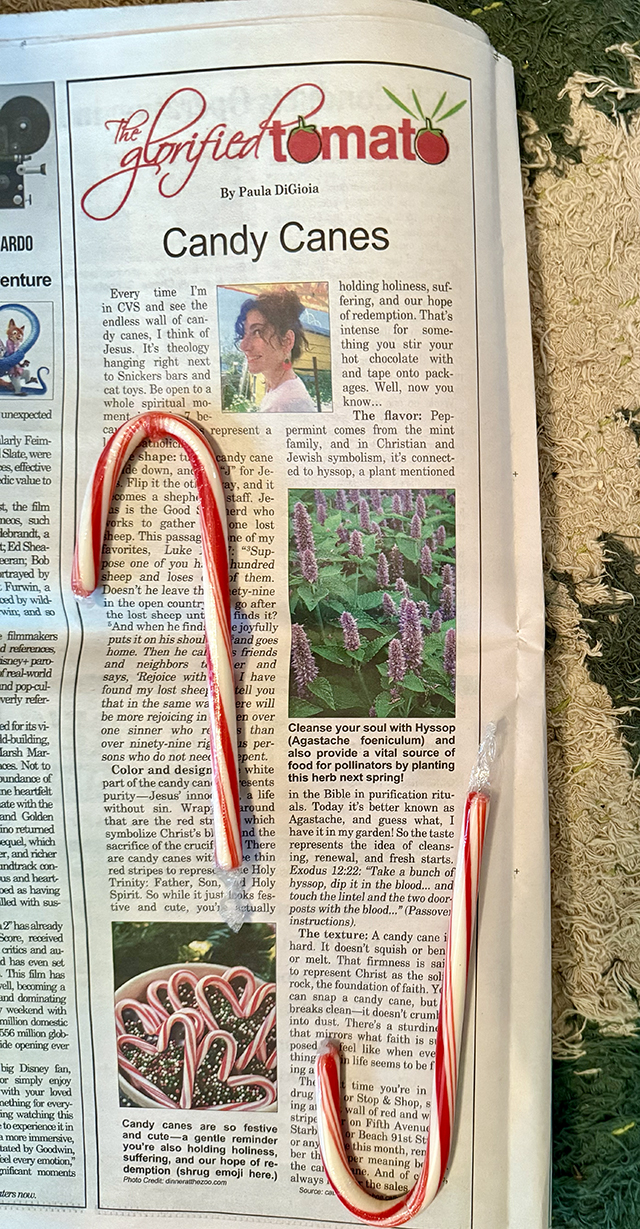
The flavor: Peppermint comes from the mint family, and in Christian and Jewish symbolism, it’s connected to hyssop, a plant mentioned in the Bible in purification rituals. Today it’s better known as Agastache, and guess what, I have it in my garden! So the taste represents the idea of cleansing, renewal, and fresh starts. Exodus 12:22: “Take a bunch of hyssop, dip it in the blood… and touch the lintel and the two doorposts with the blood…” (Passover instructions).

The texture: A candy cane is hard. It doesn’t squish or bend or melt. That firmness is said to represent Christ as the solid rock, the foundation of faith. You can snap a candy cane, but it breaks clean—it doesn’t crumble into dust. There’s a sturdiness that mirrors what faith is supposed to feel like when everything else in life seems to be falling apart.
The next time you’re in the drug store or Stop & Shop, staring at that wall of red and white stripes—or on Fifth Avenue, at Starbucks, or Beach 91st Street, or anywhere this month, remember the deeper meaning behind the candy cane. And of course, always look for the sales.
Source: catholicidentity.bne


