My grandmother used to take us kids to Friendly’s on Hillside Avenue out on the Island. It was always a treat to go to lunch with Grandma Pauline. And we could order whatever we wanted!
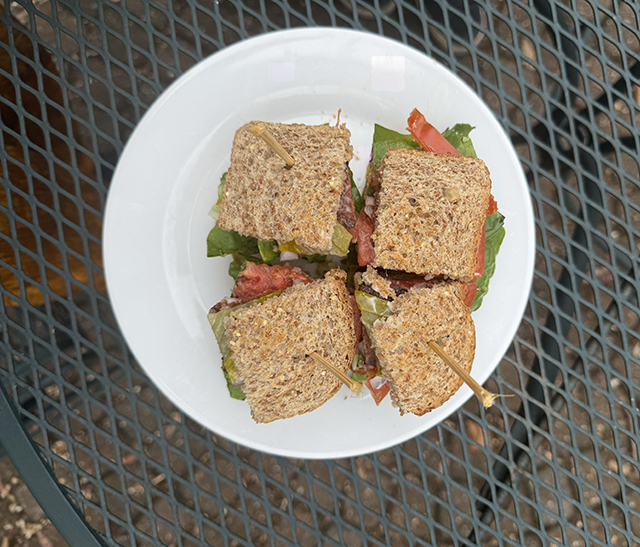
For some reason, I often went for the triple decker sandwich. Which is a classic club: three slices of toasted bread, crispy bacon, turkey, iceberg lettuce, tomato, cheddar cheese, and mayo, stacked sky-high and cut into fours, each corner pinned with a toothpick holding the whole overstuffed situation together. Something about those little toothpicks with the colored tops takes me right back to 1989. I know those are a microplastic nightmare now, but let me reminisce.
I was tiny but had a big appetite, and I’m sure my grandmother knew that the triple decker was way too much for my little body to handle—but she’d just smile and let me order it anyway. That’s what grandmas do. They love you like that.
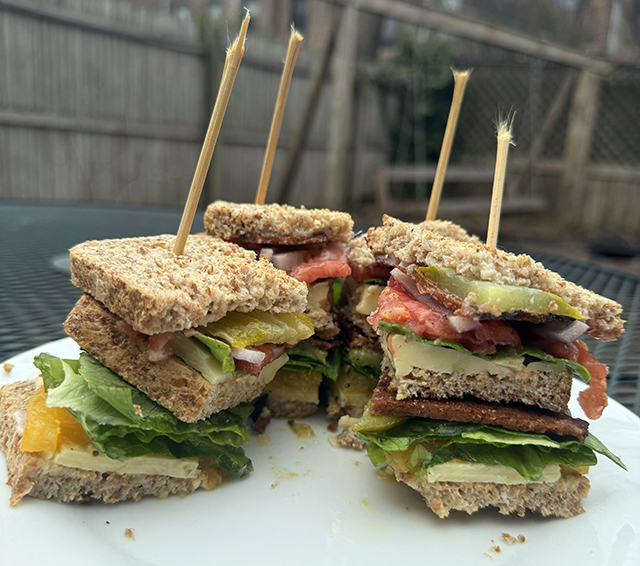
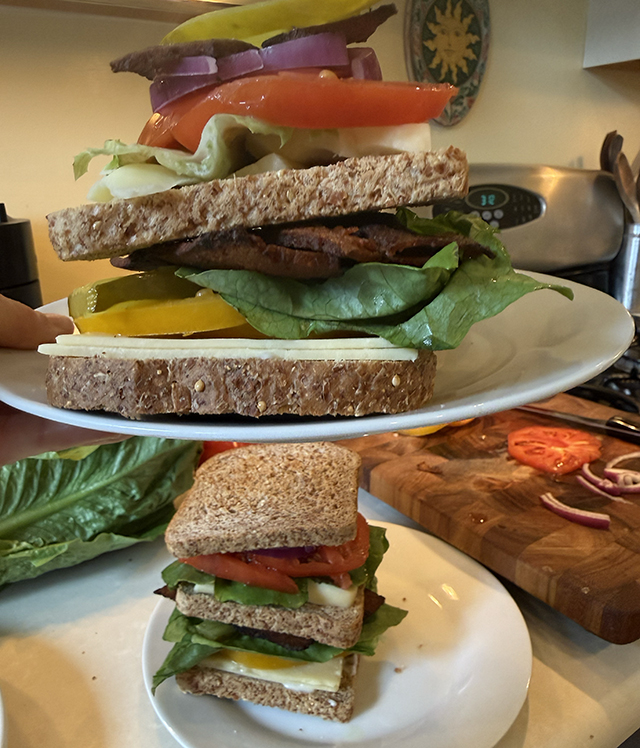
The club sandwich was stacked so tall, toothpicks didn’t do the trick, so we halved skewers! Function over form on this one.
We were a big triple decker family too. My dad made them at home. They are fun! We never called them club sandwiches—always triple deckers.
On my recent trip to El Salvador, with limited groceries and way too many eggs and slices of bread at the AirBnb, I rediscovered my beloved triple decker sandwich. Back home a few weeks later, I made another, in line with the classic yet a vegetarian version with fake bacon (close enough) and all the other stuff. There’s just something about a stacked sandwich that feels like summer, and I’m channeling that now.
As an investigator of food history, I looked up the origins of this iconic sandwich. Turns out, the club sandwich was invented in a club. Go figure. A men-only, private club in New York City. The Union Club is still in existence today and is known as the oldest private social club in New York City, founded in 1836.
Wikipedia tells me the club sandwich was first mentioned on November 18, 1889, in an article in The Evening World newspaper and it outlined an early version of the recipe.
Another version of the story says it was invented in Saratoga Springs, bought by this rich businessman, art collector, and legal, horse-racing gambling guy named Richard Albert Canfield.
But I’m sticking with the NYC origin story. You can’t fully trust gamblers. I think he borrowed the idea.
I’m imagining white linen tables with seated, gluttonous, rolly-polly, cigar-smoking men at the Union Club. They’re all very hungry and have no patience. A brilliant chef in the kitchen decided to build a mega sandwich that echoed these gentlemen’s egos and wealth, and hopefully sped up the line. But I can’t find anything on who that person actually was. Legend.
The triple decker club sandwich became a staple of American dining, appearing on restaurant menus as early as 1899. Variations using chicken and ham evolved, and today you can find this iconic sandwich in almost every diner in America.
For more food theory banter follow mei n the kitchen, cooking and creating on Instagram @theglorifiedtomato
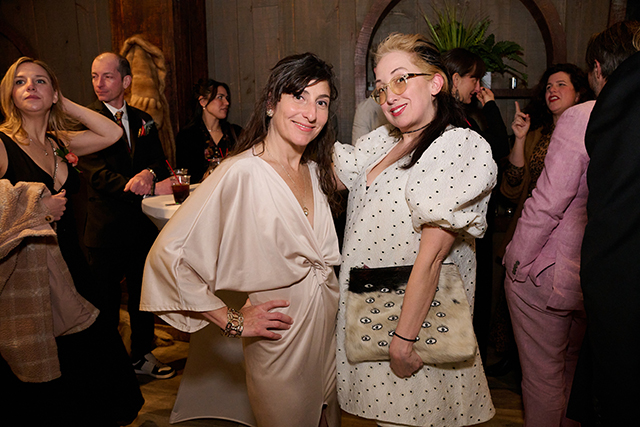
I attended the Shakespeare On The Rocks Fundraiser Gala last week, and it was a theatrical party to remember! There were many familiar faces — our Rockaway celebs, fancy Brooklyn folks, artists, and community supporters.
Cast members from last year’s performance of Romeo and Juliet were in attendance, along with gala hosts, founders, and co-producers/directors Elwin Cuevas and Robert Bryn, who held court all night.
The evening featured lively short performances—including a memorable one by Actor Catherine Yeager McQuaid —as well as romantic poetry by Owen Loof, a sneak peek into his new book. And thank you, Owen for a copy of, The Best Dressed Man in Rockaway!” There was a buffet, an open bar, and plenty of dancing with DJs keeping the energy high.

“When you do dance, I wish you a wave o’ the sea, that you might ever do nothing but that.”
Photos by Jena Cumbo
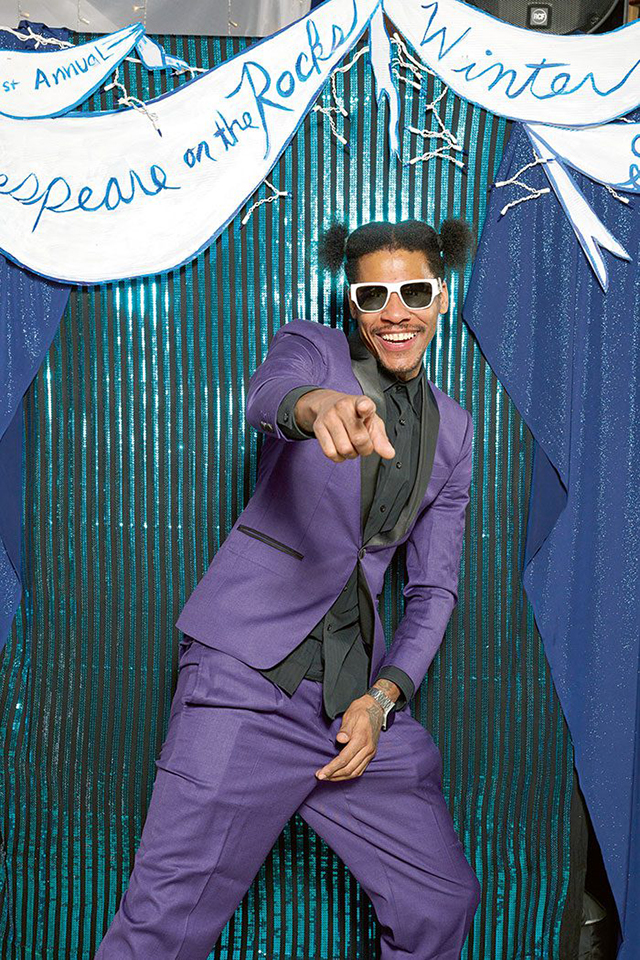
“For the apparel oft proclaims the man.”
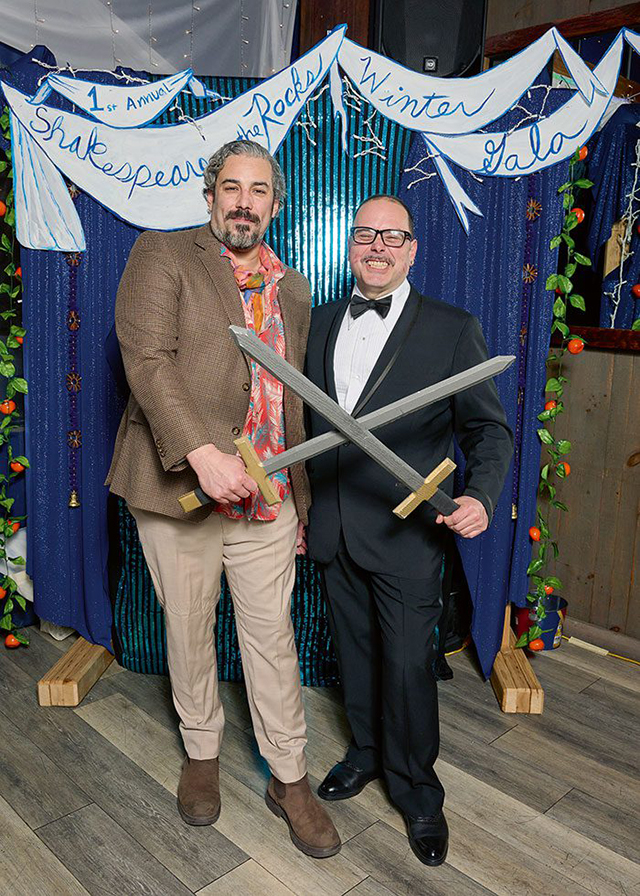
Co-producers/directors Elwin Cuevas (L) and Robert Bryn (R) deeming dapper!
The gala was held in the lively event space at Bungalow Bar, complete with a photo booth and professional photographer, Jena Cumbo, capturing the not-so-often-seen glamorous side of Rockaway. No crocs in sight! And wow, we cleaned up well. The attire was formal, with tuxes, ties, cummerbunds, silk, gowns, high heels, and rhinestones making everyone look radiant.
Word on the dance floor is that Shakespeare On The Rocks Theater Company is set for another wildly performative production, Much Ado About Nothing, this July in Rockaway!
If you couldn’t make it to the gala, you can still support this special group of artists and their upcoming production by making a contribution. Donate here. To get a feel of what to expect this summer, here’s my article on last year’s performance of Romeo and Juliet:
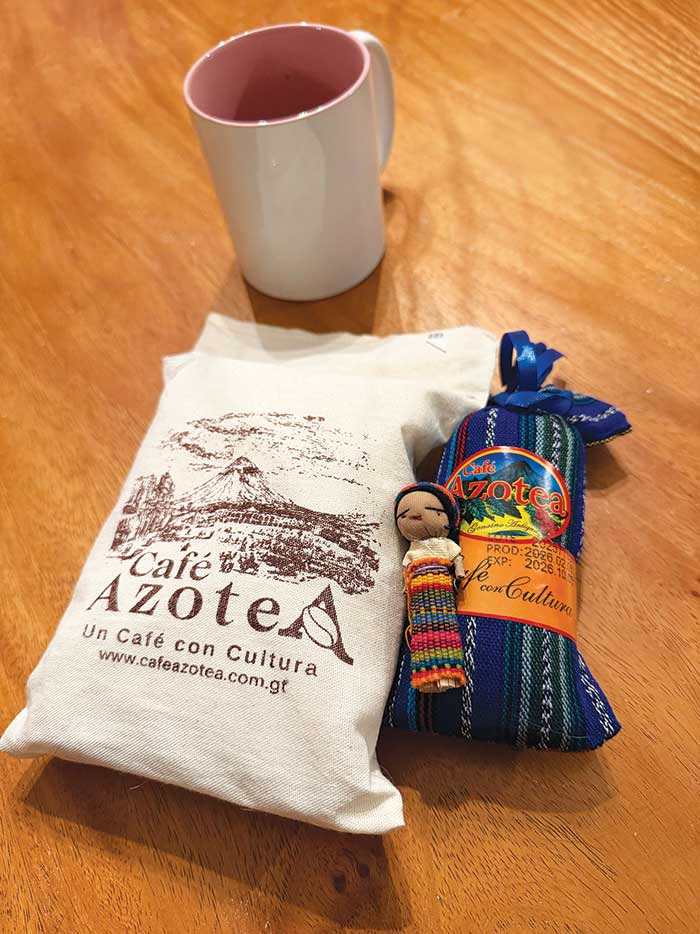
On my recent trip to Guatemala, I discovered its rich and unique coffee. It got me thinking, I definitely don’t write about coffee as much as I should, considering how much I love Coffee.
On almost every cobblestone street in Antigua, you can find a wonderful cafe. Many of them have a modern look and feel, which creates an interesting contrast with the antique Baroque city walls. Like many homes and businesses in this timeless city, they often open into interior courtyards filled with vining plants, ferns, and tropical trees. One of my favorite spots even had a coffee tree growing in the cafe courtyard! Definitely don’t write about coffee as much as I should, considering how much I love Coffee.
What makes Guatemalan coffee stand out from so many Central American coffees? The volcanic soil. And it’s one of the premier locations in the whole world for coffee-growing.
Guatemalan coffee is known for its complex, bright flavor, with hints of chocolate, smoke, or fruit. Much of it is grown high in the mountains, between 4,000 and 6,000 feet above sea level, where cooler temperatures allow the coffee cherries (seeds) to mature slowly. That slower ripening concentrates the flavor and gives the coffee its lively, unique acidity.
The first sip was ground beans bought at a tiendita (small shop), right out of an Uber just after landing. We needed it for the morning. The taste was so different, definitely acidic and spicy was the wow factor. It took a little getting used to. With a bit of Airbnb raw sugar, we acclimated!
The volcanic soil plays a huge role in the flavor. Around Antigua and Acatenango, coffee grows in mineral-rich earth formed by three volcanoes—Fuego (still active), Acatenango, and Agua. One night from a cute rooftop restaurant, we even saw Fuego sending fire and smoke into the sky! The ash from these volcanoes enriches the soil, helping produce high-quality, shade-grown Arabica beans.
I learned Guatemala has eight distinct coffee-growing regions, each with its own flavor. Antigua coffees are full-bodied with chocolate notes and a smoky aroma. Huehuetenango coffees can be more fruity and wine-like (sigh). Atitlán cafe has the spice, thanks to the surrounding volcanoes. The volcano coffees are my favorite by far. My first sip had me thinking, “What am I drinking?!” Followed quickly by a jolt of eye-opening, tourist energy.
What’s nice to know is that most of the coffee is still grown by small farms. The farmers hand-pick the cherries, wash and dry them in the shiny Guatemalan sun. Guatemala is the second-largest exporter of coffee in Central America, and its unique beans can be found all over the world. I’d recommend finding a cup here in NYC and having a lively taste of Antigua culture.
Source: en.wikipedia.org/wiki/Coffee_production_in_Guatemala, blog.suvie.com
by Paula D.
on March 25, 2026 7:54 am in Food
Pupusa in the Uto-Aztecan Nawat language means “to stuff,” or “to puff up.”
I just got back from Guatemala and El Salvador, feeling recharged and full of new food inspiration. El Salvador is a lovely, vibrant country. The trip was about surfing, sunshine, and slowing down. The waves were on the “smaller” side, around 3 feet. It’s a point break; they always go right, and I’m goofy, so it was a bit of a challenge. I learned some things, built up my paddling arms, and connected with the beautiful, warm sea.
Salvadorians are incredibly kind, greeting you with a smile. In this area, most speak their native language, but we had Google Translate and enough awkward Spanish and restaurant words to make it by.
We stayed in El Sunzal, a sleepy surf town, a 10-minute beach walk to the more touristy El Tunco. In El Tunco, you’ll find little shops, smoothies, coffee spots, and restaurants. Some restaurants were a little American in style, and there was even an Asian fusion place serving bao buns.
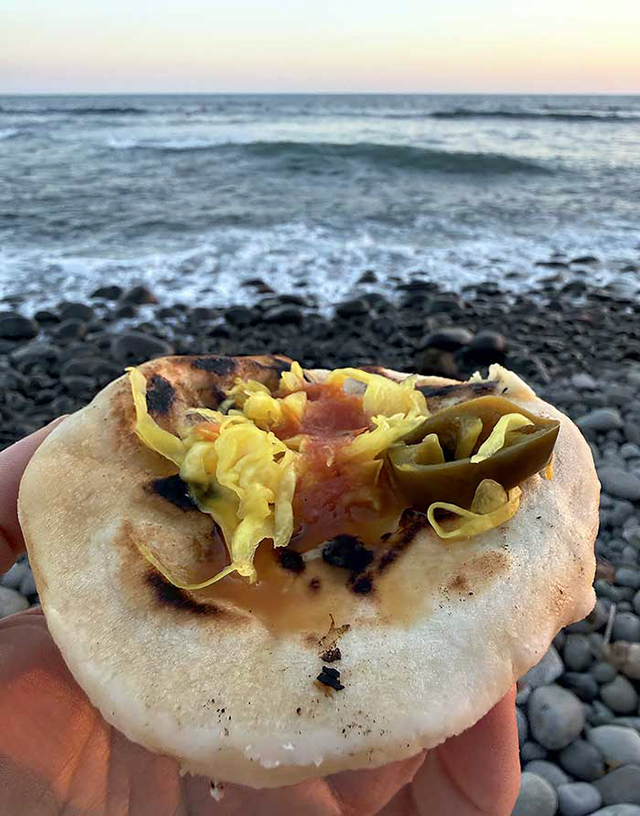
I quickly learned pupusas were what I was looking for—the beloved national food of El Salvador. We finally found them a couple of days in and ate pupusas every day until it was time to hop on the plane to Guatemala.
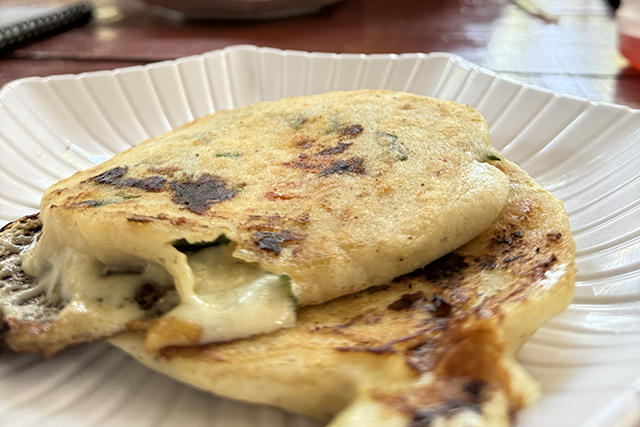
Pupusas are thick, handmade corn or rice tortillas “cakes” stuffed with savory fillings like cheese, beans, pork, or chicharrón. They’re traditionally served with curtido, a tangy, pickled cabbage relish, and a sweet tomato salsa. This food dates back more than 2,000 years to the Indigenous Pipil people of the region. Simple food, rich history, and absolutely worth finding and tasting.
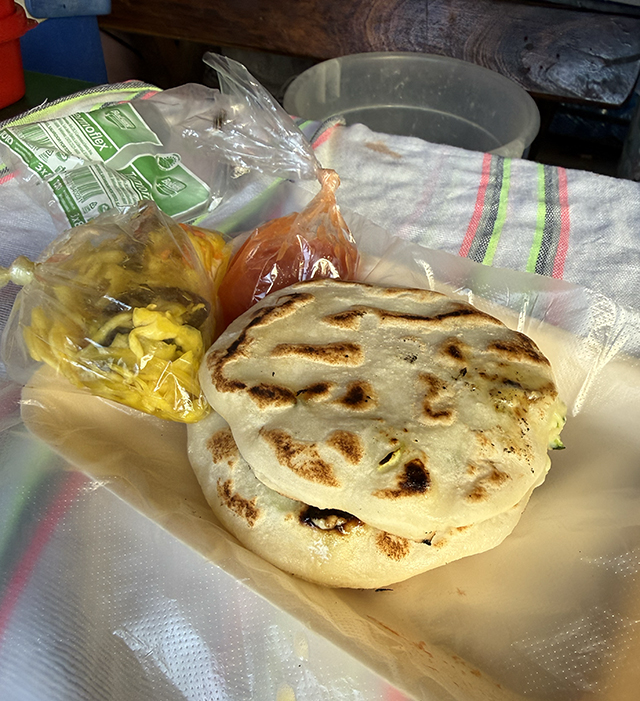
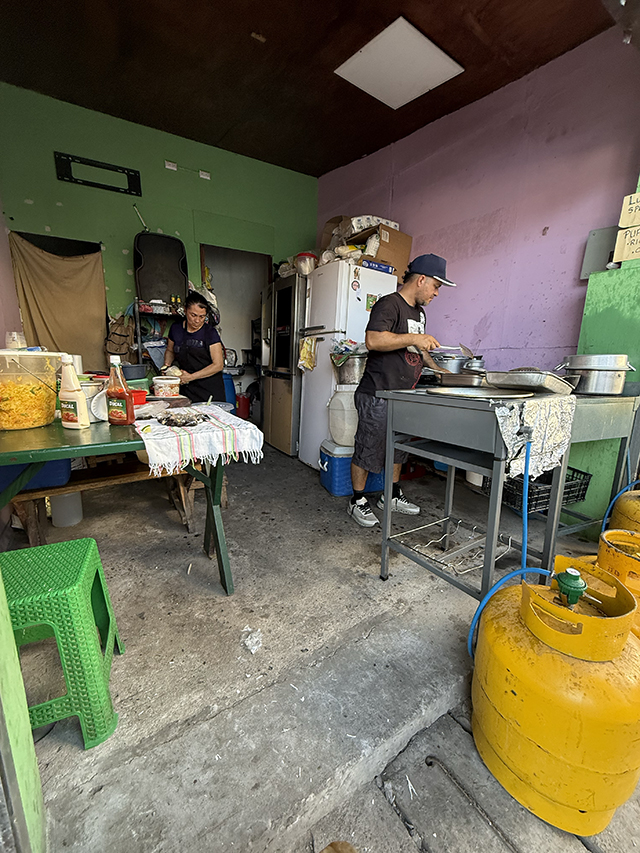
The best place for pupusas in El Tunco was a very small shop with one table inside. The whole family took part in the cooking and preparation. They’ll give you a stool to sit on the narrow curb while you wait for the fresh pupusas to be prepared. Out of a big bucket, a handful of the tortilla mixture gets flattened and then cupped in the hand. The cheese, beans, or other filling is added in the center cup. It’s then lightly covered and pressed down again. There was a flat cooking griddle where the mother fried them up on a barely greased surface. The sauces are put in thin, little plastic bags.
We tried many Pupusas from different joints, but this spot is the best. What made them more delicious was the special pickled cabbage mixture (curtido). I’m not sure of all the ingredients, but it had the perfect amount of spice, tang, salt, and liquid to pour over the warm cheesy pupusa. At other pupuserias, the cabbage mixture didn’t compare.
This spot didn’t have a restaurant name on the rugged, cement wall. If you find yourself in El Sunzal, go past the small riverway, make your first left into the ciudad of El Tunco, keep walking straight until you see a Japanese restaurant called Japan Food Tunco Beach (address: Playa, La Libertad, El Salvador). The best pupusa spot is next to that on your left.
I won’t be back to Central America anytime soon, who knows the tastiest Pupusa spots in Queens? Let’s go!
For more food discovery, follow me on Instagram: @theglorifiedtomato.
Source: https://en.wikipedia.org


