Details on the Beach Cabin Apartment
It turned out adorable. We’re calling it the beach cabin! I already wrote the details on the bathroom, you can read it here. Now for the rest…
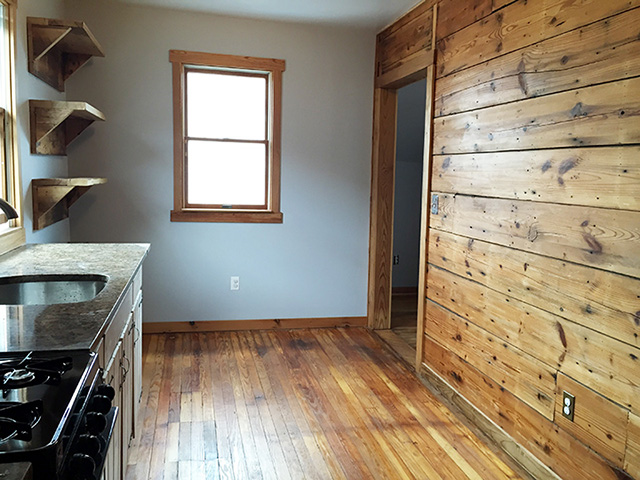
I’ll start with the wall we uncovered during the demo phase in the kitchen. It’s sheathing, which is used to build exteriors. So, what does that mean?
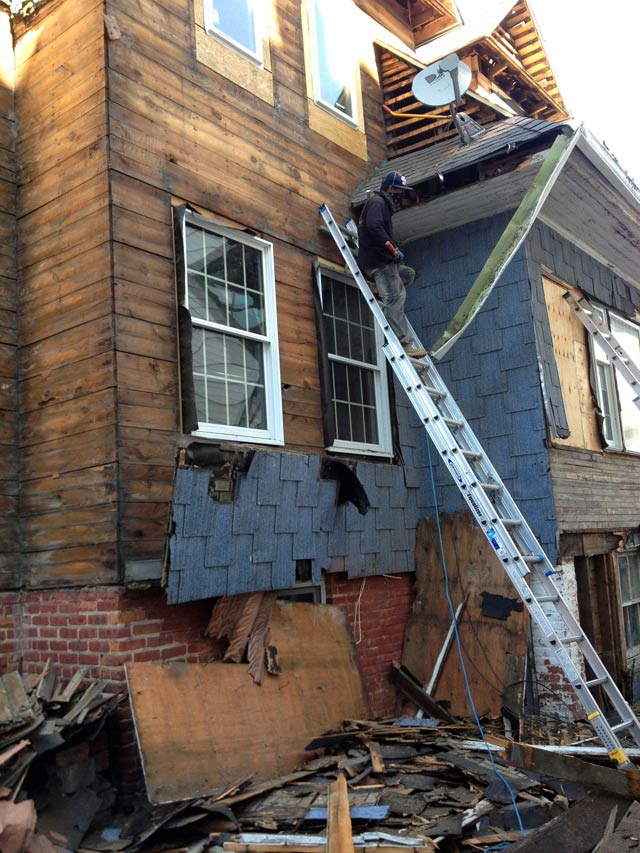
It tells us that this part of the house (small apartment kitchen) was an addition. We assume there was a second floor porch and it was closed up to make additional living space. We have a photo of the house from 1938 sans a second story porch. The house was built around 1890, so the porch existed sometime between 1890 and 1938. You can see the same wood, which we believe to be hemlock on the outside of our house here…
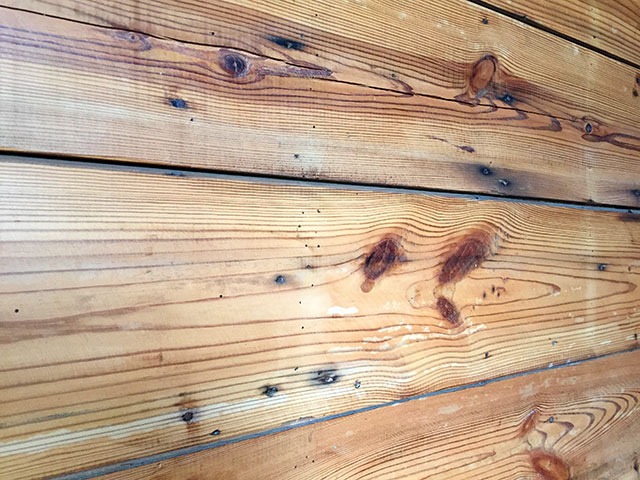
When we found the sheathing, there was no question, we were keeping it exposed. They don’t produce wide plank wood like this anymore – it’s a gem. People pay big money to find this stuff and create walls like ours in new construction homes.
I finished the wall with a light sand (120) and two coats of clear poly acrylic (with 600 grit sand in between coats).
The cabinets were upstairs in one of the apartments when we bought the house. We saved them thinking we could repurpose the unit. A year and a half later we did just that. Matt measured out the kitchen and got to work. The large section was easy, it just needed a few repairs. The smaller section Matt built the box frame and used spare doors from another kitchen part. He did the same for the uppers. The layout needed thought – we were working around the plumbing and gas lines that were roughed in during the rebuild phase. Matt built the small cabinet so the fridge wouldn’t butt up against the stove.
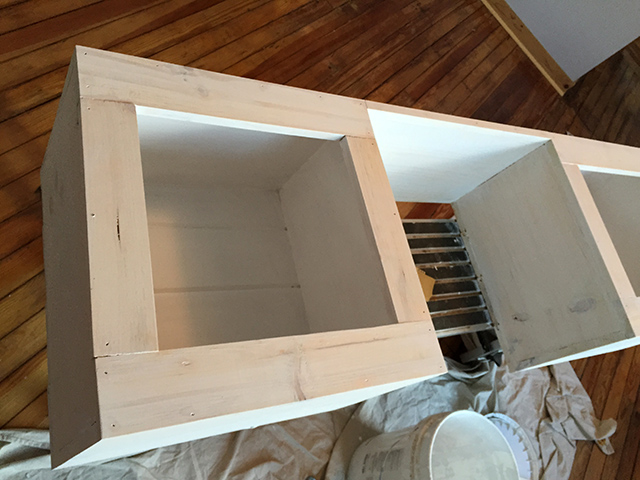
Upper cabinet box
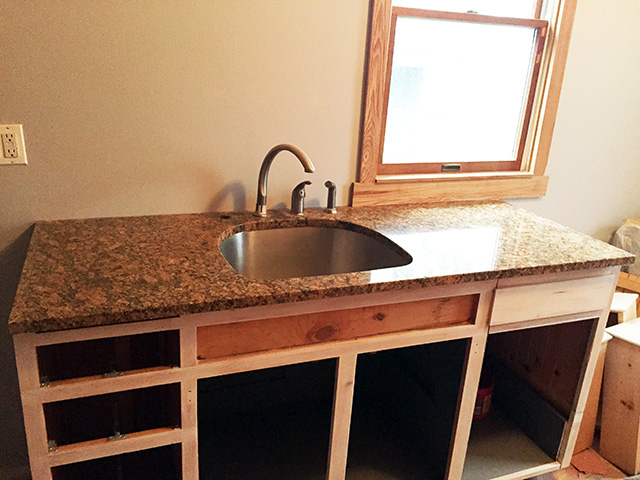
Lower frame before tile and doors
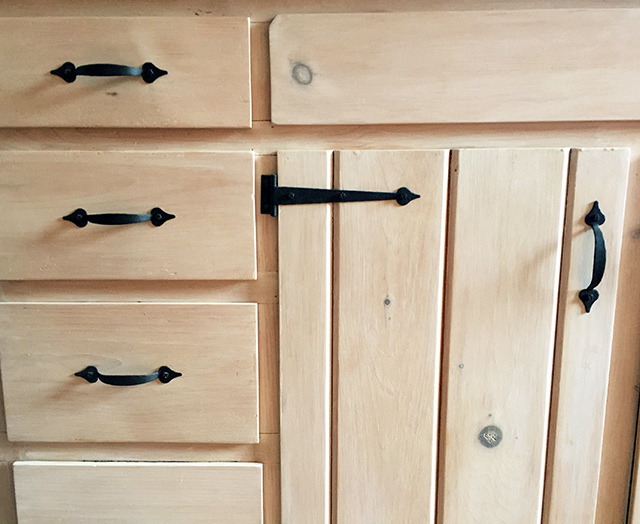
I finished the cabinets with a whitewash, I wanted to see some of the wood grain. It would also brighten up the room. I sanded the old yellowish poly off the cabinets with several grits before I started the staining process. I read a bunch online about how to do this and I ended up using a damp rag with white paint, applying it a section at a time thoroughly. I waited about 30 seconds and wiped the paint off with a clean dry rag. I repeated this process until I got the translucency I wanted.
A carpenter friend of ours gave us the granite counter top.

He was working a job in Brooklyn Heights and the owner wanted to get rid of it. Lucky us! I’m not in love with the color but hey, it’s free granite. Now a bit of a road block… Matt had to figure out how to cut the granite to fit. He was thinking of getting someone in to do it, moving it again was out of the question – it weights about 800 lbs. In the end he used a grinder with a concrete blade, cousin Jeremy came over to help out.
Side note, a few weeks later we gave a slab to our neighbor Sam and he thought to use a circular saw with a wet concrete blade, with this you can go through the whole slab in once pass.
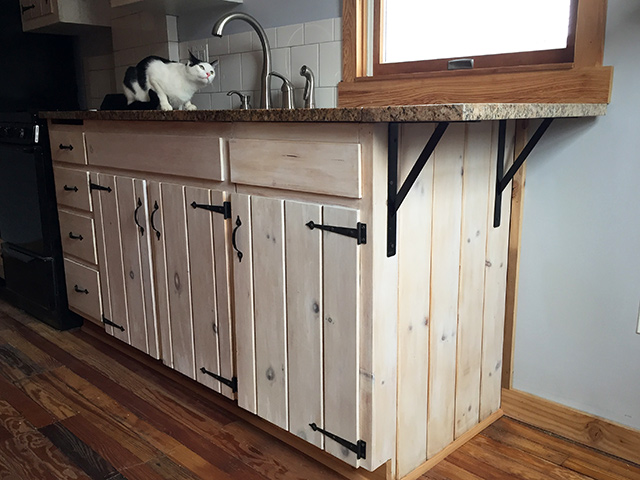
The counter top was done but we knew the counter would end in the middle of the window which is weird. Matt cut another small piece of granite and added it to the end so it would be flush with the windows edge. It looks much better, adds counter space and you could keep a stool there, making a little eating space.
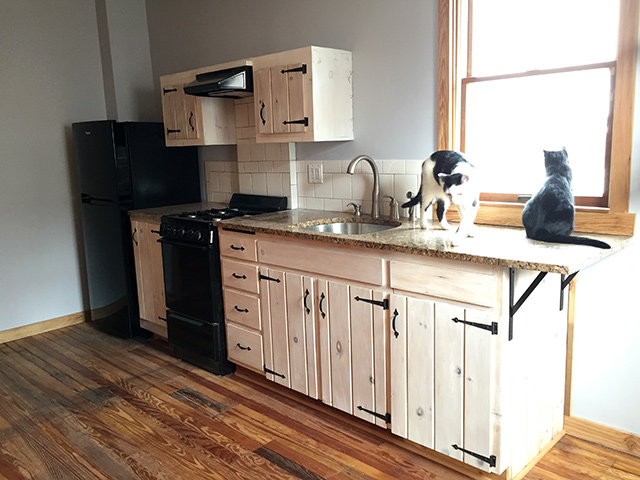

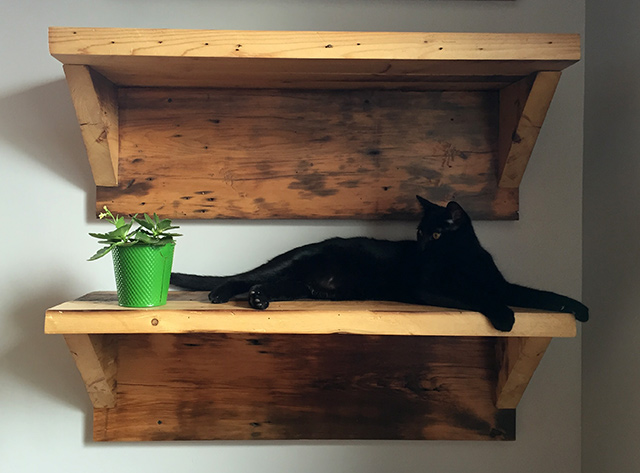
We added wood shelving for extra storage. This could be used for cookbooks, plates, plants and cats!
The kitchen has a large entry to the living space.
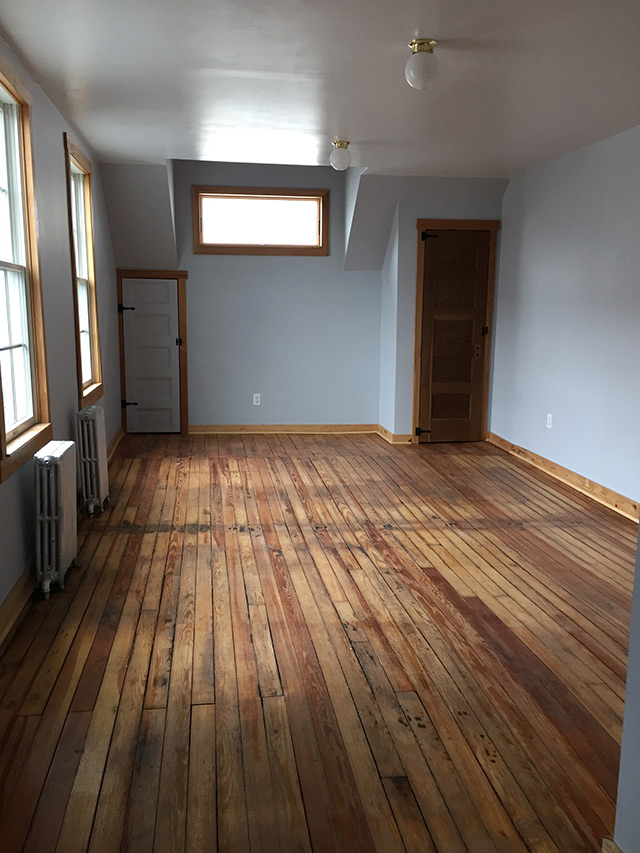
There are two special features in this room, the first is the wooden triangle ceiling.

When the sheetrock was going up the workers asked if they should lay it flat and close up the space. Matt asked me and I said NO! I thought it was so cool open. We ended up finishing the whole thing in… guess what… wood. It was simple work but took a long time, Matt was mad that I made him do this but it was worth his time in the end!
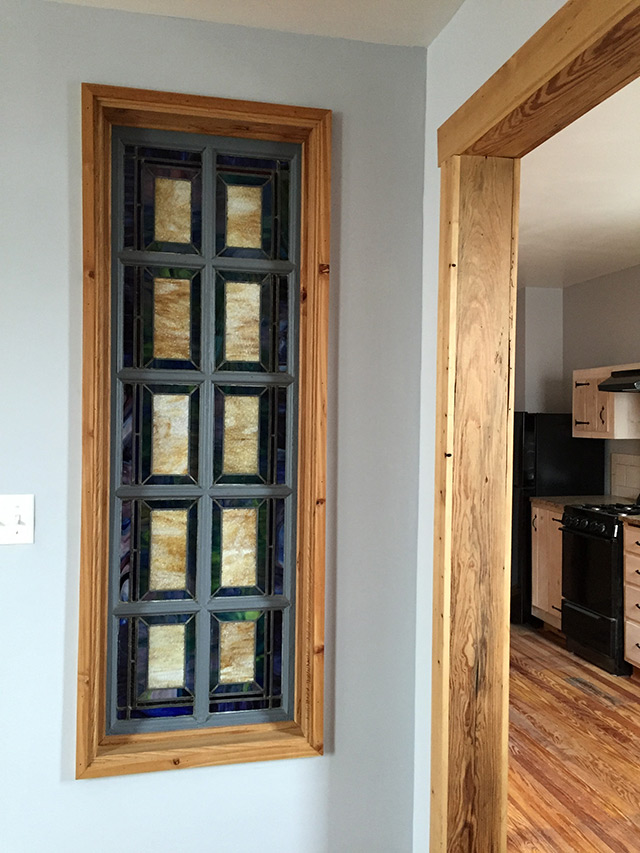
The second feature is this stained glass we found on craigslist, for 30 bucks. It needed a repair so we hired Anne Houigan to help with that. By now you get that we love wood but the other thing we love is stained glass. We wanted to include this because we knew it would look beautiful. The other side of this shows in the hallway.
The apartment is ready to rent! If you interested here’s the listing.


