by Paula D.
on April 16, 2025 9:09 am in Food / Recipes
I pulled out the Easter decorations, and one of my favs is the two-foot-long twine carrots. I splurged a few years back – I have ten. I got them at Michaels Craft store. I display them in the kitchen on my open shelving. Thinking about the holidays reminded me that I’ve never used the KitchenAid immersion blender my mother got me for Christmas. A sin! So, it became clear—I’ll make creamy carrot soup.
Carrots are packed with beta-carotene, which our body converts to vitamin A—an essential nutrient for our eyesight. Regularly eating carrots can boost our immune system and improve digestion, like the bunnies. Carrots come in a vibrant spectrum—from the traditional orange to purple, yellow, red, and white —each with a variation on flavor. Orange carrots are famously sweet, while purple ones are slightly spicier with an earthy taste, and the milder yellow and white types offer a subtle flavor. I’m looking forward to foraging for all the types at our local markets. Heads up – carrots are in season in the spring (now!).
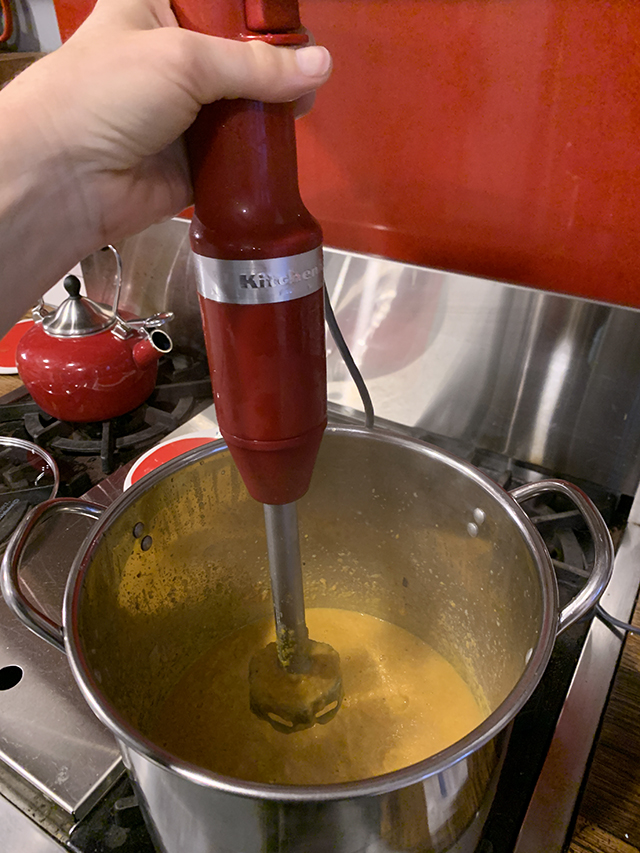
At Seany Pizza – over the summer – I learned the techniques of using an immersion blender the hard way. Keep it under the sauce or soup!
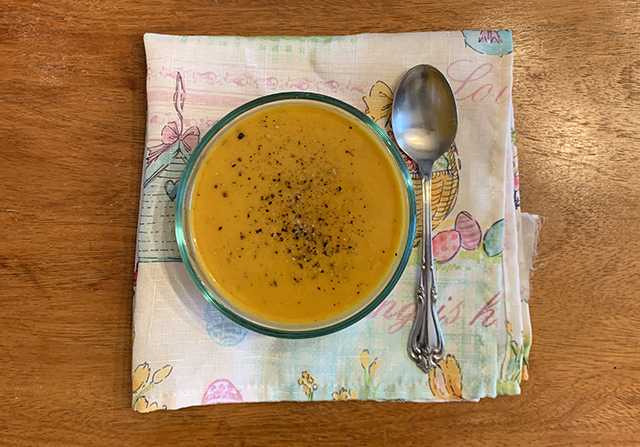
I enjoy shaved carrots in my salads or as a side but more so, I love them roasted. I’ve been preparing carrots in that way all winter, using a little butter, salt and lots of fresh ground pepper. It’s so simple to make and they are delicious. This recipe starts in that same vein but finishes as a lovely early spring soup. It’s the perfect last touch of warmth we need to feel nourished while the early spring chill still lingers.
Creamy Carrot Ginger Soup
Ingredients:
- 2 pounds carrots
- 1 medium yellow onion, chopped
- 2 cloves garlic
- 2 tablespoons ground coriander
- 6 cups water
- 13.5 oz can of coconut milk
- 2 inch piece of ginger
- 3 tablespoons unsalted butter, to taste
- 1/2 lemon
- Freshly ground black pepper and salt, to taste
Instructions:
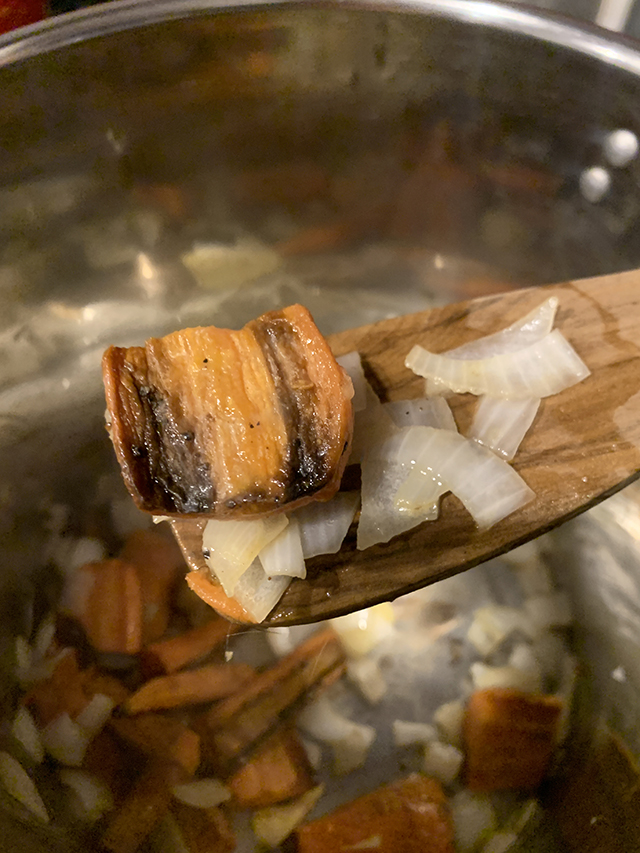
1. Preheat the oven to 400 degrees. Peel the carrots. Roast carrots on a baking sheet with 1 tablespoon of butter, add salt and pepper. Check once, shifting the carrots so each side is caramelized (about 30 min.)
2. In the meantime, chop the onions and garlic. Peel and chop the ginger. In a soup pot add 2 tablespoons butter and saute the onions, garlic, and ginger for 10 min. until translucent. Add the spices and stir. Once the carrots have cooled, loosely chop them and combine in the pot.
3. Add in the coconut milk and water. Bring to a boil and then set the heat on low.
4. Use an immersion blender to smooth the soup to your liking. Squeeze in the lemon. Taste. Add additional spices as needed. Cook for 25 min.
Don’t miss me in the Kitchen on Instagram (@theglorifiedtomato) dishing out the springtime delights.
by Paula D.
on April 16, 2025 9:04 am in Community
Last week in Newark, I had an amazing experience with my consulting group, The Strategic Planning Pros – while working with one of our clients. We specialize in the nonprofit world and have recently been involved with organizations in farming and food insecurity—think RISE and Edgemere Farm.
Strategic planning is essentially setting an organization’s North Star goal—a bold vision for the future. We help clients craft a 3–5-year plan that outlines clear objectives and also provides a detailed roadmap to achieve them. It’s about balancing resource allocation with the needs, wants and aspirations of management, staff, and the communities that the nonprofits serve.
The purpose of last week’s treat was all about reaching a consensus on the organization’s North Star goal, following our data collections, interviews, and surveys within the nonprofit and community. The discussions spanned a range of topics: ensuring community needs are met, engaging with the city on a deeper level (building long-term relationships), and aligning best practices with clear KPIs (key performance indicators) to measure success. We guided questions about focus, sustainability, racial equity, and the evolving opportunities connected to donors and funders. The day also brought out difficult discussions about the internal workings of the company’s culture, investing in skills, training for employees, and defining what success really means.
And we built terrariums as an icebreaker!
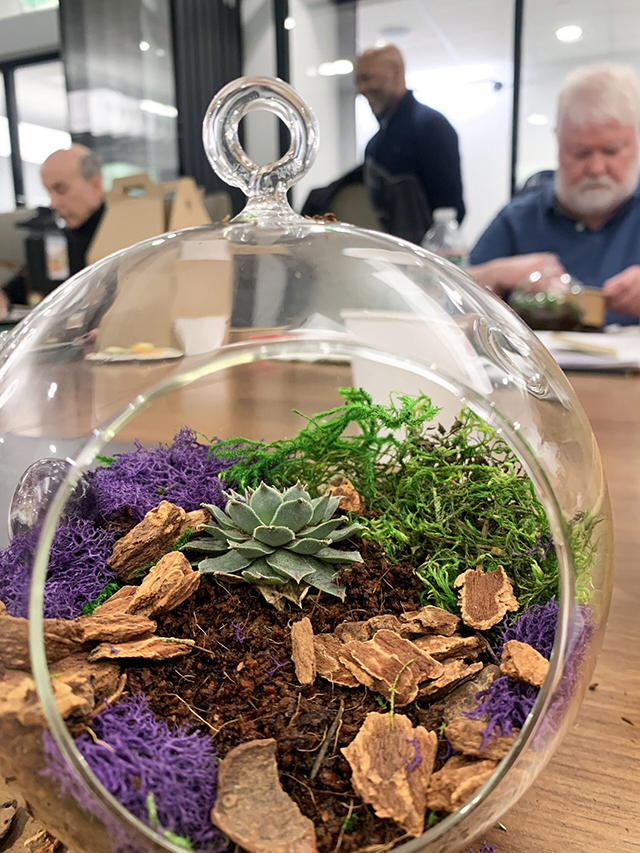
To kick things off, we got to know one another and created a safe space for communication. And the terrarium building was just the thing for the warm-up!
I feel incredibly fortunate. The team’s expertise in board management, fundraising, and leadership development is teaching me a tremendous amount. It’s a gift to watch these folks work. It was so inspiring and I have ideas to bring some of these concepts and organizational processes to The Beach 91st Community Garden – and where I see an opportunity to extend them to other groups on the peninsula. Please reach out to me if this resonates with you and your organization!
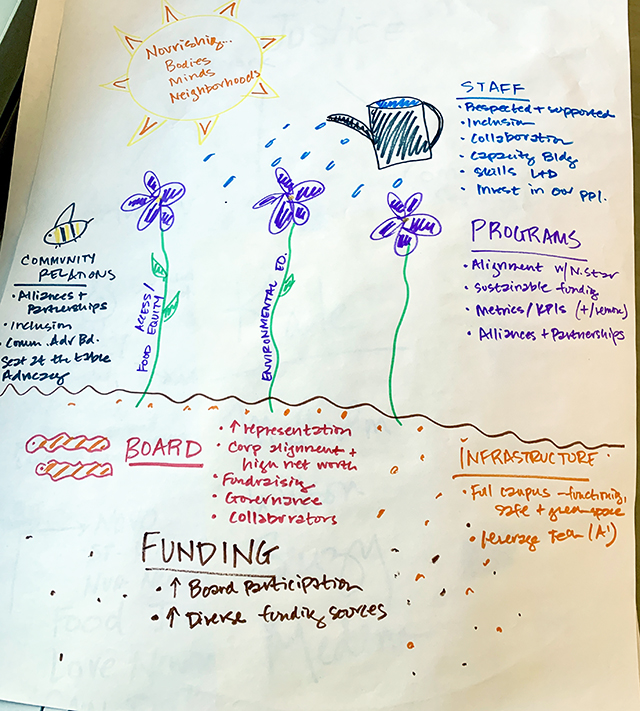
Nourishing Bodies, Minds and Neighborhoods. Sounds like a North Star goal for Rockaway!
For more on sustainability, follow me on Instagram: @theglorifiedtomato
by Paula D.
on April 16, 2025 8:56 am in Gardening
The time is now. The ground is thawing and the first bulbs of spring are breaking through the surface soil. What do you want your garden to look like this year? What do you want it to yield? Think about edible landscaping, where food plants double as beautiful design features. Consider garden themes: like planting a tea garden, herb gardens, or a culture garden inspired by your heritage or in honor of someone else’s. Think outside the garden box. Make sketches of your veg layout and keep a garden journal to house what is working, what is not, critters, taste, time, rain. Sketch drawings as your garden blossoms. Consider pushing the boundaries of gardening as a personal expression to foster a deep connection with nature.
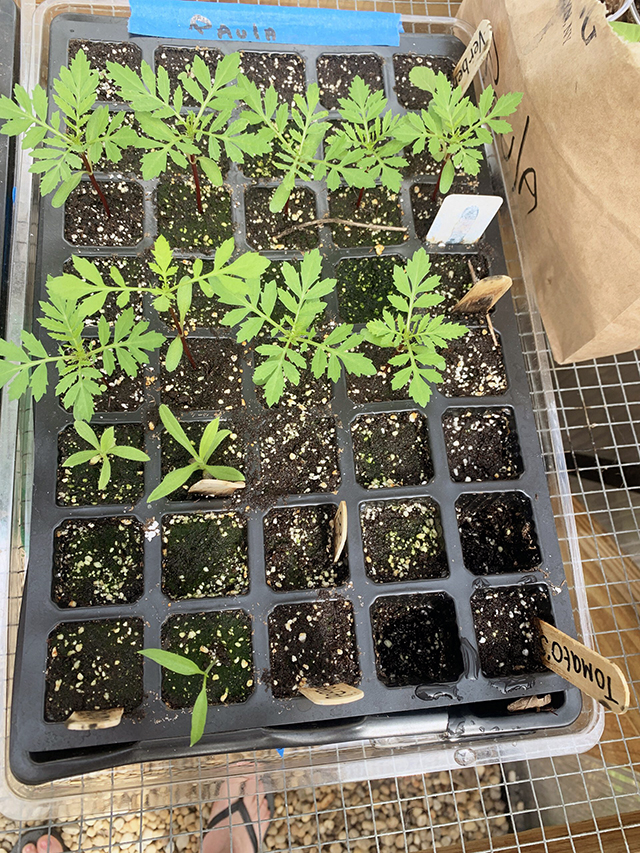
This is a classic case of overwatering—see the green algae. But it’s not a deal breaker. And remember, you learn by doing.
Seeds can be tricky and that’s where we are in the season, followed by tilling the soil when temperatures are consistently reaching 50 degrees. This ensures overwintering insects like bees, are ready to emerge.
Let’s discuss procedure for seeds:
Start With Quality Seeds: Check the expiration date on the packet! Often we overlook the simplest things.
Soil: Use a well-draining potting mix instead of garden soil for indoor or greenhouse seed-starting. This medium helps prevents waterlogging and reduces fungal disease risks. Use recycled containers.
Light: Veggie and herb seedlings need a lot of light—about 12-16 hours a day. A sunny window or a grow light is essential.
Temperature: Most seeds germinate best in warm, consistent temperatures – 65-75°F. They will not germinate if it is too cold or drafty.
Water: Keep the soil consistently moist—avoid letting it dry out, but steer clear of sogginess! Overwatering can drown the little ones before they sprout.
Thin Out: Once seedlings develop a couple of leaves, thin them out to avoid overcrowding. This means separating the baby plants into individual containers if needed, and discard weak sprouts or yellowed ones.
Harden Off: This is important and takes some dedication. Gradually introduce indoor-grown seedlings to outdoor conditions. Meaning, you need to move them outside in a sunny, protected area for a few hours during the day and take them back inside in the evening.
Label, Track, Plant: By Mid- May, it’s time to transfer the plants into the ground outside with compost. Keep a log of when and where you planted in your journal.
Starting your garden from seed is a wonderful way to learn more about gardening and spark curiosity in young minds, but we are busy humans! And it’s totally fine to buy starters too. I recommend visiting Lisena Garden Center (125 Crossbay Blvd, Broad Channel, NY), where Fernando and the team offer the organic essentials and Edgemere Farm – follow them on Instagram for their spring plant sale info. Both are excellent local resources for all your garden wants.
For more gardening tips, follow me on Instagram (@theglorifiedtomato) and at the @beach91streetcommunitygarden all season long!
Potatoes trace their roots to the high Andes of South America. Spanish conquistadors discovered this tuber in the 16th century and brought it back to Europe, where it eventually found a special place in Ireland. The cool climate and rich soil of the Emerald Isle proved the perfect place for the potato.
Quickly the potato became more than just a food crop—it became a symbol of resilience. Despite its somber chapters, like the Great Famine, the potato’s journey is one of survival and adaptability. As we celebrate St. Patrick’s Day this month, we honor not only Ireland’s vibrant traditions but also the unassuming hero that nourished the nation. The potato is a cultural icon and a dependable staple food in Irish culture.
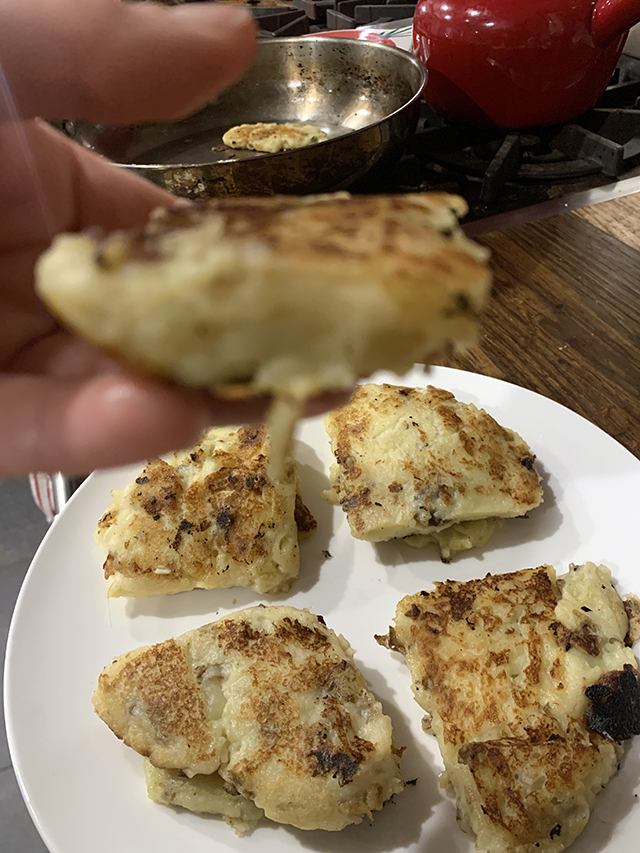
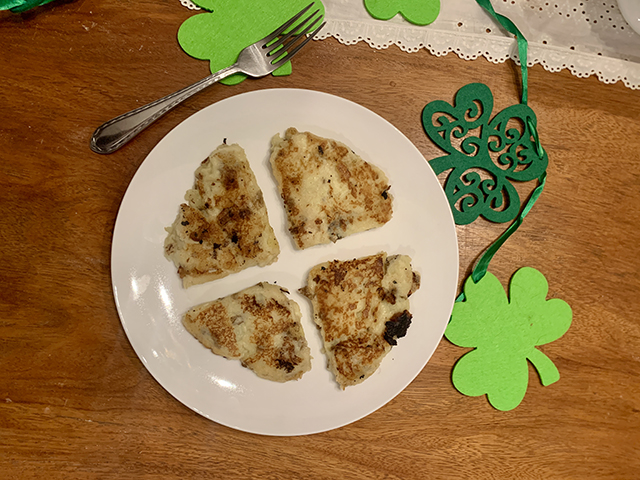
In celebration of St. Paddy’s Day and our cherished Irish community here on our riviera, I’ve decided to fry into the world of Farls!
Irish Potato Farls
Makes 8 small farls
Ingredients
1 pound floury potatoes
3.5 tablespoons butter
¼ plain flour, plus extra for rolling out
¼ tsp baking powder
Salt and black pepper
Extra butter for cooking
Directions:
- Peel the potatoes, then cut them into quarters. Cover with water in a pot, season with salt and cook for about 15 minutes until they become tender. Drain, then return the potatoes to the pan.
- In the same pan, melt the butter with the potatoes. Mash until smooth or use a potato ricer.
- Sift the flour with the baking powder into the potato mix and stir to combine. Taste for seasoning and adjust if needed. You can add more flour if the mixture is too wet and a little milk if it is too dry.
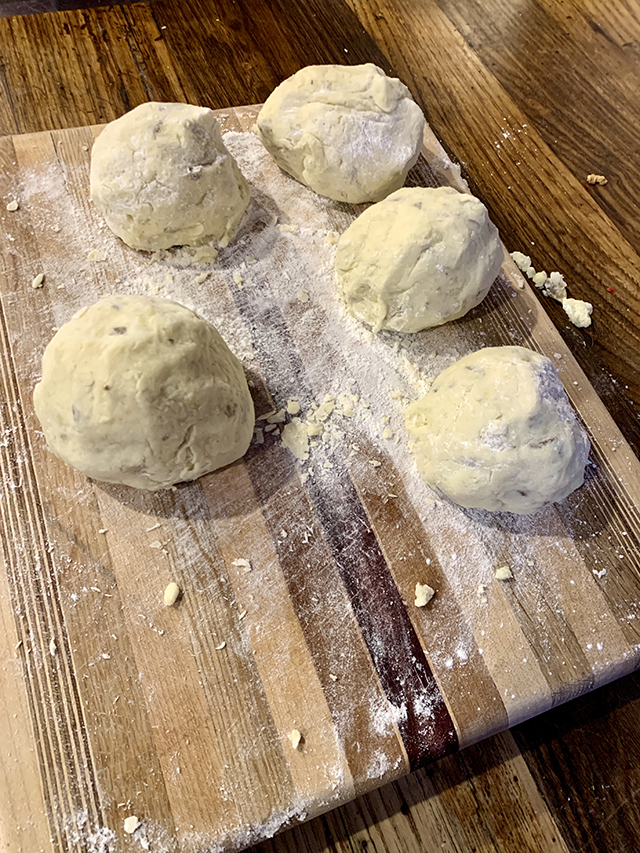
- Divide the dough into two halves. Form one piece into a ball, then roll it out on a floured surface and into a rough 5 inch circle, a half inch thick. Cut the circle into quarters.
- Heat a non-stick frying pan over medium heat with a little butter. Transfer the four pieces to the pan and cook for about 4 minutes or until golden brown. Flip over and cook the other side for another 4 minutes. Remove to a plate with paper towels to drain. Repeat the process with the other half of the dough mix.
Note: It took me some time to get the feel of frying the farls. Take your time. Make sure the first side is crisp before you flip so they don’t break apart.
Recipe by Jane Baxter