A few weeks ago I attended the sip n’ snack spring shopping event at The Swellife. The get together was an opportunity for owner Katie Long to showcase her new spring jewelry collection.
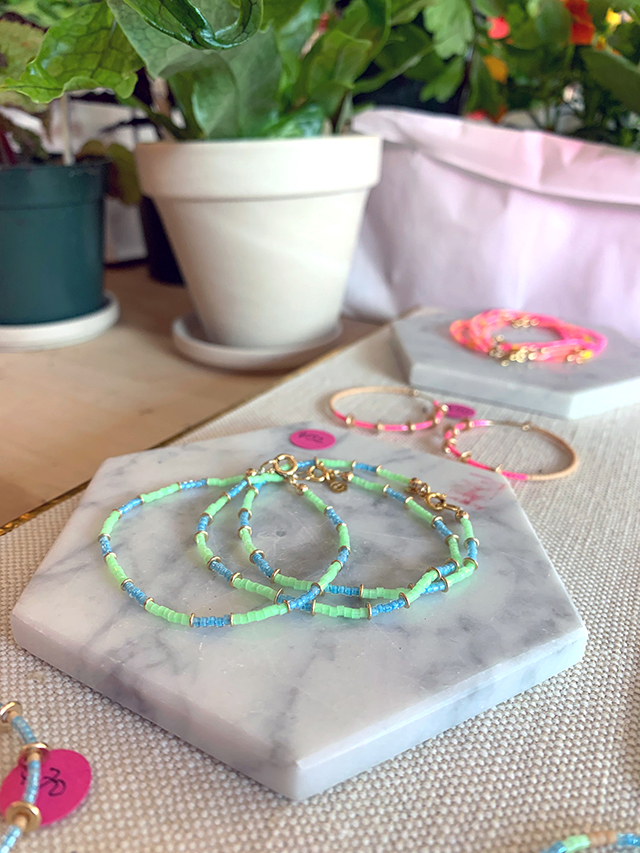
New spring jewelry collection designed by Katie Long.
The earrings, bracelets and necklaces are delicate yet have presence. I asked Katie what her vision was in creating these pieces. She explained, “I love color and texture. And I create patterns and play with bead size and shape. I have a few special ladies in mind when I’m creating, always thinking how they would wear my pieces and what they would like.”
The jewelry is beautiful and seasonally perfect for spring and summer with a bright pop of color and fun vibe. The Swellife carries many products similar in style. And a good deal of the items have a charitable aspect or are environmentally sourced. The clothing, beach bags, purses and hats shout Rockaway summer is here again!
Katie Long and her family moved to Rockaway 7 years ago and as a creative maker, she dreamed of opening up her own boutique. Two years later she did just that. I asked Katie about her thoughts on being a local business owner in Rockaway, she shared, “Moving to Rockaway has been truly life changing. The relationships I have made in our close knit community have been so special. My very first goal of opening a brick and mortar was to make it not only a year round shopping destination but a space for the community and I really feel like I’ve achieved that. Days where friends stop by and have lunch with me, or having my regular shoppers come in to just say hi, reminds me why I chose to open my shop. I have future goals and dreams for The Swellife where I could offer even more, all in due time.”
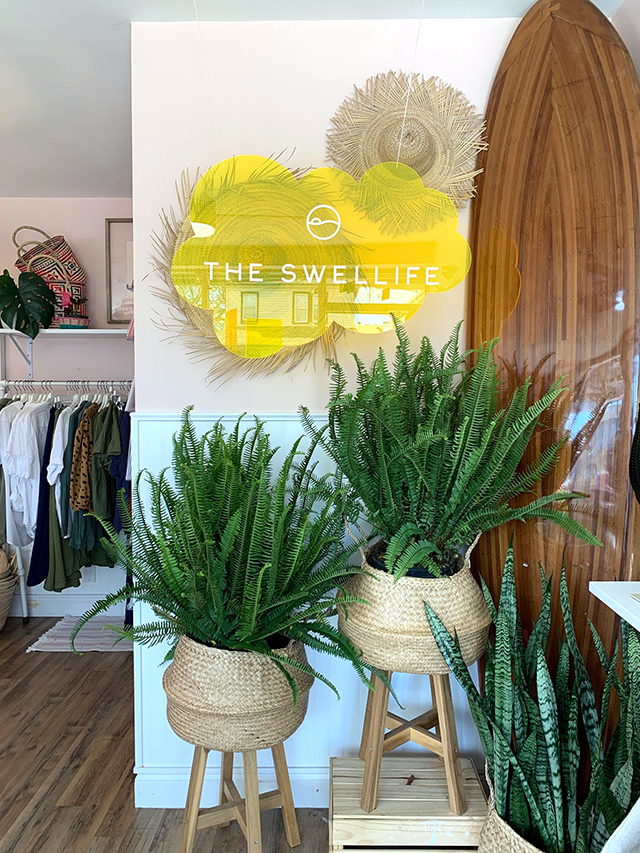
Being inside The Swellife is an experience. It’s curated thoughtfully with design and sentiment. You can see, touch and smell beauty.
Mother’s Day is next week, May 8th! As a Mom herself, Katie suggests selfcare items for the women in your life that you love: aromatic candles, natural body oils and rich lotions are her recs. Find them all in-store at The Swellife, located at 91-08 Rockaway Beach Blvd.
Check out the online store too theswellife.com and follow The Swellife on Instagram (@the_swellife) to learn of in store happenings and new products.
by Paula D.
on April 26, 2022 7:09 pm in Recipes
I was a bit skeptical when I saw the word “anchovies” hit my inbox from NY Times Cooking. But this is one of the few newsletters I actually read and trust… so I clicked. What interested me about this recipe was the cabbage and parmesan – it’s an unlikely combination. Also, cabbage has basically zero calories. I thought this would be a healthy, unique one to try.
These days, I flip flop from pescatarian to vegetarian. For this reason, I don’t make bolognese. My secret though – to get that richness in a red sauce we all crave – anchovies. It works like a charm. But I’ll admit, I’ve been apprehensive to use anchovies in other contexts.
Why are we so weirded out by anchovies? Maybe it’s that most of us associate this fish as the slimy things on top of Greek salad that look like they have little hairs on them. But how is this grosser than sausage? I dare you to google “How is sausage made…”
Don’t be afraid of anchovies!
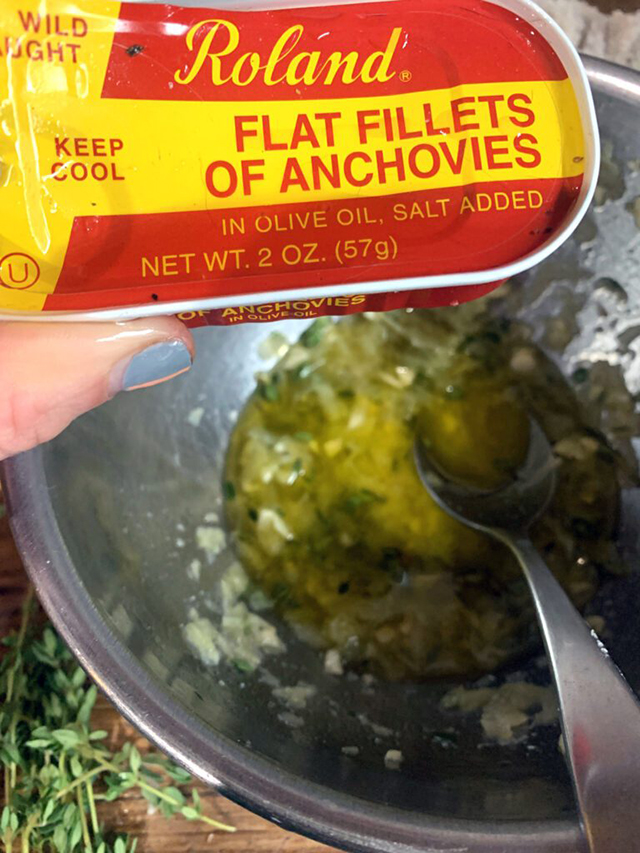
My intention with this cabbage recipe was to omit the anchovies. But as I’m preparing the meal, I keep getting this feeling that I should try the recipe in its true form. I remembered I had a random tin of anchovies in the cat food draw. I popped it open.
I decided a little experiment was in order. I used the chopped anchovies on only half of the cabbage wedges. This way I could taste test and compare. The cabbage without was good. The cabbage with anchovies was absolutely incredible. The salty, rich punch alongside the warm, earthy walnuts and parmesan was delicious. And the cabbage topped with herbs gave the dish a fresh dynamic – I’m talkin’ restaurant quality, folks. Please put your anchovy apprehension aside and give this recipe a worthy try.
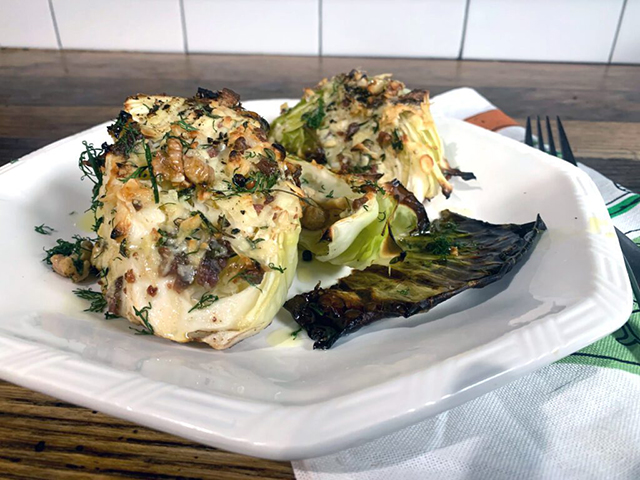
Roasted Cabbage with Parmesan, Walnuts, and Anchovies
Ingredients:
1 medium head green cabbage
½ cup extra-virgin olive oil, plus more as needed
¾ cup finely grated Parmesan, plus more for serving
6 anchovy filets, minced
4 large garlic cloves minced
1-2 tablespoons fresh thyme leaves
⅔ cup chopped walnuts
½ cup chopped fresh dill
Salt and freshly ground black pepper to taste
Directions:
Step 1: Heat oven to 450 degrees. Cut the cabbage in quarters lengthwise through the core, then cut out the cores and stem. Slice the quarters lengthwise into 1 1/2-inch-thick wedges.
Step 2: Place wedges on a rimmed sheet pan, flat sides down. It’s ok if the pan seems crowded; the wedges will shrink as they roast, but try not to overlap. Lightly drizzle them with oil and season with salt.
Step 3: In a small bowl, combine Parmesan, anchovies, garlic, thyme and black pepper. Stir in 1/2 cup oil to make a loose paste. Massage the paste into each cabbage wedge, stuffing the mixture in between the leaves.
Step 4: Lightly drizzle cabbage with a little more oil. Roast until cabbage is lightly browned and a little crispy – 25 to 30 minutes.
Step 5: Remove the pan from the oven and sprinkle walnuts over the top of the cabbage. Roast for another 5 minutes until the cabbage is tender and caramelized and the walnuts are golden.
Step 6: Sprinkle cabbage with dill and more Parmesan and black pepper. Serve immediately.
Follow me for the day-to-day in the kitchen on Instagram @theglorifiedtomato.
by Paula D.
on April 26, 2022 7:05 pm in Recipes
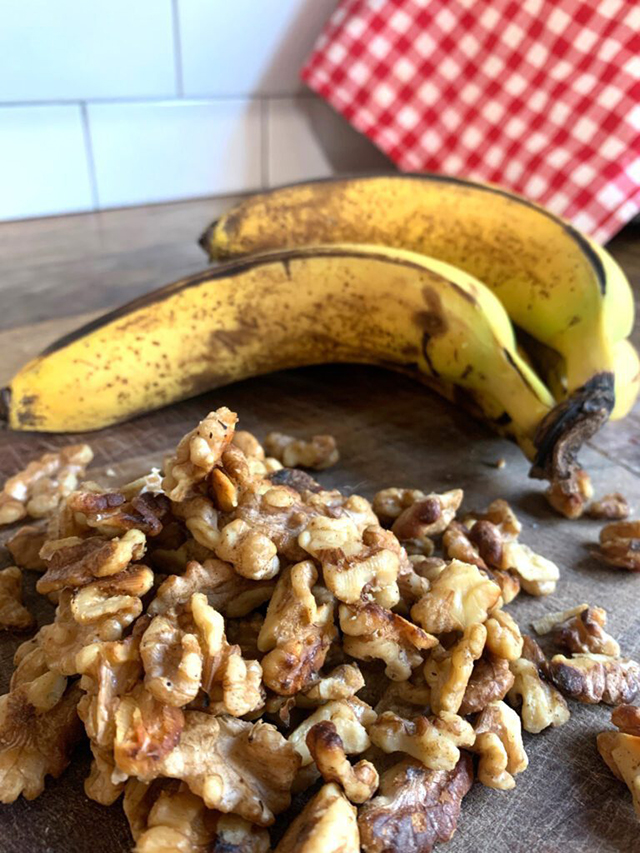
I’m a big banana person. The mild taste with a hit of honey rum flavor is so, so good. The soft texture is unlike most fruit – pretty unique when you think about it. They’re easy to eat, which makes them a great, healthy grab-and-go snack. Bananas are a good source of fiber, vitamin B6, manganese, vitamin C, folate, and potassium. And they’re only about 105 calories and quite filling.
Last week I had a craving for banana bread. I haven’t made this in a long while but you know… It’s like riding a bike. I only had one banana in the bowl, so I walked over to Key Food. As I feared, the bananas there were green. This presented a problem of course. I needed very ripe bananas for the bread. It was a funny conundrum because most times we all have overripe bananas and we can’t eat them fast enough.
I had an idea though… I thought if I put the bananas on the radiator they would ripen faster. And you know what… it worked! It’s the opposite principle of putting food in the refrigerator so it lasts longer. And this is important, If you want to ripen, keep the bundle together. If you want bananas to last longer, detach each stem for one another. Like many fruits, bananas emit ethylene gas. This gas naturally is produced in the stem. Breaking up the bunch slows the gas production which is the cause of ripening.
I tweeted about this and someone responded that putting fruit in a brown paper bag also expedites ripening, good to know (especially for those late-season green tomatoes). I wondered why this worked… I googled and learned it’s a similar principle as I mentioned above… the ethylene gets trapped in the bag, speeding up the process.
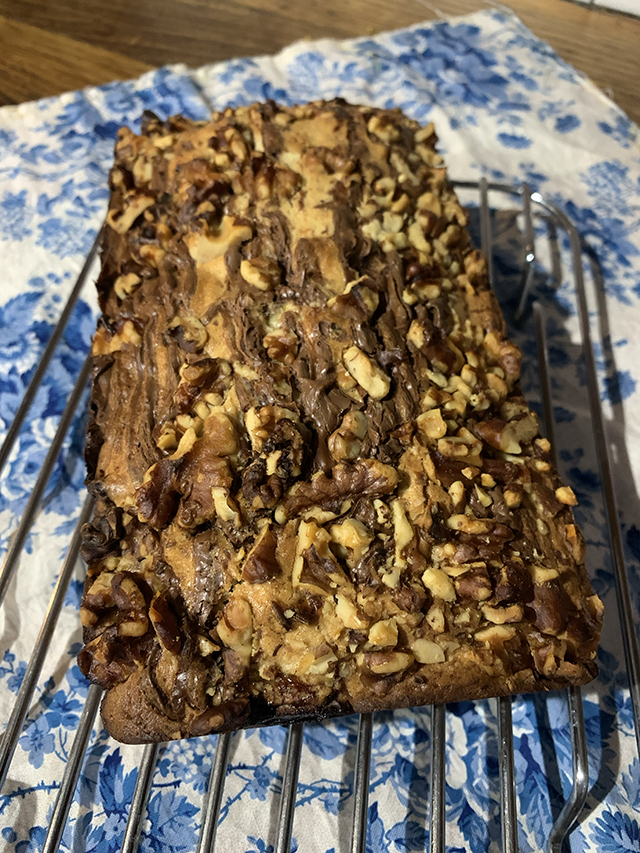
After three days on the heater, I was ready to use the bananas. My craving was REAL at this point. This recipe is rich, not too sweet (which I prefer), and most importantly very moist. I like adding nuts to the bread. It gives a crunch and texture that complements the soft loaf.
Paula’s Banana Walnut Bread
Ingredients:
1 stick unsalted butter (soft at room temperature)
1 cup sugar
2 eggs (beaten)
3 ripe bananas
1⁄4 cup half & half
2 cups flour
1⁄2 teaspoon salt
1 cup walnuts
Nutella
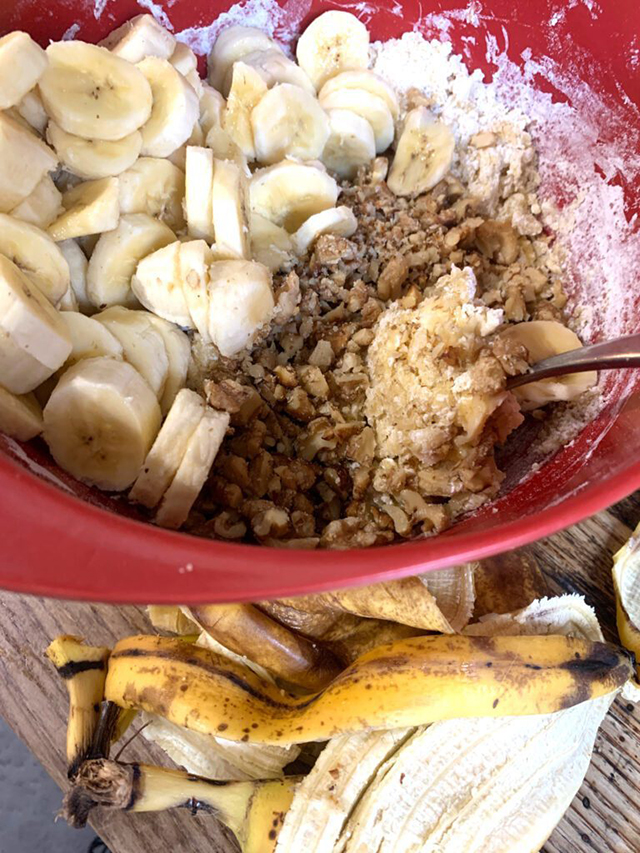
Directions: Preheat the oven to 350. Loosely chop the walnuts. Slice the bananas. Combine all the ingredients in a large bowl. Mix thoroughly by hand with a wooden spoon or a mixer.
Grease a 9×5 inch bread pan and pour the mixture into it. Cook uncovered for 1 hour and 20 minutes. Ovens heat differently, so I suggest checking the bread at 1 hour with a toothpick. Let the bread cool for 15 minutes. Slice and serve. Use butter if you like but this recipe doesn’t even need it, its that good. Keep the bread up to a week. Wrap it well to lock in the moisture.
For more recipes, follow me in the kitchen on instagram – @theglorifiedtomato.
In celebration of Earth Day, the Beach 91st Street Community Garden is hosting a festival on April 23, from 1 p.m. – 5 p.m. in the garden. The theme of the event is the Rockaway Ecosystem, which will pay tribute to the biological community and the environments in which they live and we share.
The day’s events focus on ecological education, art inspired by the beauty of Jamaica Bay, created by local artists and fantastic live music!
The Earth Day guest speakers are:
Carolin Wood, NYC Parks Department Gardener. She will be speaking about Rockaway native species and pollinators in our urban gardens. The second part of her presentation will be an interactive demonstration. In addition to being a professional gardener, Carolin is an artist. Her works are inspired by nature she experiences throughout the city and being a single mother of two, living in the Rockaways (@carolin_wood).
Don Riepe, the Jamaica Bay Guardian for the American Littoral Society. Riepe retired in 2003 from the National Park Service where he worked as a naturalist ranger and manager of the Jamaica Bay Wildlife Refuge. At the event, Don will discuss our beloved Jamaica Bay. He will educate us on the integral ecosystem of the bay and its inhabitants. This discussion will be followed by a Q&A. (@jamaicabayguardian).
Jill Lauri of Healing With Animals. Jill is excited to share her expertise on local animals and wildlife. She will speak about the importance of our connection to all living creatures. Jill has counseled people on their relationships with animals for over 25 years. She earned certificates from Mani Center in Spirituality and Sedona International School for Animal & Nature Communication. Jill holds an MSW from Hunter College and an MBA from Columbia Business School. (@healingwithanimals).
Art will be displayed throughout the garden space. The featured artists include: Mike Benigno (photography), Valentina Gallup (illustration), Jean Tran (sculpture), Carolin Wood, (collage), Bridget Klapinski (recycled sculpture), Jason Heuer (paint), Mercedes Gallese (paint), Clare Hilger (printmaking) and myself, Paula DiGioia (pen and ink).
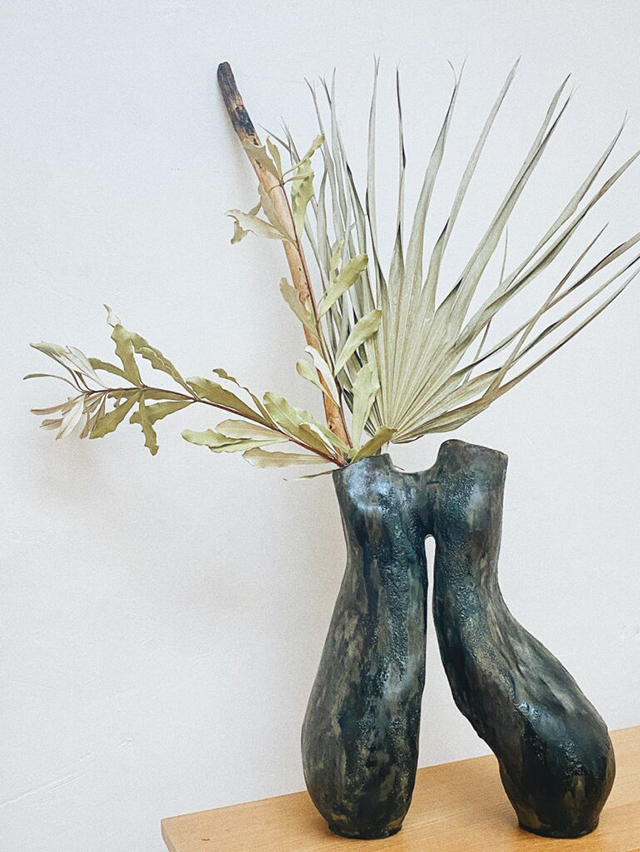
Sculpture by Jean Tran
In addition to art works for sale by the above creators, there will be a shop table including smaller works, postcards, etc. and Beach 91st Street Community Garden tote bags – perfect for gathering your garden tomatoes or for a trip to the farmers market!
Photography by Mike Benigno
Expect a lively Jazz performance by Tim Otto and Simon Chardiet. Tim is an acclaimed sax, woodwind player and composer. Otto has traveled the globe performing concerts and festivals in Europe, the US, Asia, Australia and remote locations in Papua New Guinea (@timottomusic).
Simon Chardiet is a singer/songwriter. He plays a multitude of instruments but is most known for his guitar and upright bass creds. He’s stellar at performing rockabilly and jazz but is a punk at his core. Simon has been in the NYC music circuit for decades, playing everywhere – large scale venues, punk clubs, street corners on the LES and on the sand in Rockaway Beach. (@chardietsimon).
The Beach 91st Street Community Garden will be donating a portion of the proceeds of art and shop sales to the American Littoral Society (Northeast Chapter). The Littoral Society’s mission is to educate, advocate, conserve and restore bodies of water and coastlines, including Jamaica Bay.
Join the community in celebration of Earth Day and show your support for our precious ecosystem. It will be a fun and informative day for all! For updates on the Earth Day festivities, full bios of the speakers, artists, and musicians, follow @beach91communitygarden on Instagram.


