The warm colors and intricate textures of an autumn garden are often overlooked, but not by nature enthusiasts, earth lovers, mystics, and our witches. We see the world in a different way. We see the big beauty in the small bits. We know the less popular and tainted hold more wonders.
Just the other week, while puttering around the Beach 91st Street Garden, I spotted a songbird feeding on a spent sunflower, its seeds neatly tucked into their own little compartments. How is that even possible? A sleepy grasshopper rested on the soft white petals of a dahlia, too lazy to hop away from my camera. Big Gray, the cat, and a garden member, loves to chill on the neon green bench—he’s a little rough around the edges, and that makes him even more incredibly sweet. Monarchs are slowly arriving, refueling on the marigolds. We still have ripe raspberries, the lettuce has made a comeback, and the rosemary, thyme, and basil are ready for drying.
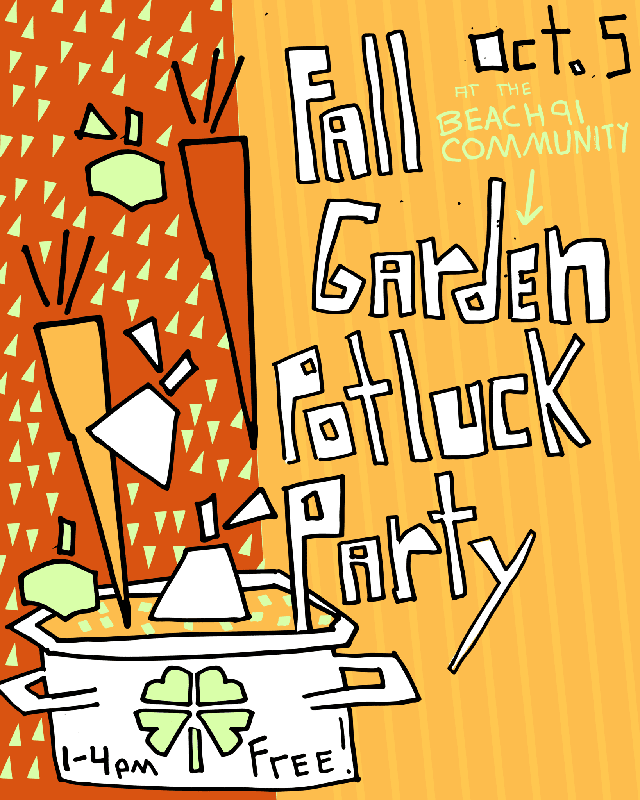
The Garden is hosting a Community Potluck this Saturday, October 5th, from 1 p.m. to 4 p.m., (Beach 91st Street, beach block). If you’re a cook or baker, bring your favorite fall dish to share with neighbors. This is a free event though, so we encourage you to just come as you are—straight off the street, just out of the water, or on your way home – don’t go home. Eat with us. There will be an art activity for kids (of all ages) and a table with houseplants and pumpkins for purchase as donations.
We hope sharing a meal with our neighbors in our garden will foster a sense of community belonging. Let’s celebrate the joy of growing and the harvest over home-cooked food. Please come and have a seat at our table. It will be a wonderful afternoon!
Follow the @beach91communitygarden for the fall and winter joys ahead.
————————————————————————————————————————————–
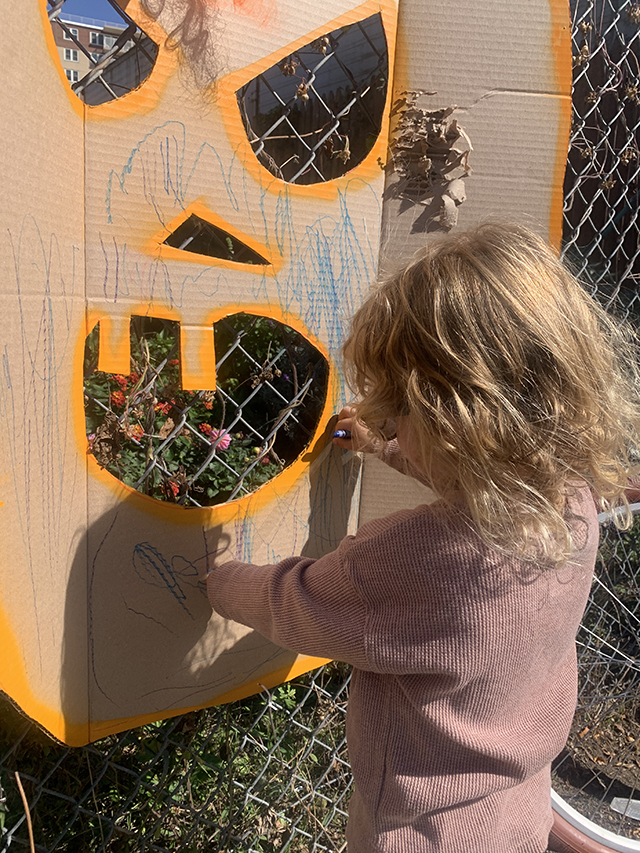
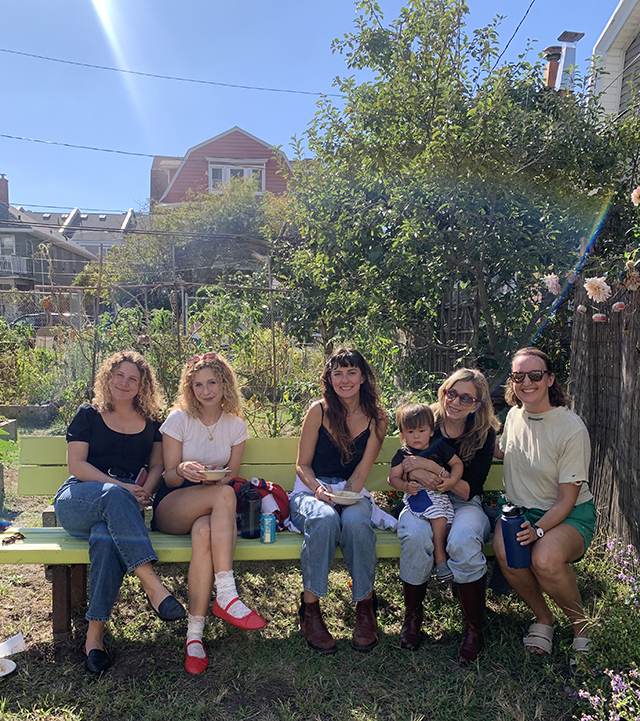
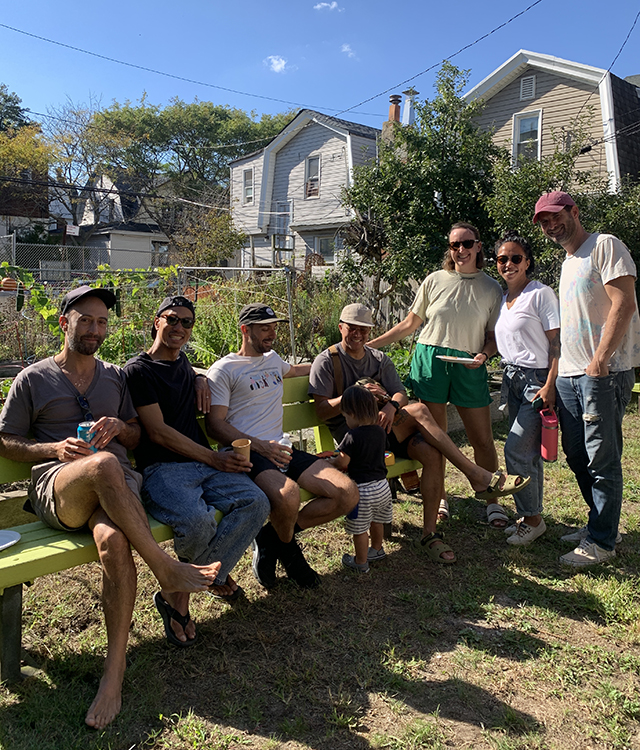
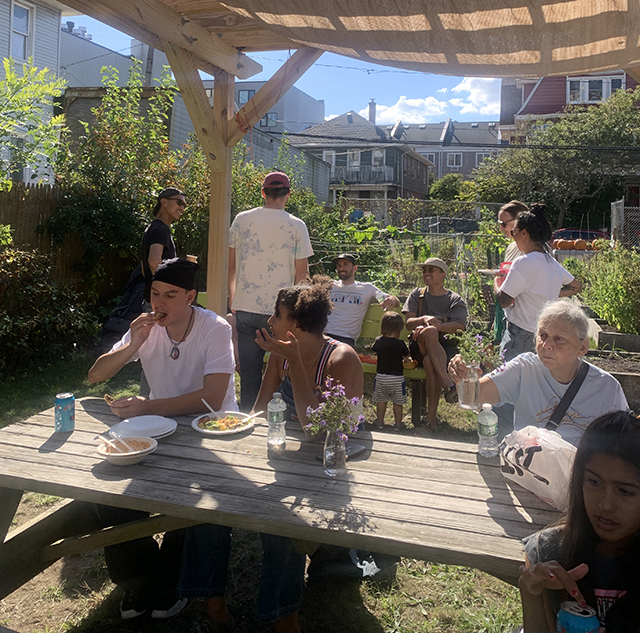
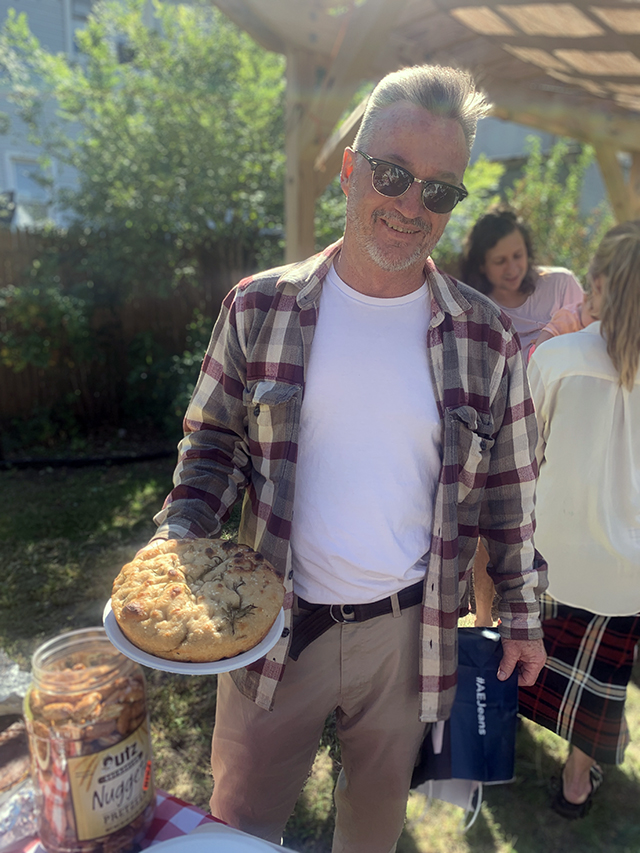
Update! Here are some snaps from the Potluck Party!
A few folks from the Beach 91 Community Garden reached out to me with a great question: “What can I plant in the fall?” There are many cold-weather crops we can plant for harvest before the frost, especially now in late September, as well as options for early summer harvests. It’s a common misconception that our growing season here in NYC is short. Learning beyond the typical spring-summer vegetable plantings is a fun challenge. You will become a better gardener for it. Wanna give it a try?

Make soups or sautées with home-grown swiss chard. Plant now!
For late fall harvest until the frost:
Leaf Lettuce: Sow leaf lettuce seeds directly in the garden or containers now. Water, keeping the area moist until you see the first sprouts. Continue watering as needed. Harvest 30 days after planting. Lettuces prefer full sun to partial shade and the plants will thrive under these conditions through the first frost.
Swiss Chard: Plant swiss chard seeds in the soil and water regularly. This red leafy green prefers full sun but can tolerate partial shade. Regular watering is essential to keep the soil moist for a productive crop. After about 50 days it’s time to harvest.
Spinach: Sow spinach seeds directly into the soil. Keep moist. Spinach likes full sun but can tolerate some shade, making it versatile for different garden spots. To promote strong roots, water deeply but infrequently, allowing the soil to dry out between waterings. Harvest young leaves 30-40 days after planting for the best flavor.
Note: Harvest greens by clipping leaves from the base and moving upwards. Do not clip all leaves. This allows the plant to continue to absorb sunlight and produce more.
Radishes: Plant radish seeds directly in the garden and they will be ready for harvest 25 days after planting. Radishes require full sun for optimal growth and keeping the soil evenly moist is important, particularly during dry spells. This guide will produce crisp, tasty roots!
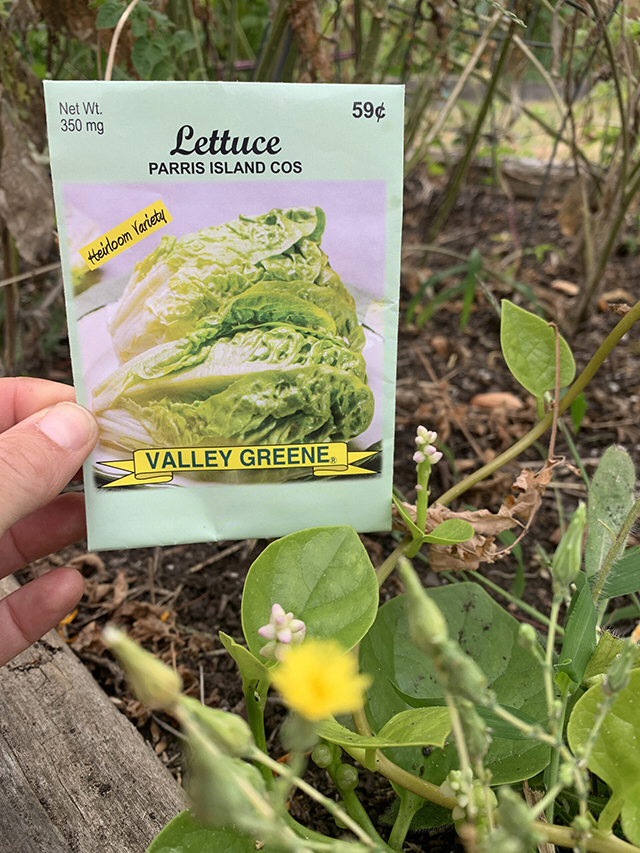
Sow leaf lettuce seeds directly in the garden or containers now. Water, keeping the area moist until you see the first sprouts.
Plant Now, Harvest Later:
Garlic: Plant garlic cloves in the fall, about 4-6 weeks before the ground freezes for a harvest in mid-summer. Garlic thrives in full sun and needs well-drained soil. Water at planting and then let nature do the rest. I have a full how-to on garlic planting and harvesting. Snap the QR code to learn more.
Shallots and Onions: Sow bulb sets in the fall and harvest in late summer when the leaves die back. Shallots and onions prefer full sun and benefit from consistent watering, allowing the soil to dry out slightly between waterings to promote healthy development. You can ignore them in the cold winter months and continue watering in the spring.
Spring-Flowering Bulbs: Plant bulbs in the fall, 6-8 weeks before the ground freezes (which is now!) to enjoy beautiful blooms in the spring. Gardening teaches us patience. Most spring bulbs prefer full sun, though some can tolerate part shade. Water them when planting, then let natural rainfall do the rest. Try these: Crocuses, the first to bloom (plant 3 inches deep); next are Daffodils (6 inches deep); followed by Easter Hyacinths (4-6 inches deep); early summer Tulips (6-8 inches deep); and finally, the towering Alliums (5 inches deep).
For more on gardening know-how, follow me in the garden year-round on Instagram – @theglorifiedtomato.
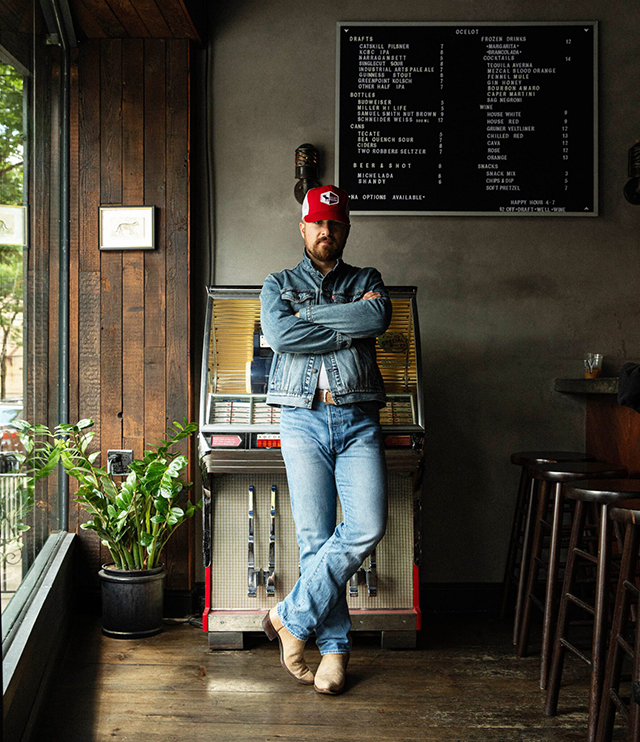
Singer-songwriter Ryan Thomas. Photo by Alec Kugler.
This Sunday, September 24th, don’t miss the party at Connolly’s as they close out the season with a record release show for my talented and “lonely no more” friend, Ryan Thomas, who performs under the name, Nobody & All His Friends. The show starts at 4pm and I promise it will be a super cool time, in space and sound. Things get wonderful early evening with performances by Vera Kahn, Tini Vessel and Sangwich & Sons.
I’d like to share a bit about Ryan, his path to music, and his path to Rockaway.
Ryan’s first solo performance was a cover of “More Than Words” by Extreme. He was three years old and sang from his car seat for his mother while they were driving in the family Ford Windstar minivan on a road trip. He knew all the words, start to finish.
In elementary school, Ryan liked singing in the chorus – Beatles hits and Christmas classics were all the rage. As he was coming of age, Ryan was inspired by his friends’ bands, but he didn’t believe it was something he could do himself. That changed when Ryan took his first guitar lesson above a deli in Westwood, New Jersey. Playing the guitar helped him feel songwriting was possible.
I asked Ryan if he was influenced by any pop artists. It wasn’t someone famous. It was his childhood friends Doug and Jared. Doug’s passion for punk was infectious. A memorable moment was when he introduced Ryan to the anarchy symbol, on the chalkboard at school! Jared played a significant role as well. How? By locking Ryan in his basement and demanding he finish writing a song before letting him out. This tough love worked—Ryan wrote his first song that day.
Both Doug and Jared passed away—Doug in 2010 and Jared in 2014—deeply affecting Ryan. Their influence and memory inspired him to return to music after a decade-long break— honoring their impact on his life.
In 2020, after hitting the road for three years, alone (very alone) living out of his car and traversing the country—spending time in places like Montana, North Dakota, Colorado, and California— Ryan gained a deeper understanding of himself. This new clarity gave him something real to write about. Embracing the chance to create authentic music, Ryan crafted songs that he hoped would resonate with others.
Then, Ryan found Rockaway.
Before his time on the road, he previously lived in Bushwick but felt confined by the crowded sidewalks and lack of space. Rockaway, with its open air, surfing, skating, and music scene, offered the blend of freedom and community that he had been searching for.
I asked about his favorite activity in Rockaway, and Ryan laughed and said, “I feel like the required answer is surfing!” Although more surfing is a goal for his 35th year, his most cherished interest is breakfast at Brother’s on the boardwalk at 106th. He loves Sarah’s famous muffins and with a cold brew in hand, watching people pass by, checking the waves, and waiting for friends to stop by. “I love the sense of community here and the spontaneity of it all. Just chilling at Brother’s feels awesome,” Ryan says. He adds that the way the community shows up for each other is what makes Rockaway truly special.
Ryan’s appreciation for country music deepened as he discovered outlaw country, which aligns with his punk DIY ethos. Although initially put off by pop country’s radio-friendly style, he later resonated with the genre’s themes of isolation and travel, especially while driving across the country. The storytelling in country music now connects with his experiences and emotions and this can all be heard and felt in his debut album Alone Again. He considers his style to be country-leaning and is cautious about fully identifying as a country artist, given his New Jersey roots. Ryan aimed to create honest music for this record based on his personal experiences, including the loss of friends while inviting listeners to find their own meanings in his songs.
Nobody & All His Friends is ironic. When Ryan decided on it, he genuinely felt like a nobody, struggling with loneliness and a lack of friendships. It was his self-deprecating way of poking fun at his situation—naming himself something that implied he had a social life he didn’t actually have. But it comes full circle because here in Rockaway, Ryan found his home, his homies, and the rare community connection we all feel and know.
Let’s celebrate not being alone! See you at Connolly’s this Sunday—the sea-salt music rodeo begins at 4pm.
Find Ryan Thomas’s music on spotify, and follow him on IG (@nobody.allhisfriends) to learn about his gigs in town this fall.

I have a fig tree too, just like Fran, and every other Italian woman with a small piece of land in the tri-state area. But mine doesn’t have roots in Brooklyn. Honestly, I can’t remember where mine came from—I think Home Depot. But I’ve had the tree for about 15 years, though she’s more of a twig than a tree. She first lived in a container on a roof deck, a lifetime ago when I was in Ridgewood, Queens. When the move to Rockaway happened, she spent the next 10 years in a large sauce pot, indoors. It’s a miracle she survived so long in such depressing conditions.
One year, she ventured outside, still in her pot, but a squirrel ate the only fig, and a branch broke. Fearing for her life, I confined her back inside.
But this year, I was tired of the sadness and realized that while there was a risk she could die, the possibility of a new life was worth the chance.
It was mid-summer, the worst time to plant a shrub or tree, but I had a strong urge to do it, to put her in the earth where a tree naturally belongs. At first, she struggled to adjust, but with time, I noticed signs of recovery. Her form stopped drooping, and it seemed her roots were finally taking hold. Just the other day, I saw new sprouts—she’s flourishing.
Take the chance.
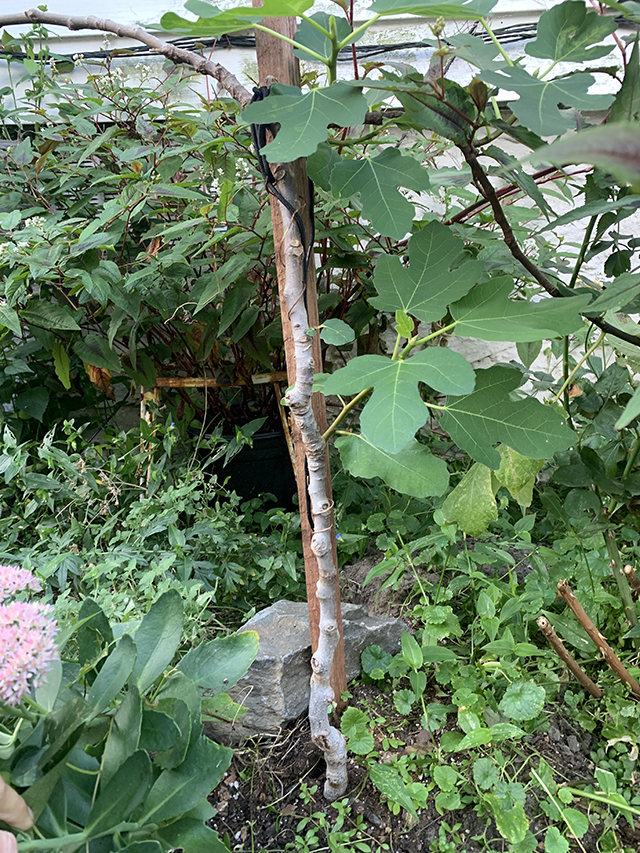
Fig trees in the Northeast are delicate during winter since they’re Mediterranean by nature (just like me). Though my fig tree is old, she’s fragile from years of captivity, so I’ll be treating her like a young sapling this winter, giving her all the protection she needs.
Here’s how to care for a young (or young-at-heart) fig tree in NYC (Zone 7b):
- Water Before First Frost: Give the tree a good soak before the ground freezes to help it endure the dry winter months.
- Prune in Late Fall: Trim back damaged or weak branches to reduce stress on the tree and make it easier to wrap for winter.
- Mulch Around the Base: Apply a thick layer of mulch (4–6 inches) around the base to insulate the roots.
- Wrap the Tree: After the leaves fall, wrap the fig tree in layers of burlap or frost cloth to protect it from cold winds. You can carefully tie the branches up to make wrapping easier.
- Insulate with Straw or Leaves: Once the tree is wrapped, you can add straw, leaves, or even bubble wrap around the tree for extra insulation, especially around the trunk. You can also add a cage wire frame to stuff the organic insulation into.
- Cover with a Tarp: On top of the wrapped tree, place a plastic tarp to protect it from rain and snow, but leave room at the bottom for air circulation to prevent mold.
- Unwrap Gradually in Spring: As temperatures warm in the spring, slowly remove the wraps and mulch to avoid shocking the tree with sudden exposure.
Take care and follow these steps to help your fig tree survive the colder months and thrive in the growing season!
Follow me on IG (@theglorifiedtomato) this fall. There’s still so much to do in the garden! If you missed Fran Honan’s column last week, “Roots In Brooklyn” find it here.


