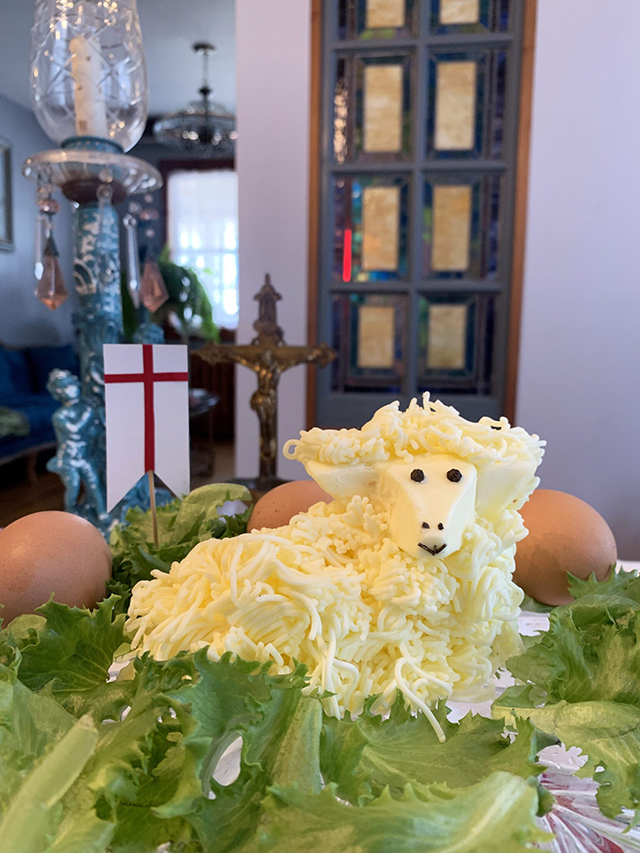
Spread The Joy: With An Easter Buttered Lamb
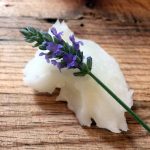
Knowing how passionate I am about my Butter Village refrigerator installation, my thoughtful Godson Jake, gifted me sculpting tools last Christmas. I’ve been eager to use them and now the time has come. I’m in the midst of sculpting buttered lambs — in preparation of Easter Sunday, which I host every year.
I’ve discovered that sculpting with butter requires a delicate touch and precision to shape the creamy medium effectively. The variety of tools has provided me with the opportunity to create interesting textures and details. The possibilities are almost overwhelming if it wasn’t so darn fun!
The tradition of sculpting a buttered lamb for Easter has its origins in Eastern European cultures, particularly among the Polish and Ukrainian communities. Butter, being abundant in these dairy-rich regions, became the medium for creating intricate lamb sculptures. The practice likely dates back centuries, with families sculpting butter into the shape of a lamb to adorn their Easter tables as a symbol of abundance, fertility, and the renewal of life associated with the spring season. More so, for Christians the lamb is laden with serious symbolism – representing Christ as the sacrificial Lamb of God. The red ribbon around the animal’s neck embodies the blood of Christ. The red flag – peace on earth.
Behold, the Lamb of God who takes away the sins of the world.
Over time, sculpting a buttered lamb has evolved into an Easter tradition that has spread to various other cultures around the world. To such an extent that you will see this deeply religious symbol in the dairy section of Stop & Shop.
Are you ready to make your own buttered Lamb?
Materials:
- 2 ½ sticks of cold butter
- A butter knife
- Sculpting tools and toothpicks
- Garlic press
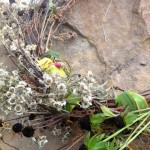
- Greens for display
- Whole peppercorn for eyes, red pepper for the ribbon.
- Thyme
- A working plate and a display plate
- Paper Towels
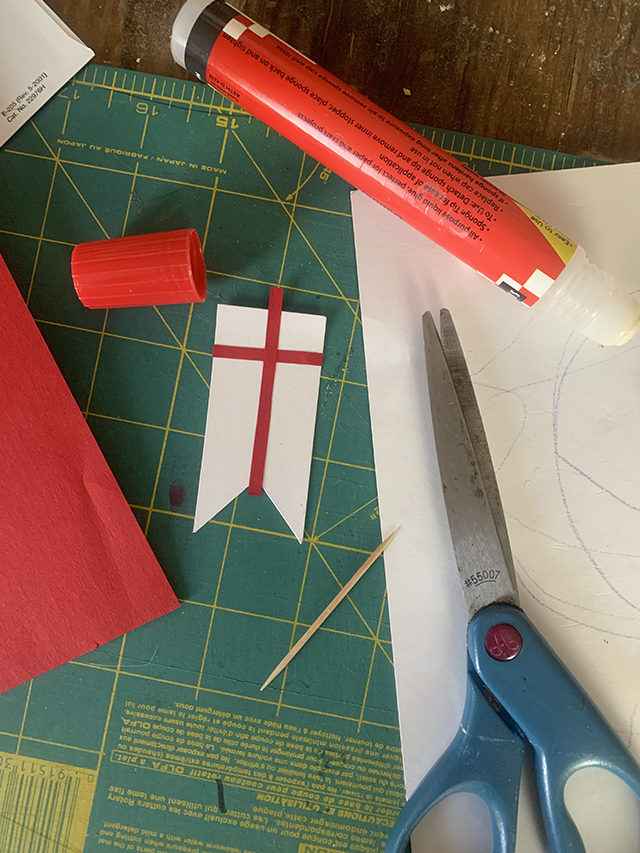
- White and red paper, or red marker, to make the flag (optional)
Directions:
- Wash your hands and have a clean surface to work on. You may consider wearing gloves to create your edible buttered lamb.
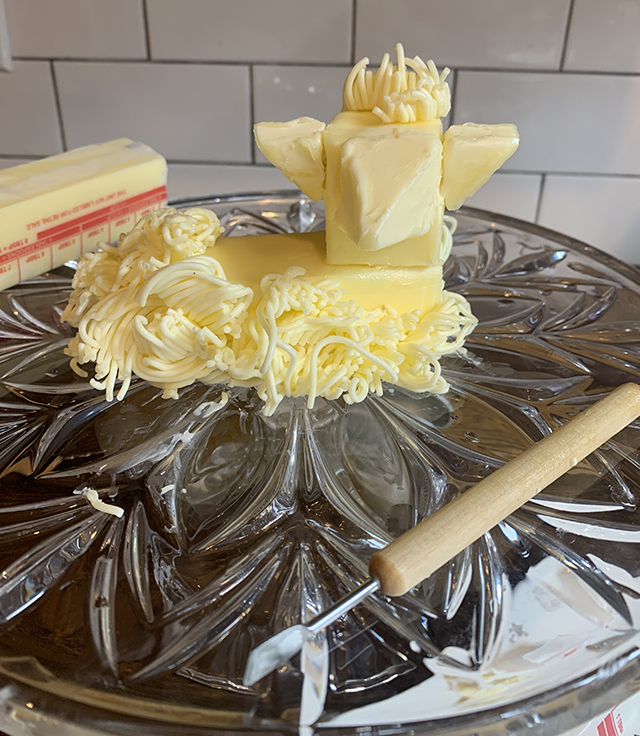
- Cut the butter stick removing one third. Then cut one quarter pad of butter off the one third piece. The larger block is the body. Place that on your finishing plate. Attached the head (one third piece) with a toothpick. Use the one quarter pad to sculpt a triangular face. The lambs head can look forward or to the side. Adere with a toothpick and use your fingers to mold the face onto the head.
- From the second stick of butter cut off a one quarter pad. Cut at an angle making two triangles, cut again in half diagonally. Those two pieces are the ears. With your hands, sculpt the ears onto the face.
- With the second block, cut small pieces and use the garlic press to squeeze out the curly wool. Use a butter knife to scrape off the curly shapes. Repeat the process until your lamb is covered up to the neck, add some “wool” on the top of the lambs head and back of the ears.
- Use two peppercorns for eyes. For the nose, opt for cracked peppercorn. Cut a small stem from a piece of thyme for the mouth. Use a long, thin piece of red pepper for the neck ribbon. Add greens to create a pasture around the lamb.
- Carefully cover with clear wrap and refrigerate until you’re ready to display The Lamb of God on Easter Sunday.
Click here for a helpful instructional video.