The Bathroom (1st apt)
I recently posted about the first apartment, it’s done! Now I want to get into the details. I’ll write about each room, starting with the bathroom.
The biggest challenge was the shower. When Jared our architect made the plans, we thought a standing shower would be best – a space saver, right?
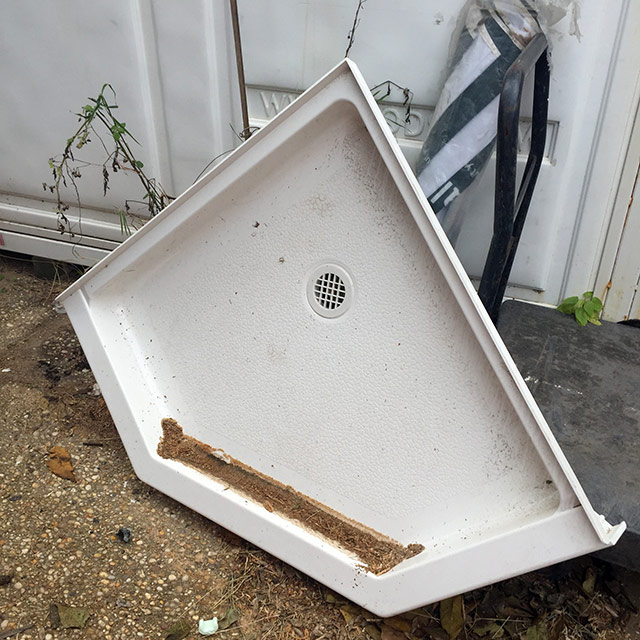
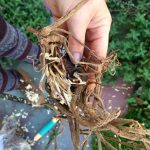
The base before it was installed.
A year later when we searched for glass to fit the base (already in place), we discovered it costs around $2,000 for materials/installation, that’s a lot. We then considered taking the base out and putting a tub in it’s place. You can find tubs, even clawfoots in good condition on craigslist for great prices. The problem was, we would need to move the toilet and reconfiguring the plumbing would cost around $1,500 – still expensive. Matt had an idea to build the shower walls out of boardwalk wood. The density of these tropical hardwoods means it’s essentially waterproof. DNAinfo.com has a great article on the origins of this wood, check it out here.
So building this ourselves is what we decided best. We acquired boardwalk wood, I’ll leave it at that. The wood was plained. This wood is very difficult to work with because of it’s hardness, Matt broke a few blades in this process. After the wood was cleaned up, Matt married each piece together with wood glue. He clamped it up and let it sit overnight (wood glue is ridiculously strong by the way). He mounted each section to the wall and base of the shower – not easy but he and James got it up level. Installing the glass was very difficult. Matt tightened the screws and leveled it but after a half hour the door would move out of placement because of it’s weight. The glass hit the bottom of the base and wouldn’t open properly. Abandon ship! This wasn’t going to work, after all that. I had a thought “Why don’t we just put a curtain up?” Matt said “Why didn’t you think of this days ago???”
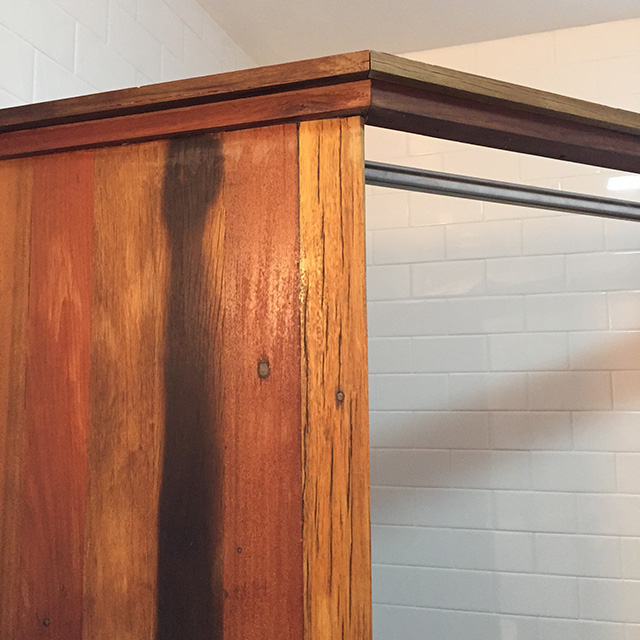
This project took three weeks of back and forth. We had to jump on and off, waiting for parts, special screws, etc. The final step was for me to put hard wax oil on it. This is a protective waterproof coat. It will keep the beautiful color of the wood in tact. Hard wax oil should be applied yearly. If not, the wood, like the Rockaway boardwalk would start to turn gray. The final product…
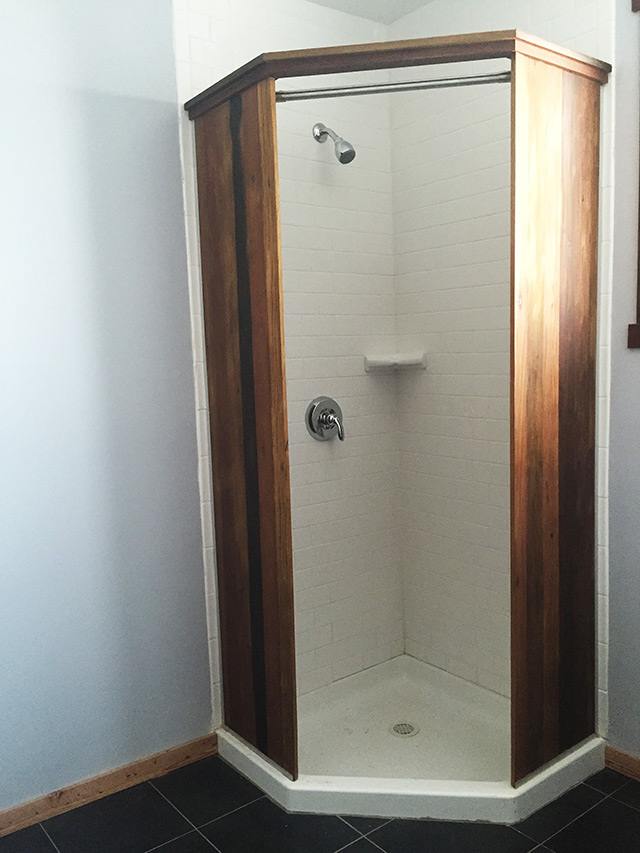
While the shower was a HUGE hassle, we’re both really happy with it… and it’s one of a kind.
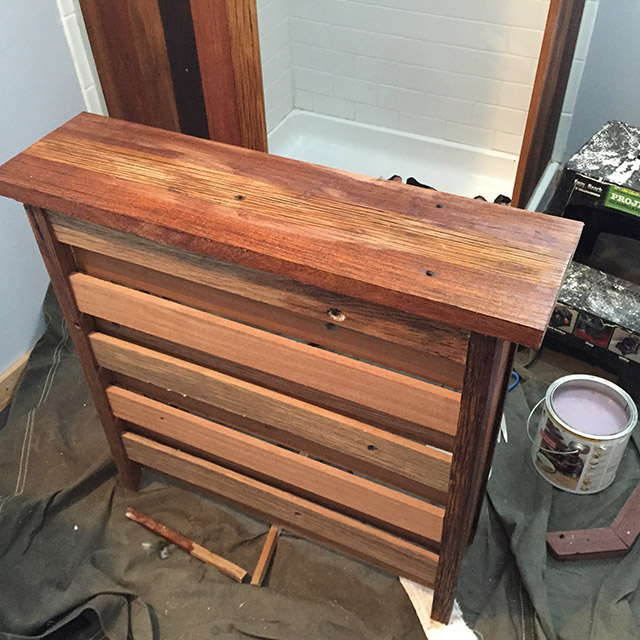
Matt made this cool radiator cover out of boardwalk wood to match the shower. I finished it with hard wax oil.
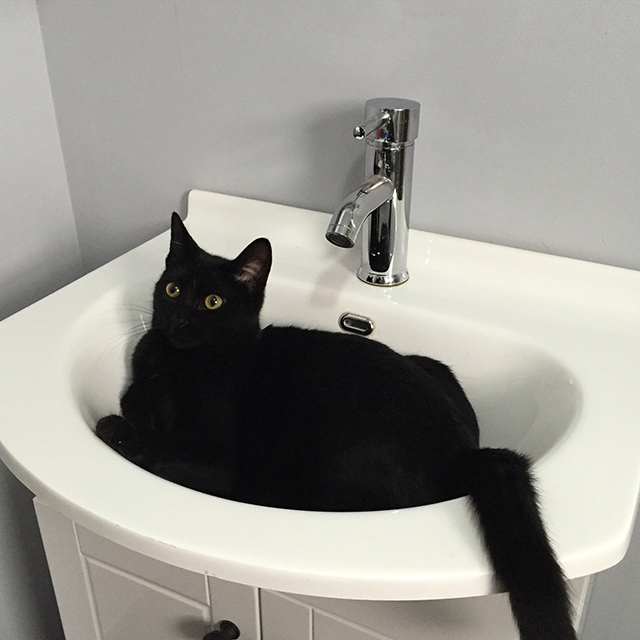
The vanity and cabinet – I wanted this to be hip and pinterest-y but time and funds led us to buying a simple set up. Perhaps in a few years went our first renter moves out we’ll upgrade the vanity. Cookie likes it!

The tiles are a nice dark gray, the walls are light gray. This, with the wood gives the bathroom a simple, natural feel… We extended this color into the whole apartment. Next up, I’ll post on the kitchen.