by Paula D.
on February 16, 2022 8:43 am in Community
I’m a coffee drinker. I love everything about it – the smell, the taste, the cup in my hands and the jolt I need in the morning (twice)… and in the afternoon. So, when I learned that Greenhouse Cafe was hosting coffee classes, I signed up, stat.
I say I’m a coffee lover, but admittedly I know very little about my beloved beverage. The first class Greenhouse Cafe hosted was Introduction to Specialty Coffee. Fitting for an aspiring coffee aficionado like myself.
The class began with Lead Barista Michael Mainwaring introducing himself and asking each of us to explain our morning coffee ritual. I was a bit embarrassed when my turn came. I shared that I use a no-frills drip machine with pre-ground coffee from the supermarket (insert horror emoji face here). We all had a laugh though, and hey… I was at the class, making an earnest effort to up my coffee game.
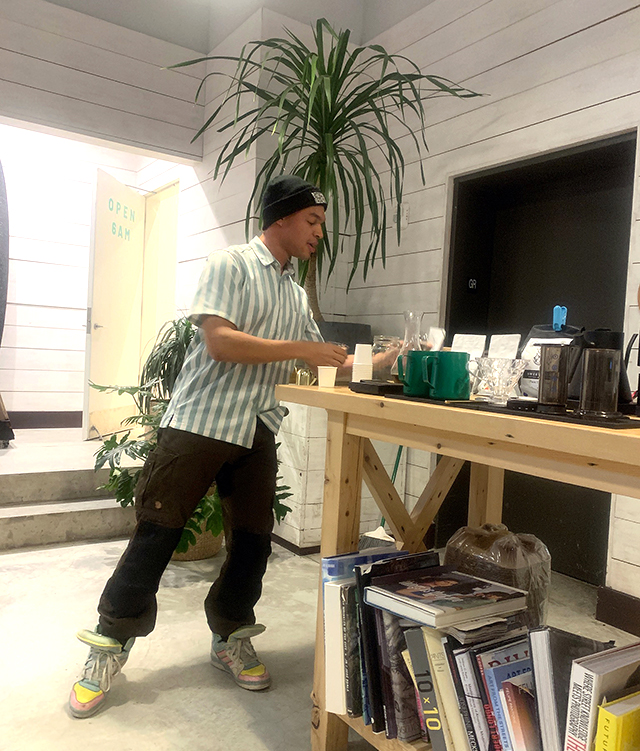
Lead Barista Michael Mainwaring.
Michael has extensive knowledge of all things coffee. We learned the many factors that determine the taste of coffee – the flavor profile, how it’s brewed, grind size, measurements, and shelf life… to name a few. The roasting date is normally found on the bottom of the coffee package. The best time to buy is 2-5 weeks after the roast date. Grinding daily is ideal for maximum freshness. There are many methods to brew which we touched on but Michael informed us of other workshops Greenhouse is offering in the upcoming months that will go into specifics of these brewing practices.
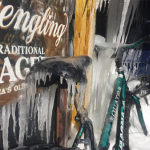
The next segment of the class was an interactive sensory experience. Barista Michael brewed two contrasting specialty coffees, one sourced by Coffee Project New York. It is from Menglian Yunnan, a region in China, and the other by Sweetleaf Coffee Roasters, a Peruvian blend from Cusco. The room was filled with delicious aromas. We smelled, tasted, and noted the mouth/feel texture of each. The intimate class setting was just right for an animated discussion on the differences between the flavor profiles. It’s incredible how distinctly different specialty beans are and the multitude of intricate flavors available. I began to understand that production and brewing is truly art form. I enjoyed this portion of the class immensely!
I asked Michael how the idea to host coffee classes came about. The cafe and classes are run by Yarden Flatow of Cuisine by Claudette. Yarden and Michael’s vision for the class were to share their passion for coffee with others while educating our community about the ethical and sustainability issues surrounding the coffee industry. As you’d gather, there’s a lot of information on this topic, but one point I’d like to share is that when you purchase specialty coffees from sustainable companies and cafes like Greenhouse, you’re directly supporting the farmers and farms where the beans are produced. And this, on a large scale, helps ensure this vital agricultural industry continues.
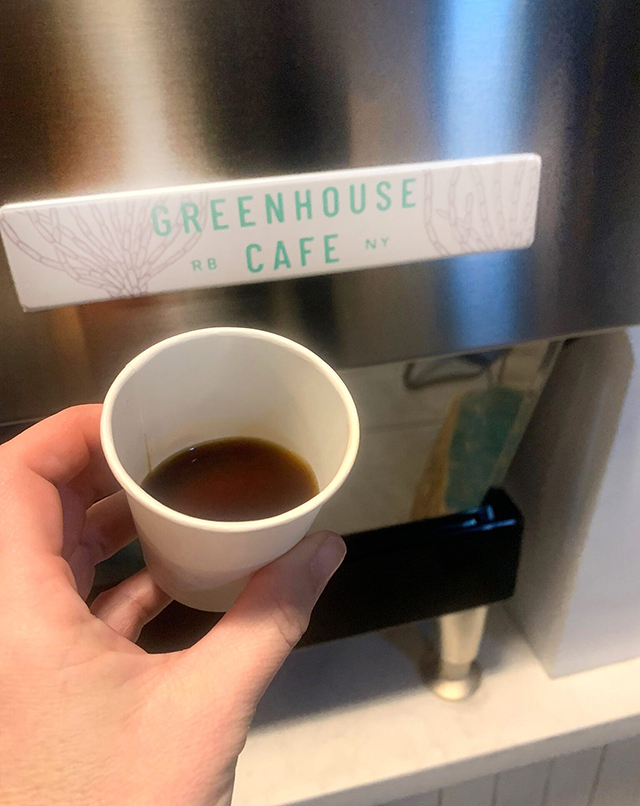
To learn more about all things coffee, sign up for Greenhouse Cafes coffee classes here. The workshops are on Tuesday and Saturday evenings at 6 p.m. The following classes run through May: Introduction to Brewed Coffee at Home, Introduction to Pour Over, Introduction to Aeropress, Espresso Extraction Theory, Milk Steaming + Basic Latte Art, Intermediate and advanced Latte Art and Introduction to Coffee Cupping.
Greenhouse Cafe is located at the Rockaway Hotel – 108-10 Rockaway Beach Drive, Rockaway Beach. The cafe is open at 6 a.m. for your early fix. Follow Greenhouse Cafe on Instagram to learn about these upcoming classes and more – @greenhousecaferbny.
by Paula D.
on February 16, 2022 8:39 am in DIY
Winter is the time for experimentation in the kitchen. It’s cold, very cold, especially here in Rockaway and we’re spending more time in the house. My friend Jacquie has been using her hibernation time perfecting a wellness tonic. For Christmas, she gifted me a bottle of this fire cider. Homemade gifts are especially thoughtful and that’s exactly what Jauquie had in mind. When I thanked her for the gift she said, “I wanted to make my gifts for xmas this year. For me, health and wellness are always top of mind, because of Covid obviously, but also I feel most thankful for my health every day and wanted to share that with my girlfriends.”
Jacquie has been reading a few books on herbal remedies that her friend Noreen Mulvanerty (creator of Omyst Spray) gave her and that started her exploration for this concoction.
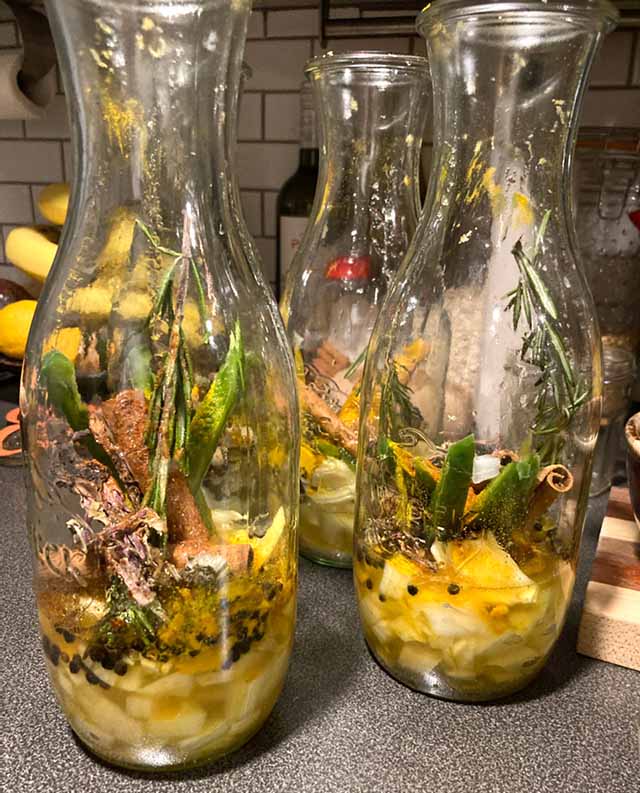
Potion prep! Photo by Jacquelyne Walther.
I absolutely love this drink and I asked Jauquie for the recipe and if I could write about it. She said, “Of course, share the wellness!” There are countless versions of her recipe. It’s based on an old folk remedy. The main ingredient is an herbal tonic known as oxymel. The word “oxymel” is Greek, meaning acid and honey. The drink is an immune booster with all the good stuff – lemon, ginger, and garlic, aka “poor man’s penicillin.” All of the ingredients are loaded with antioxidants. Horseradish is a power player, dandelion is a good source of vitamin C and A. Jacquie recommends getting high-grade honey.
I have a one-ounce shot every morning. The vinegar jalapeño combo wakes you up! I also pour a small glass in the evening sometimes and enjoy it as a mocktail nightcap. Adding an olive embellishment makes you feel like you’re sipping a delicious sweet and sour martini. Also… I’m not sure if the witch doctress would approve… I used it as salad dressing once! This drink is FIRE, any way you choose to use it! Give it a go!
Jacquie’s Witchy Winter Wellness Potion
Ingredients:
3 1/4 cups apple cider vinegar
Sprig of rosemary
1 cinnamon stick
1/2 jalapeño
1 small onion
1 lemon juice and zest
1/4 cup honey
Ginger and garlic to taste (recommending two inch pieces of ginger, two garlic cloves
1 tablespoon of each: turmeric, dandelion, horseradish, cayenne pepper, black peppercorns
Directions: Combine all ingredients and place in a bottle. Cut the onion, garlic and jalapeno so they can fit in the bottle, large pieces are better. Then, fill up the bottle with apple cider vinegar and shake it up. Potions take time, store for four weeks before enjoying it.
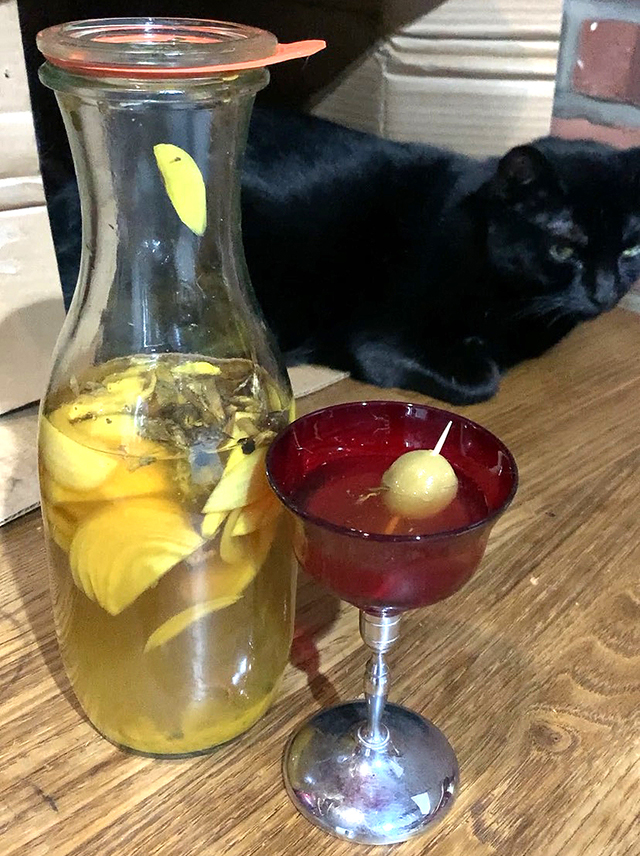
To learn more about the history of oxymel tonics, here’s a fun and informative article.
Follow me for the day-to-day on Instagram @theglorifiedtomato
by Paula D.
on January 26, 2022 9:20 am in Food / Recipes
I often get my food inspiration on-site at the supermarket. I was in Key Food the other day and saw cute, tiny, orange habanero peppers. I thought it would be tasty to stuff them and make a spicy treat. Admittedly, I also thought the little peppers would look adorable when photographed for instagram (I know, I know).
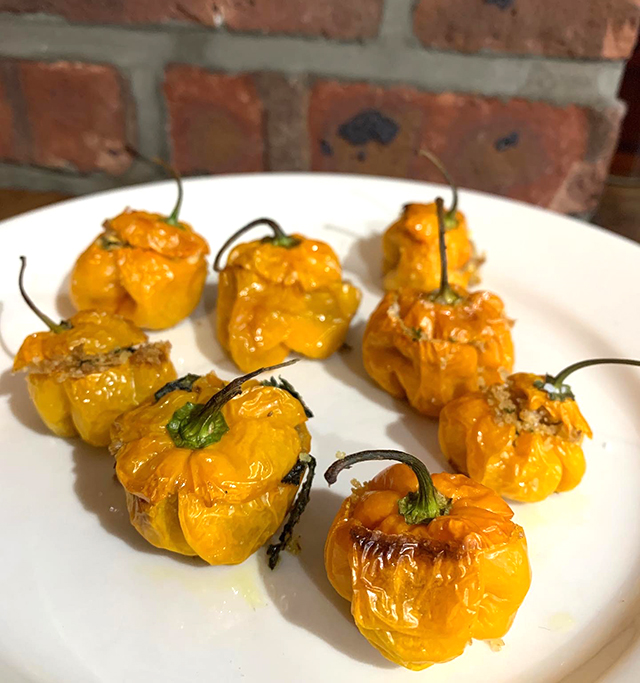
I made a delicious, unconventional breadcrumb filling with garlic and herbs, more an Italian vibe than Spanish inspired. Long story short, as predicted, they looked amazing on my IG account and the likes rolled in. But I wasn’t thinking clearly. I underestimated just how hot habaneros are. I popped one in. That began a 30 minute episode of atomic bomb fire mouth and an eye-tearing frenzy. Even later in the day, after washing my hands a few times, I touched my eye and it reignited the irritation. I would only recommend eating stuffed habaneros if you have sinus congestion and want to clear out your whole nasal system.
My off day in the kitchen continued when I was too lazy to look for the regular salt and grabbed sea salt instead. I dumped too much into the chickpea salad I made next. I was still hungry after all. Another fail.
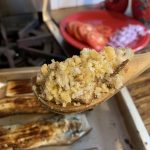
Third time’s a charm they say. I had a lot of the breadcrumb mixture leftover from the habaneros. In front of my eyes on the kitchen shelf were four vine ripe tomatoes. As I was preparing to stuff them, I started to think how this is an uncommon dish. We stuff peppers and mushrooms, why not tomatoes? Maybe I’ll start a new 2022 food trend with this column.
The tomatoes came out so delicious. They tasted like healthy, deconstructed pizza, in a round ball. One tip… make sure the tomatoes aren’t too ripe. Choose ones that are firm. Tomato lovers you must try this recipe!
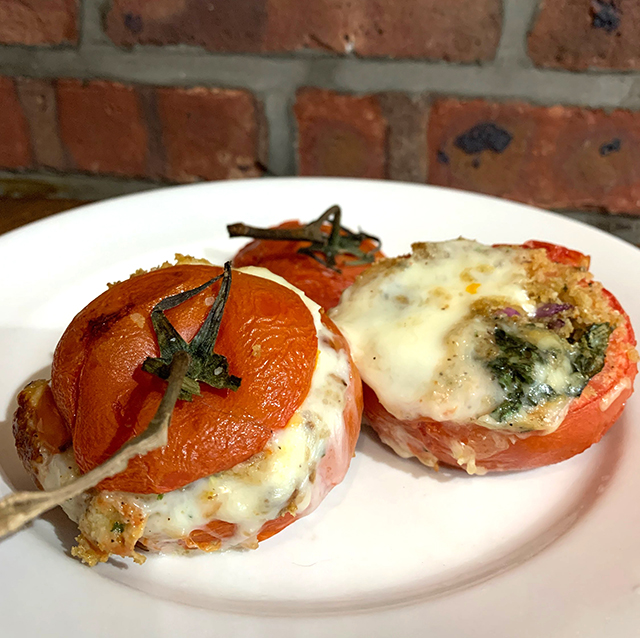
Paula’s Glorified Stuffed Tomatoes
Ingredients:
4 medium vine ripe tomatoes (not too ripe!)
1¼ cup seasoned breadcrumb
¼ cup chopped basil
4 slices mozzarella
½ cup Colavita olive oil
¼ cup water
6 cloves, diced garlic
⅓ cup shredded pecorino romano + 4, ½ inch chunks
Oregano, hot pepper flakes, salt and fresh ground pepper to taste
Directions:
Step 1: Preheat the oven to 400 degrees
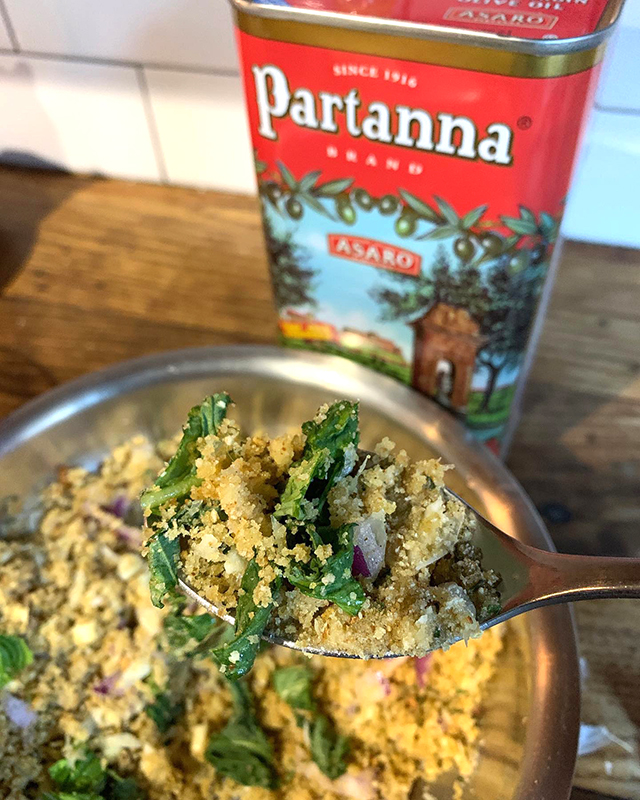
Step 2: In a bowl add the breadcrumb, shredded pecorino romano, chopped basil, diced garlic, spices and oil. Add the water slowly and mix. The consistency should be slightly damp, not too wet.
Step 3: With a sharp knife, cut the top inch off the tomatoes. If the tomato isn’t sitting upright, cut a thin piece off the bottom so it sits flat. Scoop out some of the tomato insides and drain the liquid. Coat the tomatoes with oil. Put a chunk of pecorino inside and stuff the tomato with the mixture.
Step 4: Top the tomato with a slice of mozzarella and cover with the tomato top. Oil a baking sheet and place each tomato on the tray. Cook for 30 minute. Let it cool for a few minutes and serve.
Making mistakes in the kitchen (or in life for that matter) is necessary to learn and grow. Next time something doesn’t workout the way you intended, find a new approach and spin it into a glorified success.
Follow me on instagram for the day-to-day @theglorifiedtomato.
by Paula D.
on January 20, 2022 5:23 pm in Food / Recipes
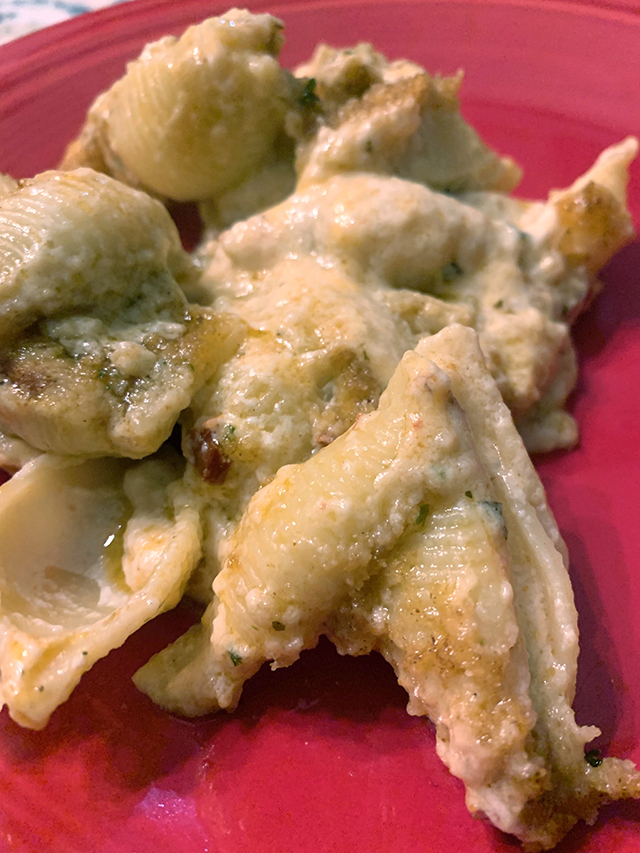
A few weeks ago I made the most decadent, highest calorie macaroni and cheese dinner I could possibly come up with. Why? Because it was my birthday, I had Covid and it’s a very cold January. I needed comfort… and food. Cheese normally does the trick, no?
This meal is creamy and delicious. Make sure to use medium shell macaroni. They hold the cheese well, making every bite perfect. Just as if you were preparing baked ziti, don’t over cook the pasta because it continues to cook in the oven. If the pasta is not al dente, the outcome is mushy.
I changed the recipe from the original, as I normally do. I added sun dried tomatoes to give the pasta dynamic. It adds a tartness that complements the richness of the three cheeses.
The roux is important for the thick texture. Make sure to follow those directions carefully if you are new to making this mixture. Stir in the flour slowly!
The most labor intensive part of this recipe is grating the cheese but it’s worth the effort. I’d recommend not cutting corners. Don’t buy shredded cheese. Most of those brands aren’t the best quality. I bought the good stuff from the specialty cheese section at the supermarket. Everything you cook is the sum of its parts. The better the ingredients, the better the meal.
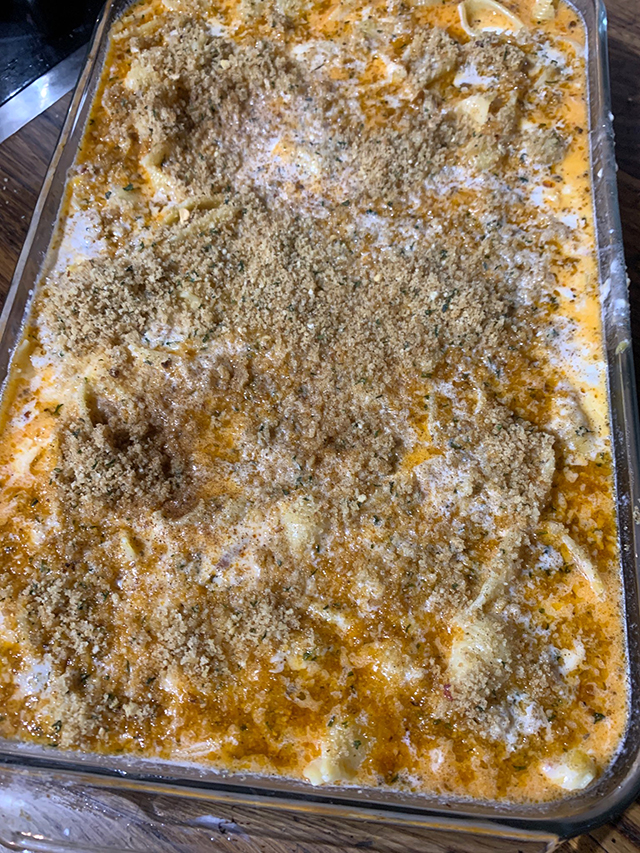
Feel Good Macaroni And Cheese
Ingredients
(serves 3-4 people)
8 ounces shell macaroni
2 cups shredded, sharp cheddar cheese
2 cups shredded provolone
1 cup grated parmesan
6 cups milk
1⁄2 cup butter
2 tablespoons jarred sun dried tomatoes
5 tablespoons all-purpose flour
4 tablespoons butter (for the roux)
1 cup bread crumbs
Salt, fresh ground pepper, paprika to taste
Directions:
Step 1: Boil water and cook the macaroni al dente. Drain.
Step 2: In a saucepan, melt the butter over a medium heat. Stir in the flour to make a roux. Add milk to roux slowly, stirring constantly. Stir in cheeses, and spices. Cook over low heat until the cheese is melted and the sauce is a little thick. Put the macaroni in a large casserole dish and pour the sauce over the macaroni. Stir well.
Step 3: Melt the butter in a skillet over medium heat. Add breadcrumbs and brown. Spread over the macaroni and cheese to cover the top. Sprinkle with a little more paprika.
Step 4: Bake at 350 degrees F for 30 minutes uncovered. Let it cool for 5-10 minutes then serve.
Follow me for the day-to-day on Instagram @theglorifiedtomato
Recipe adapted from allrecipes.com


