DIY Backyard Makeover
Previously published in The Wave.
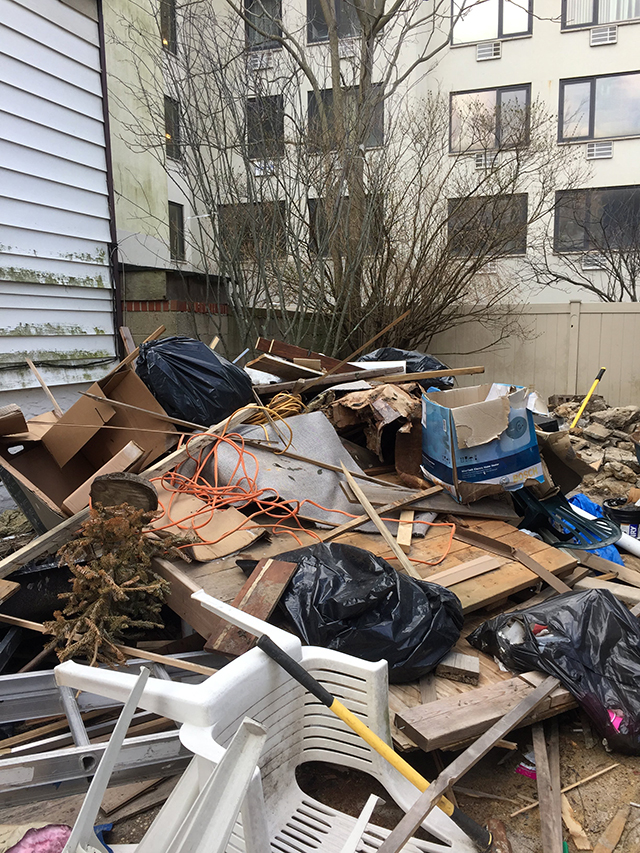
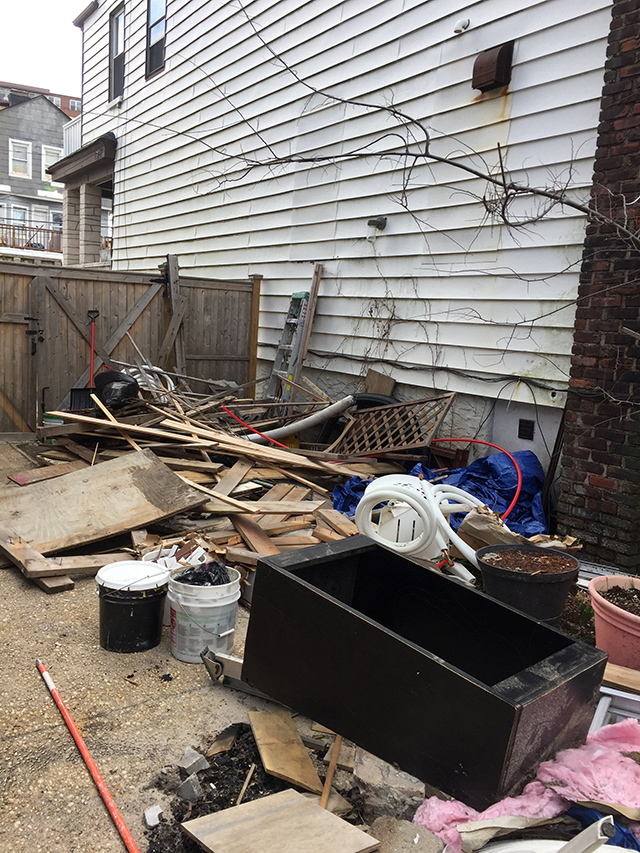
For the past four years, our backyard has been a renovation dumping ground. Now that the house is essentially done, we wanted to clean things up and start the backyard garden for the summer.
In April, I watched this awesome show on Netflix called Love Your Garden. It’s hosted by Alan Titchmarsh, a professional English gardener, poet and gardening journalist turned TV personality. Alan and his quirky, knowledgeable team visits homes around the United Kingdom helping people transform their gardens. The families are deserving, having overcome difficult hardships, such as a husband who lost his legs in Afghanistan or a family with a special needs child that can’t get around and play in the backyard. The show is so inspiring and the gardens they build are lavish… maybe a little too lavish. “Matt, I think we need a water feature in the backyard. Alan said the sound of streaming water will create a tranquil outdoor living space.” “You live 100 yards from the 2nd largest stream on the planet, NO.”
But I never give up, never give in: “And since I love cooking, it makes sense to build an outdoor brick pizza oven. Alan said if you enjoy entertaining you should have an outdoor kitchen in the garden.” “Oh, sod off Titchmarsh!” Matt grumbled, killing my dreams.
After looking at our bank account and getting some pricing from landscape architectures and masonry companies, I realized my gorgeous English country garden with a cascading waterfall pond, outdoor kitchen, scarlet honeysuckle trellis entry and raised teak vegetable garden beds was not happening this year. Or possibly ever. Wanting to enjoy the yard in some capacity, I decided a DIY backyard garden was my only option. Matt was relieved that my mind drifted back from across the pond, back to reality.
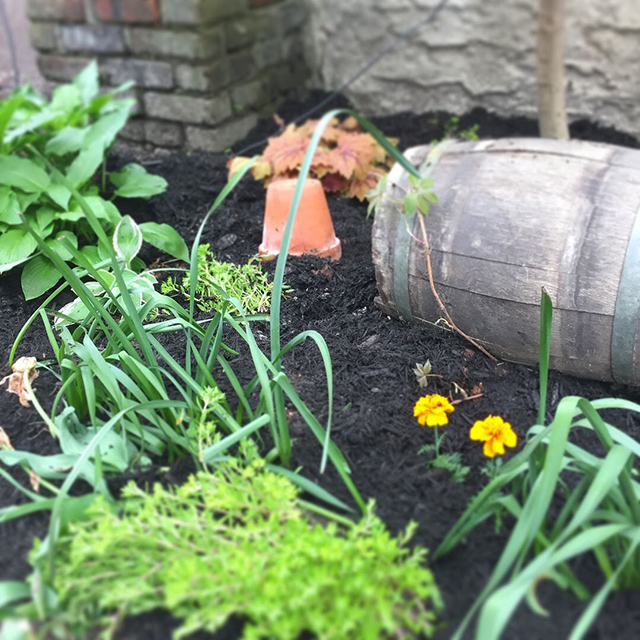
Our yard is mostly concrete and sand – a challenge. There is one large strip of plantable area – about 5ft by 100ft feet long. I bought three car loads full of shade tolerant plants and some annuals (petunias, marigolds and creeping jenny) from Lisena Garden Center. I was ready to get to work. Sifting through chips of our old asbestos siding, broken glass and concrete in the “soil” was a terrible task. I added 20, 40 pound bags of compost once cleared. To combat the weeds and make things look pretty, I mulched the whole stretch after planting – back-aching work. It took a solid two days just for this section.
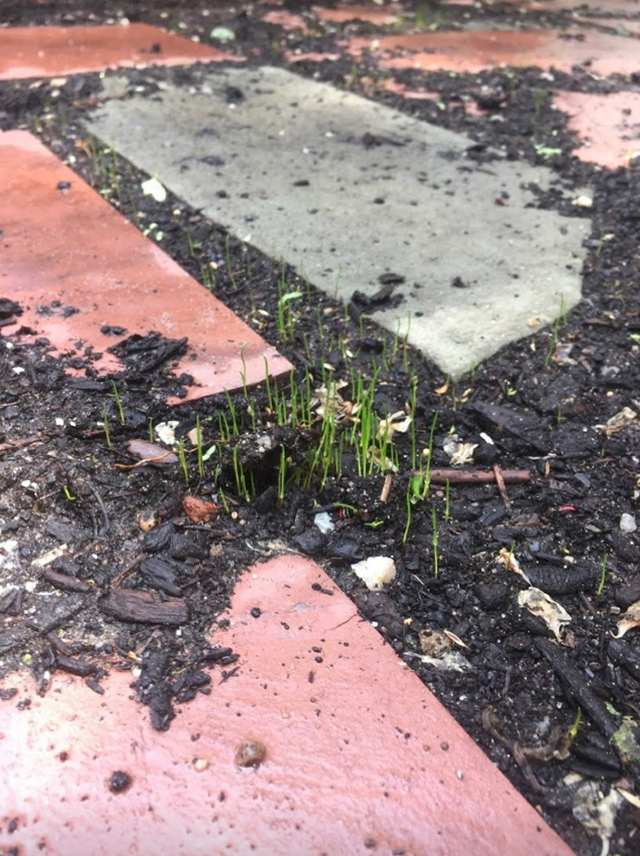
We had slate pavers left over from the front garden pathway so it made sense to make a patio over “sandbox” one. We hired help to get that job done. In the other “sandbox” section we used a few pieces of slate as stepping stones, connecting the main house to the bungalow. Between the stones we planted grass seed. I very clearly remember Matt telling me two years ago when we built out the front garden, “Grass is TOO Long Island.” How the tides have turned. Matt has become oddly obsessed with watching the grass grow. Every morning he’s been checking on it. He waters it daily. He sends me pictures of the grass. He gets on his hands and knees sometimes, evaluating the growth at eye level. One night, I saw him out there with his iphone flashlight!!
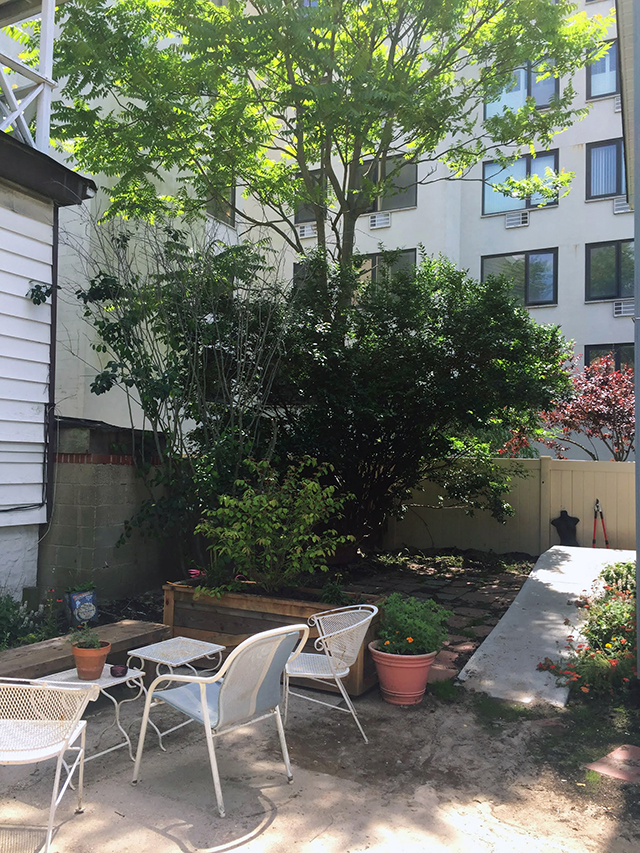
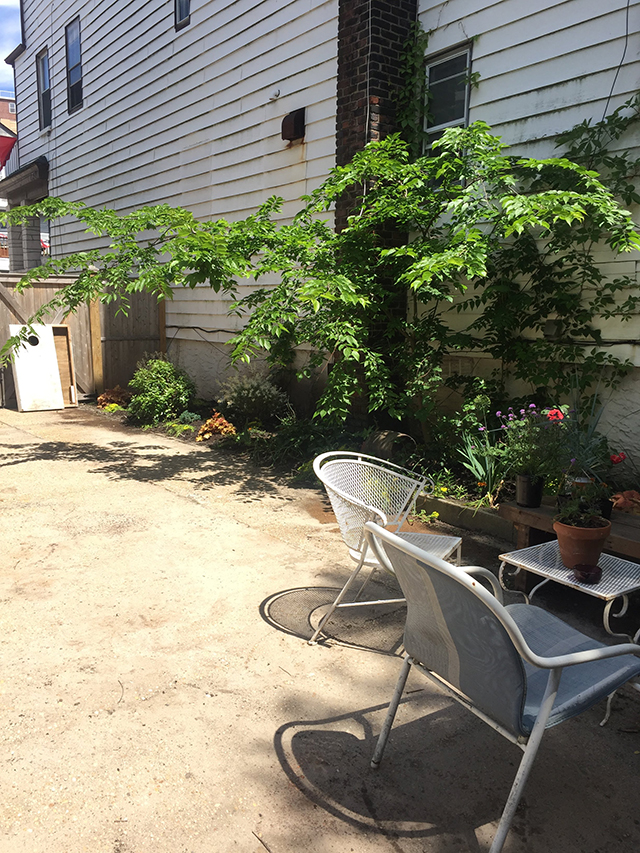
The rest of the yard is a concrete jungle. We thought to use planters to break up that space. Some we had and some Matt built. Three planters Matt upcycled, constructing them out of old porch columns! To finish things off, we found second hand furniture. We’re not in love with it, but it will due for now.
I should have known better, going through the house renovations that an instant backyard was unrealistic and actually not the best approach. I’ve learned it’s better to live with it for a while. On paper for example, a dining patio may look great in one location but after a few BBQs, you may realize it’s better to have the table closer to the back door, which leads into the kitchen. I was telling my father-in-law Jerry about the backyard and said to him, “Yeah it will take a few years for us to suss it out.” He said, “It will take a lifetime, but that’s the fun of it!”
Before
After!
Before
After
