I just returned from a family vacation to Colorado with my sisters and two nieces. The landscape of the valleys and mountains, rock formations and waterfalls was stunning. Exploring a new city is awesome and this trip gave me an opportunity to spend quality time with my nieces. The girls are 10 and 12 years old. Kids are refreshing and have a wonderful perspective that adults need to be reminded of from time to time. They see and approach the world so differently!
We ate a lot! At each meal I began to notice the relationship the girls had with their food. I observed how they interacted with the waiters and made their meal choices. What intrigued me most was their food play. It reminded me of my childhood because I recalled doing similar things. Viola organizes her food. She’d put the butter squares in a row and make shapes with them. She’d also make designs with the utensils. Tula Belle at almost every meal would use her staw to capture liquid, holding the end with her index finger. She then lifted it high above her head and let the juice run into her mouth (or threatened to pour it on me!). I did that one too as a kid! One night they made tents with their napkins over glasses – very creative. What was so nice is that at every meal the girls always offered each other (and their cool Aunt) a taste of their meal.
Food is a creative tool for children and it’s important for kids to build positive, healthy relationships with what they put into their body. Children learn by looking, touching, smelling, and squishing. Food is sensory! Food play can help children that are picky eaters by providing a fun, confident association with different types of food. There is so much food can teach all of us.
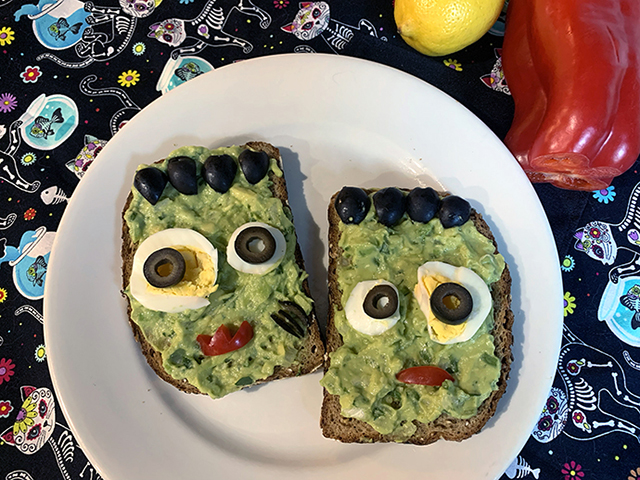
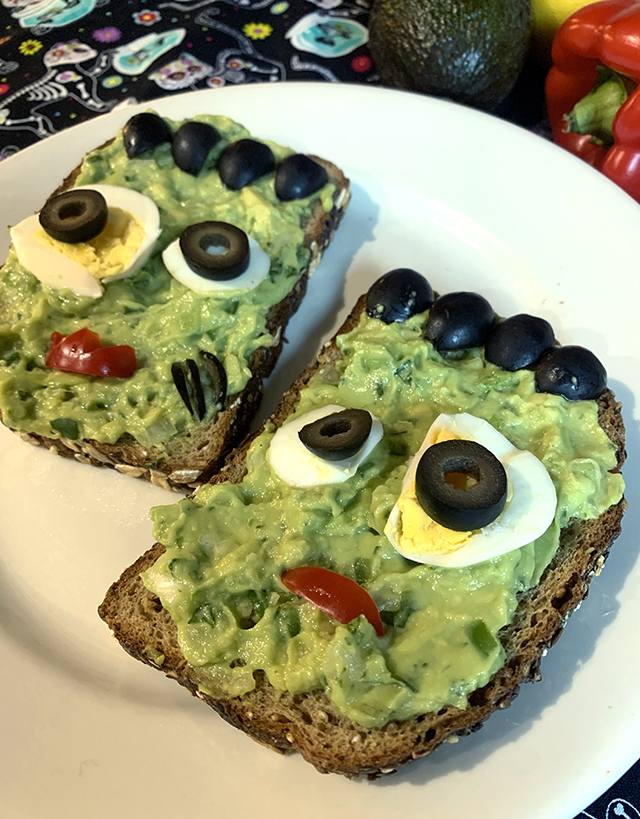
Try this healthy, creative recipe with the whole family. I had a blast making mine! Creamy avocado with a burst of lemon on thick multigrain or whole wheat toast – it’s delicious. Use olives, eggs and red pepper to create your scary, silly or friendly Frankenstein.
Frankenstein Avocado Toast
Ingredients:
2 Slices of whole-wheat or whole grain bread
1 Avocado
1 Tablespoon lemon
Salt, pepper, red pepper flakes to taste
6 pitted black olives
1 red pepper
1 hard-boiled egg
Olive oil
Directions:
- Mash up the avocado with lemon juice in a bowl. Add salt, pepper, and red pepper flakes to taste.
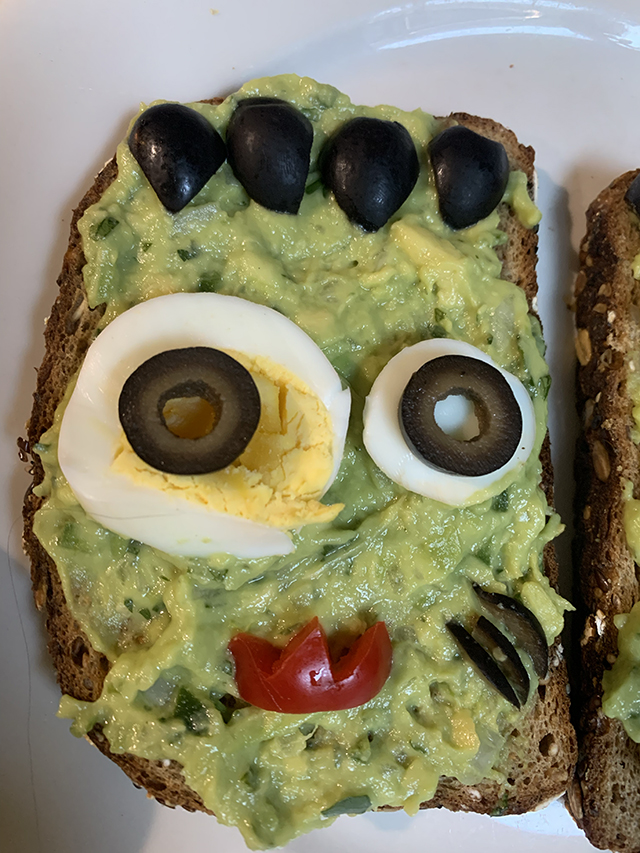
- Half the olives lengthwise to make the “hair” and cut the ends into points. Cut one olive in half slices to make round “eyes.” Slice the hard-boiled egg thinly to make the whites of the “eyes.”
- Cut a small red pepper shape to make “mouths.”
- Toast the bread and cover with the avocado. Design your Frankenstein face, drizzle with olive oil, eat and enjoy!
- Toaster the bread. Remove the toast from the toaster. Spread the avocado mixture onto the toast.
- Step 6 Use the red pepper pieces to form the mouth of your toast.
- Have fun and get creative!
Follow me on Instagram for the day-to-day in the kitchen – @theglorifiedtomato
There’s a new women-owned and operated event/art space now open in Rockaway Beach. I was thrilled when I heard about Vazio’s opening and I’m eager to share some details with you.
Experience Vazio NYC on Sunday, October 16th from 1-6pm at the debut reception. Join co-owners, Goodform’s Monice Small and Rock Rock Hair’s Patricia Silva at ‘SNEAK PEAK’, a group art show featuring the works of Victoria Barber, Carolin Wood, Eric Anderson, DJ Schmidt, Saara Untracht-Oakner, Laura Glambman, Matt Jackson, Riley, and Juan Heredia. The majority of artists are Rockaway locals with a dash of Brooklyn creators also exhibiting. Expect a wide range of mediums – painting, pointillism, collage, printmaking, photography, and sculpture. A peek into the lives of each creator at this one-day pop-up.
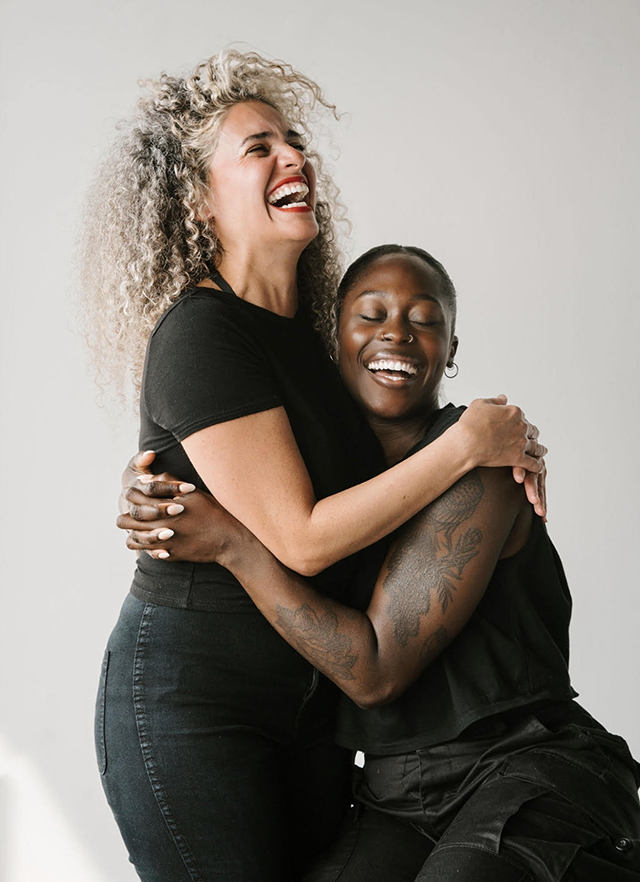
(Left) Patricia Silva (right) Monice Small. Photo by Lindsay Vitale
In addition, the show invites you to visualize the potential of Vazio NYC. “Vazio” is a Portuguese word meaning: empty place, vehicle, or container. Monice and Patricia challenge us to fill this bare space with our creative expression, however that manifests for you. And in turn, provoke our community to engage and understand your message.
Small and Silva came together with a shared goal – to design a creative space for artists to utilize. I asked Patricia how the concept for Vazio came to fruition, “I connected with Mo [Monice Small] through taking her personal training classes and we started talking in the spring about having a place to create content for our own businesses, so when the space opened up in the summer, we knew it was meant for us to snatch up! We wanted to create a place for the community to use who had similar needs. We have also rented it out for kids’ parties and small events-it’s been super successful!”
Pen and ink by Eric Anderson.
‘SNEAK PEAK,’ It’s not to be missed. Some works will be for sale. Browse, enjoy the art, sip some wine, and meet like-minded community members and neighbors. Vazio NYC is located at 88-08 Rockaway Beach Blvd. (in The Wave Building). A $5 donation will be accepted. Please support this beautiful new community space!
Find the studio on IG – @vazionyc, and follow for more information on ‘SNEAK PEAK,’ for upcoming events or to connect about hosting your own event at Vazio NYC. Follow my favorite hair care salon @rockrockhair, and the newly opened (!!) exercise and training center @goodform_studios to learn about their services.
Follow me for the day-to-day around down –@theglorifiedtomato.
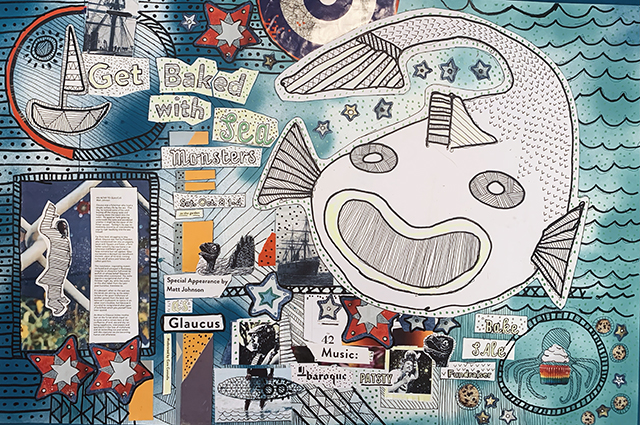
What do cookies, sea God plush toys, rad guitar riffs, and a surfboard that amps out DJ vibes have to do with each other? Nothing, except that all will be present at the Beach 91st Street Garden tomorrow, Saturday, Oct 8th, from 1-4 p.m. Get Baked With Sea Monsters is the community gardens end of season event.
Here’s the skinny:
Enjoy delicious homemade baked goods and coffee for sale, made by garden members. Expect corn muffins, caramel apple tarts, chocolate chip cookies, decadent brownies, chocolate rice crispy treats, vegan and non-vegan banana bread, and more.
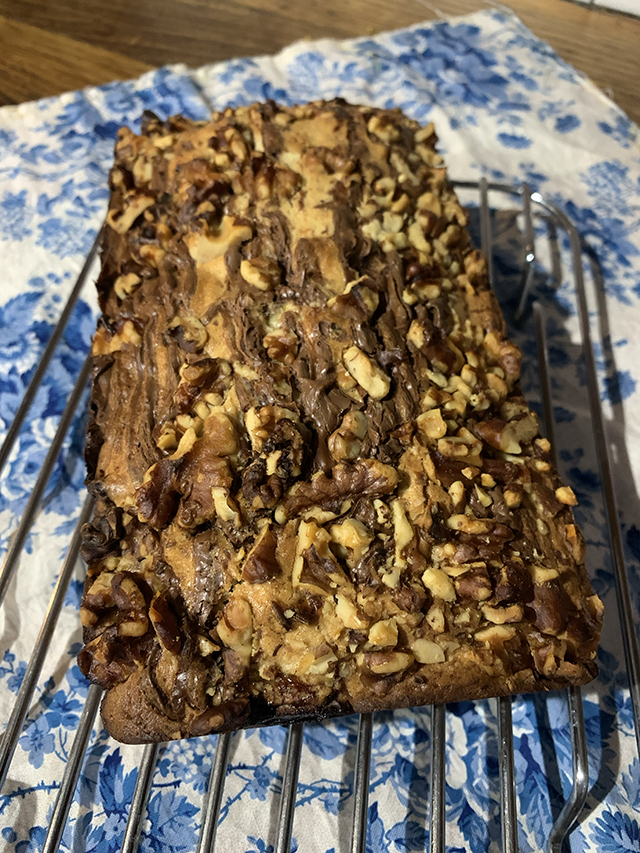
Specifically to highlight is Chef Kailani Mergen. For the community bake sale, Kailani will be making savory vegan focaccia loaves dashed with herbs grown in the Beach 91st Community Garden. Kailani is a Rockaway native and NYC-based chef. She studied at the Institute of Culinary Education and polished her craft at Dominique Ansel, Soho. Mergen has recently launched her own business specializing in vegan and non-vegan bread and cakes. Follow her on Instagram (@chefkailani) to see her artisanal creations and to order.
Music: Patsy will be setting the tone with his songs. To get Patsy’s latest EP, visit patsydoes.com. To find out about upcoming shows check out his IG – @patsydoes. Keeping the beat will be DJ Baroque aka Mikal Hameed. If you’ve seen him on the boardwalk this summer, you’re aware that his mobile surfboard setup is fire! If you haven’t experienced his jams, then you must check him out tomorrow. Want a surfboard sound system? Visit mikaljhameed.com/sculptures.
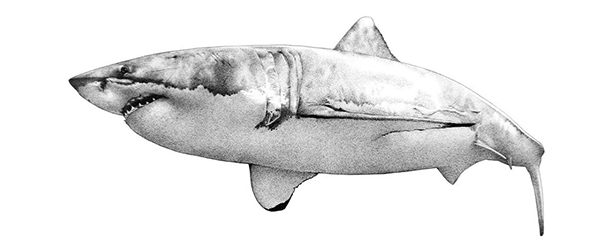
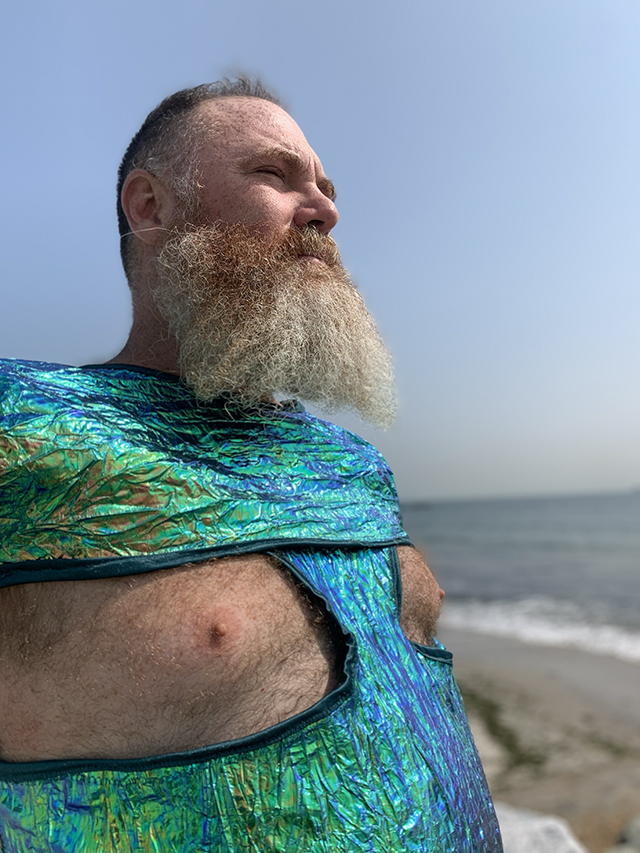
The Beach 91st Street Garden will be featuring a new installation created by Artist Matt Johnson. The piece is titled An Altar to Glaucus. Glaucus, a simple fisherman, was transformed into an ungainly sea beast by Poseidon. As an immortal sea God, Glaucus protects sailors and fishermen who call upon him. “An Altar to Glaucus invites meditation on the forces which impel us to come and to remain here at the confluence of land, sea, and sky; on being supplicants, intercessors, and spectators in the face of misfortune; and on reconciling our past selves with the creatures we are becoming, human and otherwise.” – Matt Johnson.
To learn more about Johnson’s work, a Q&A will be moderated by Cara Cannella. Cara is a writer currently working at the Brooklyn Academy of Music as a Creative Storyteller. The exhibit, An Altar to Glaucus, will be displayed for the month of October.
I hope to see all of you tomorrow in the garden at this novel event. Rockaway garb is strongly suggested.
Tag @Beach91CommunityGarden and share the scene that inspires you at the event tomorrow!
by Paula D.
on October 20, 2022 10:56 am in Community
Beloved community member, Timothy Miles is leaving Rockaway for a new chapter in his life. Timothy is a Rockaway celebrity, known as “The Selfie King.” He’s on the A-List with the likes of Rockaway Rod, The Ginger Ladd, Gio Fernandez-Kincade, and The Best Dressed Man in Rockaway. Timothy is a selfie photographer. He has documented the culture of Rockaway since 2015 through his flipped lens – everywhere from the beach to the boulevard and in the bars.
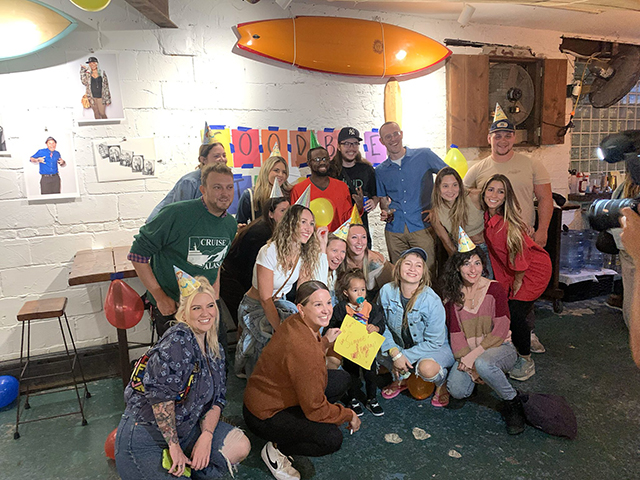
One of the many group shots taken of Tim’s friends. There were about 100 people at The Selfie King’s going away party at the Rockaway Beach Surf Club
On Thursday, Sept. 22nd, (also Tim’s 33rd birthday), a going away party was held in his honor at the Rockaway Beach Surf Club. Over 100 friends and neighbors (plus a random wedding party) celebrated Tim and shared in one last selfie-ladened hurrah!
At the event, many shared fond memories of Tim and their first selfie encounter with the artist. Friends signed a farewell poster expressing their appreciation for Tim’s contribution to the community. “Thank you for all the memories you’ve captured,” writes Josh A.; “Tim, you will always have Rockaway and we will always have you – Teresa Farrell; “You are so great at bringing people together – Sarah M.; Another message reads, “Love you, Timmy! I will always remember your first autumn swim with me and Danny. We will miss you.” – Jodi and Danny Mulvanerty; And more kind words from Robin and Peter, “Timmy! Everyone loves you so much! We’ll always miss your ability to get everyone together for a good time!”
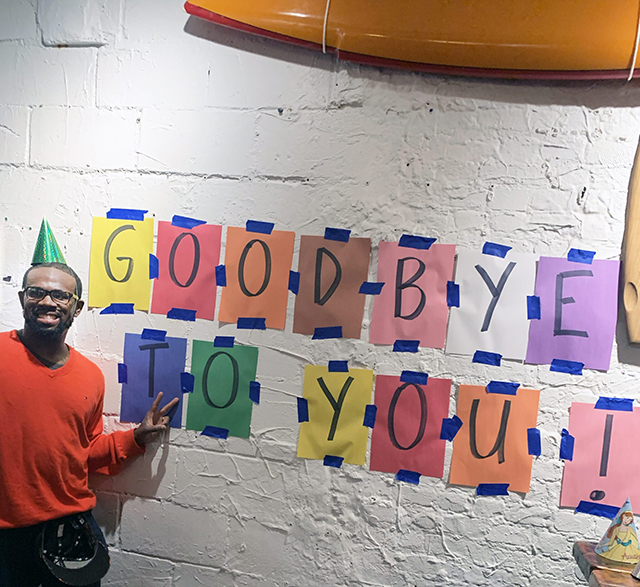
Tim is famously known for his greeting _Hello to you!_ Jodi Jordan Mulvanerty created this fun play on words sign for his send off.
Timmy’s farewell address was one of thanks and inclusiveness. “I want to take the time to thank you, including the guests that are part of the wedding and the people that came to celebrate me from the city. We’ve had bad days and ugly days but we must put positive spins on those days. After I leave Rockaway, get ready for a post-Timothy era. Make sure all of you stay together without me, all of the different combinations of people, to make a Rockaway super group!”
Over cocktails guests talked about Tim’s documentary photography collection. “There must be thousands of selfie photos, where are they all stored?” pondered Bobby Carnevale, also a photographer. Another friend, Rob Bryn, had a great thought, “Someone needs to collaborate with Tim to create a book of his photography work.” I love this idea. Timothy Miles’ images have captured an era of Rockaway through his distinct perspective, in a style that speaks to our digitally linked culture. Tim’s work is special and should be shared with the world.
Photography is one of Tim’s talents. He is also passionate about religious studies and science. In 2019, Timothy Miles earned a Bachelor of Science from Brooklyn College. Like many artists, Tim is a private and mysterious individual. He will not disclose where he’ll be moving but said we can follow him on Instagram (@hypertime89) to keep in touch and to witness his new adventure, documenting his encounters.


