DIY Easter Egg Coloring
I normally host Easter Sunday for my family and friends, and right now, I’d be gearing up for the party – ordering the paper goods, getting all the soda, liquor and wine, buying the canned antipasto, olives, artichokes and roasted red peppers. Today and Saturday I would’ve been on my feet, cooking nonstop in preparation for Sunday. It feels strange to not be doing it this year.
To mitigate this feeling of “Easter is canceled”, I pulled out the bins of decorations from the basement and made the house look festive. I’ve attempted to watch church on my laptop too, since we Catholics know it’s not about the chocolate bunnies and colored eggs.
Speaking of eggs, I’ve always wanted to try DIY egg coloring. This was the perfect opportunity. I wasn’t about to risk my health going into scary CVS for an Easter egg coloring kit. And that would be very socially irresponsible! Instead I opened up my fridge and got creative. I had red cabbage and I knew turmeric stains, so I went for blue and yellow.
The process is simple. Here’s all the info for this project!
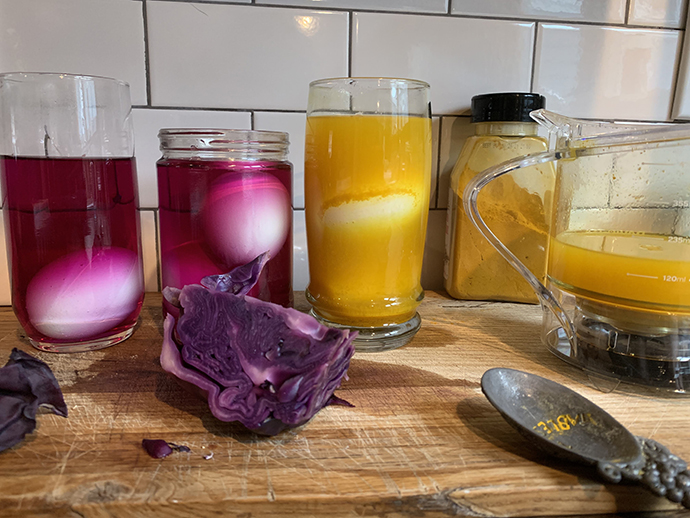
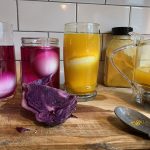
The bright color created from cabbage and turmeric
What you need:
White hard boiled eggs
Water
Vinegar
Tongs
Strainer
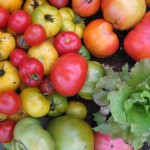
Foods that produce natural dye such as: beets, cranberries, raspberries, avocado pit (reds/pinks), white onions, tumeric, carrots (yellows), Blueberries, cabbage (blue), spinach, green tea (greens)
How to: For each color you want to create, boil 1 1/2 cups of water. In that pot add 1 of the above food items. The amount of food you add will be a factor in the brightness of the colored dye. I recommend using more than less. Boil, then let on low for 20 min. Let it cool. Next, add two tablespoons of vinegar. The acid also plays a role in the intensity of the color. You can experiment with the amounts of food and vinegar, after all this is an art project, so get creative!
Once you have your natural dyes ready to go, pour each one in a clear glass or jar. You can strain the liquid or leave some food pieces in. If you leave some food in the liquid, it can create cool markings and patterns.
Now you’re ready to dunk your hard boiled eggs. Like regular dye kits, the longer you keep the eggs in, the brighter the color will be. If you’re looking for pastels take them out of the dye sooner.
If your dyeing eggs with your kids, definitely go for more intensity in color. It will take less time to see the result and the kids could get restless otherwise. Take it a step further and bring out other craft items like sticker0 , sparkles and markers.
Follow Paula on instagram for the day today – @theglorifeidtomato
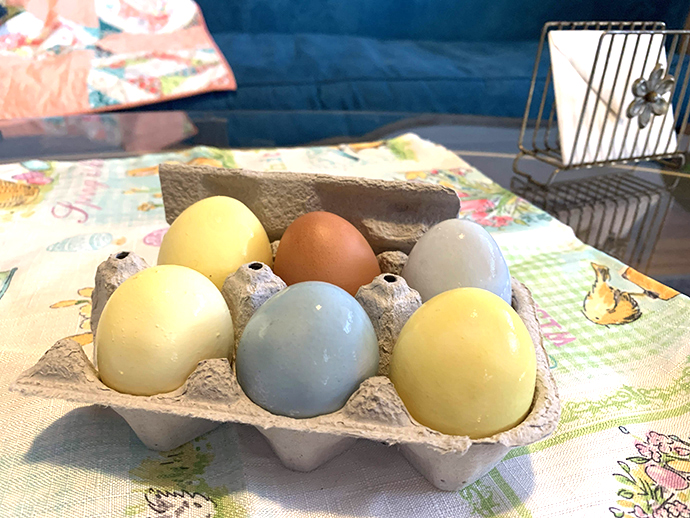
DIY colored Easter eggs!